Create a product with Quick Create
The New Product button sits in the top-right corner of the Product Catalog. It opens a short Quick Create form with just the essentials.- Open the Product Catalog from the left-hand menu.
- Click New Product in the top-right corner.
- Enter the product name, brand, and department.
- Add a barcode. Scan the item’s Universal Product Code (UPC), type in your own in-store barcode, or generate a free Price Look-Up (PLU) code (see below).
- Enter your pricing details.
- Click Create to save the product to your catalog.
*) are required: Barcode, Product Name, Department, and Retail Price. You cannot save a product until each one is filled in.
Create several products in a row
Adding a batch of similar items, like a series of yogurt flavors? Toggle on Create More before you save. Vori keeps your entry, then immediately opens a fresh form so you can add the next item with the same brand and department. It’s the quickest way to build out a full line of products without reopening the form each time.Generate a free PLU
Every product in Vori needs a barcode. If an item does not have one, enter your own in-store barcode or click Generate Free PLU in the Quick Create form. Vori checks your current list of PLU codes and assigns an open one to the product.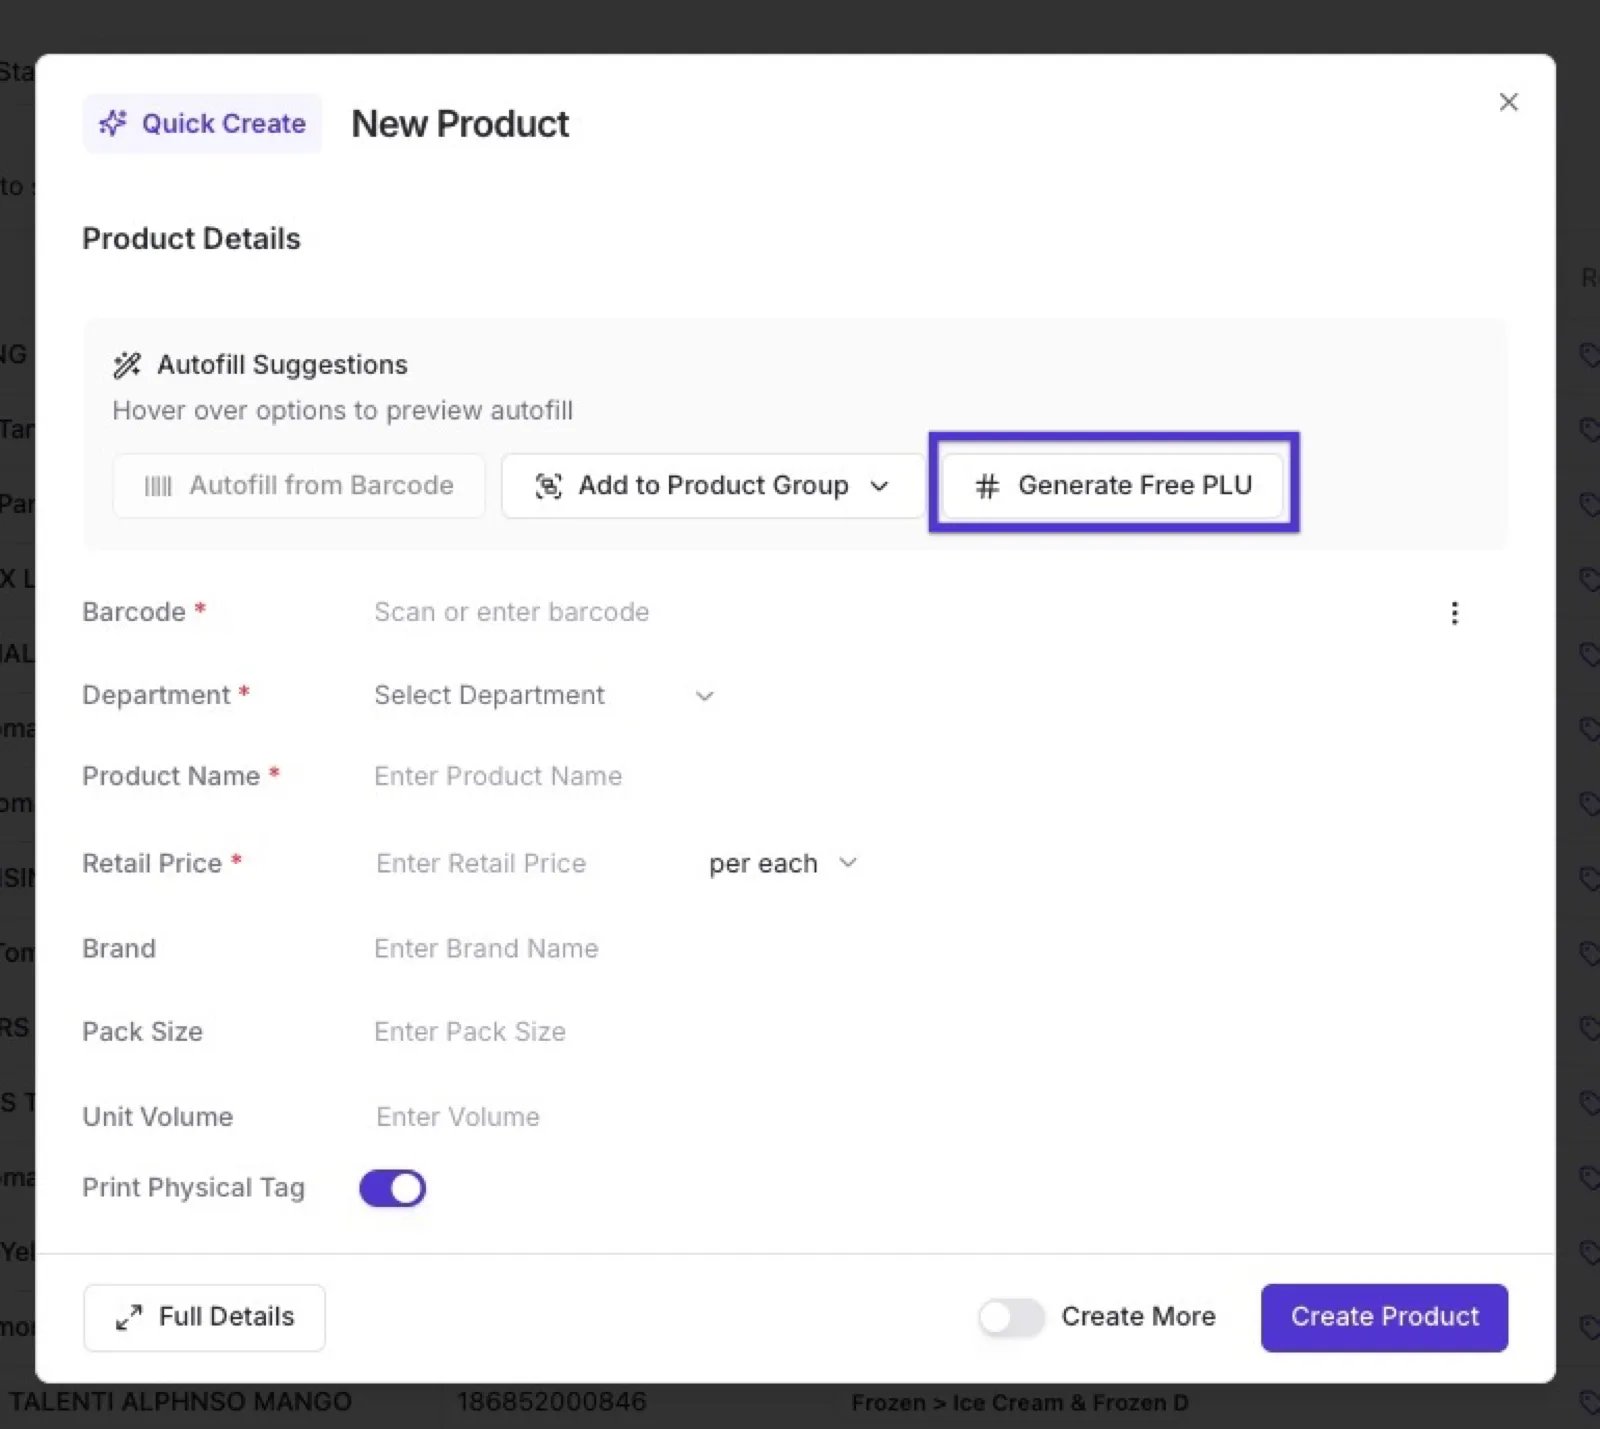
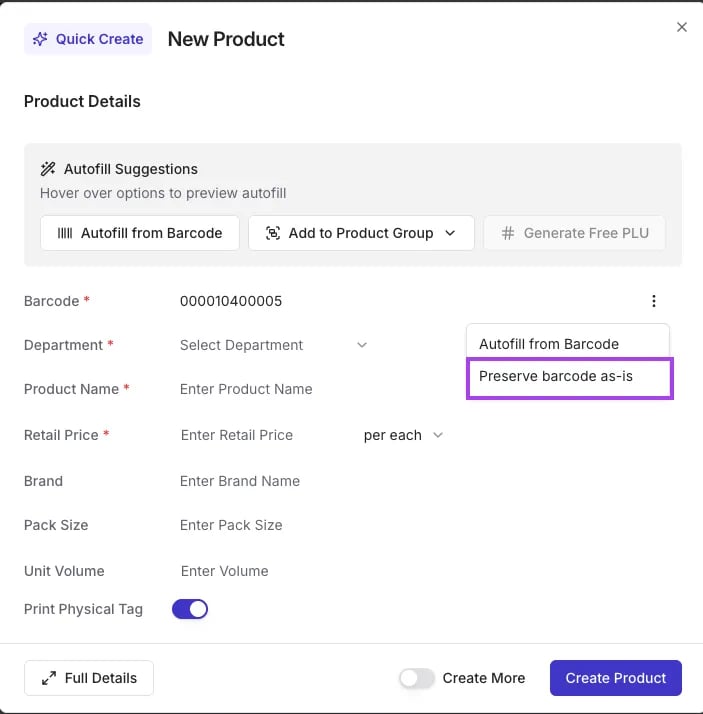
Preserve a barcode as-is
Enable this to skip barcode sanitization so the code saves exactly as scanned. It works best for store-assigned or private-label barcodes that can’t change, such as000010400005. Open the ⋮ menu next to the Barcode field and select Preserve barcode as-is.
Add the product to a product group
As you create a product, use Add to Product Group to drop it straight into an existing group. Click the option, search for the group, and select it. For example, when you bring in a new Chobani flavor, create the product and add it to your “Chobani Single” group. To learn more, see Create and manage product groups.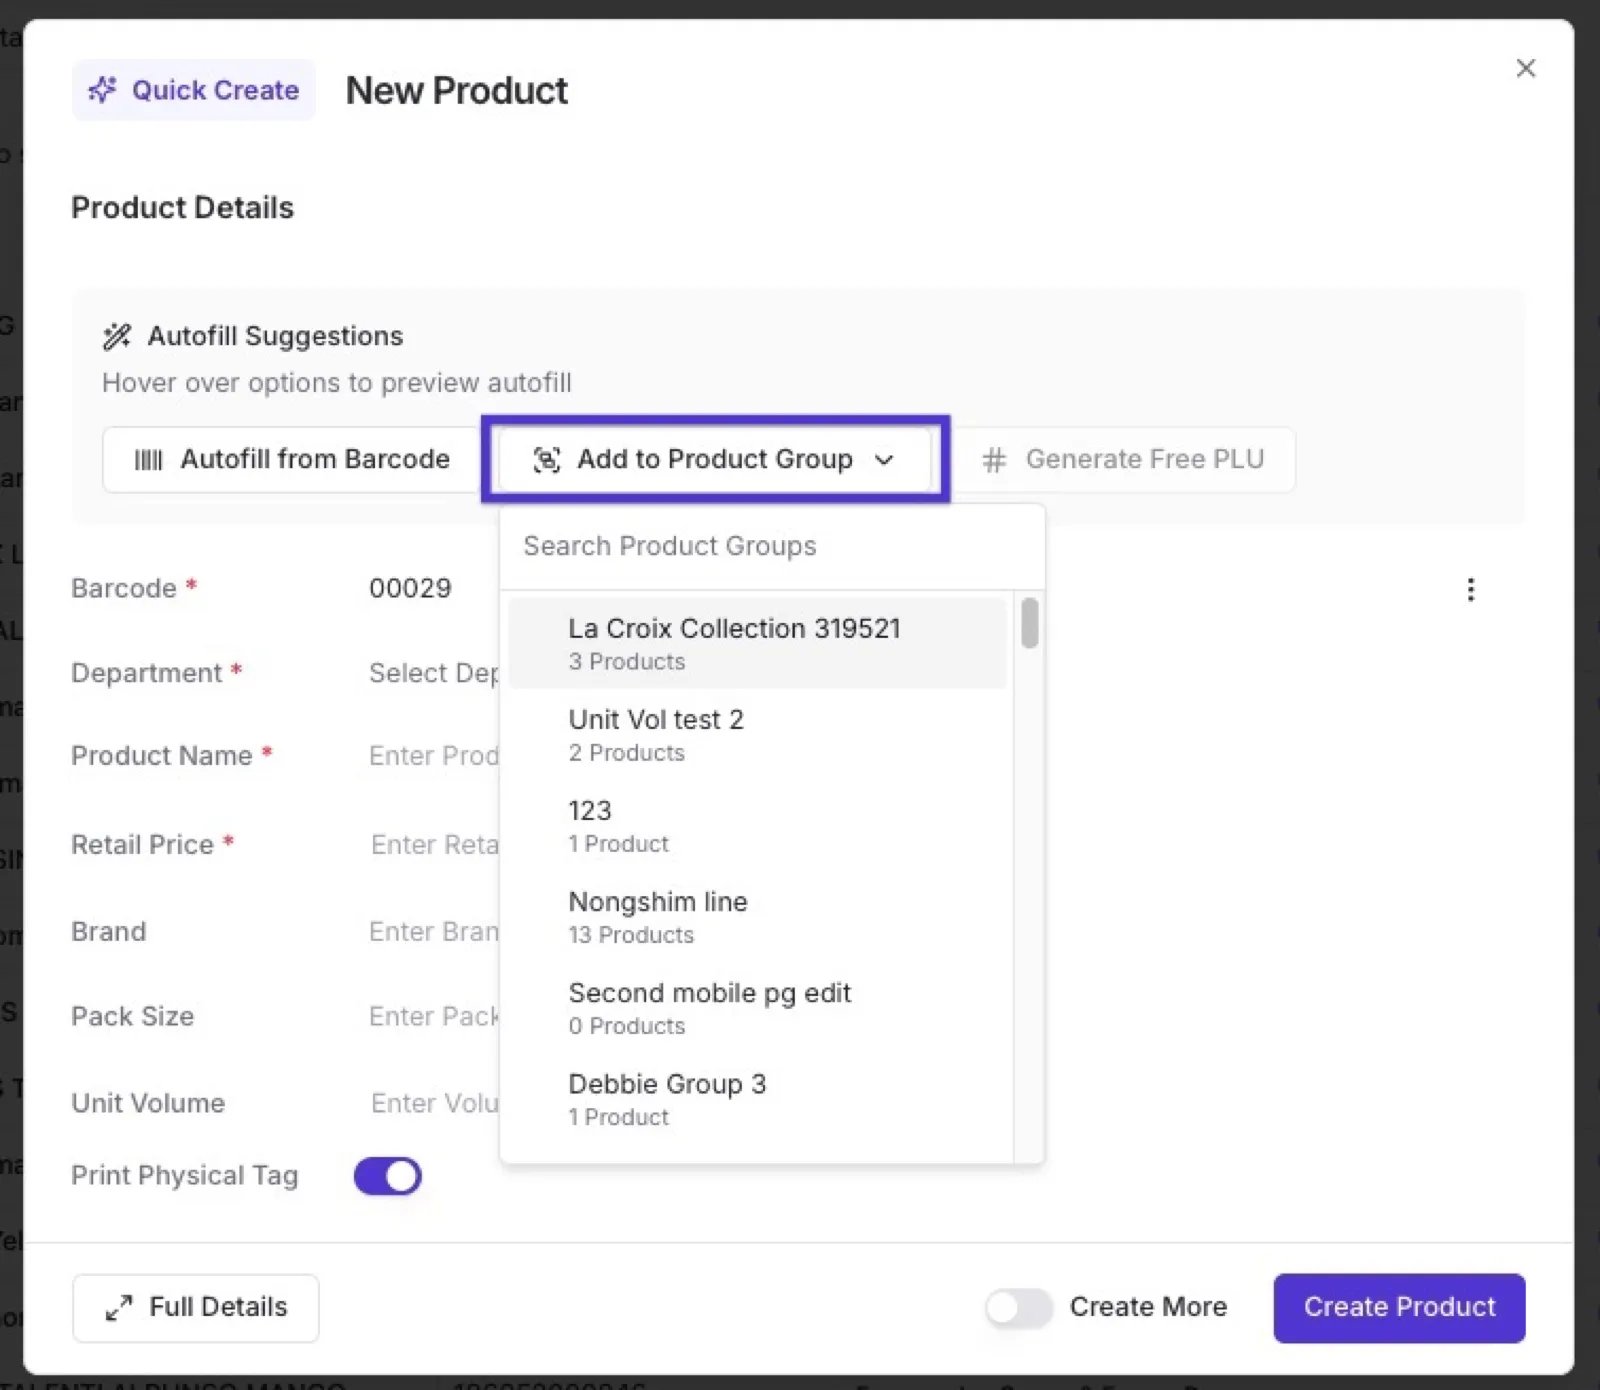
Add more details with Full Details
Quick Create covers the essentials. When you need advanced details, such as pack size, attributes, vendor info, or inventory, click Full Details in the bottom-left corner of the form to open the full Product Detail Page. Switching to Full Details keeps everything you have already entered, so you can start in Quick Create and move over at any point without losing your work. Or select the Open icon next to any product name in the catalog to view its full-page Product Detail Page directly. The Product Detail Page makes it easier to:-
Live Edit: All changes are saved automatically.
-
Add a Product Description: The Product Description field is available on the Product Detail Page. This field is designed to print directly on 3 x 1.5 inch shelf tags (and will not appear on other tag sizes), making it perfect for adding more detailed information or alternate language characters.
- More details to come, regarding product descriptions and printing on 3 x 1.5 tags!
- Add Attributes: Select relevant attributes from the list of unused options to add them to a product. Or select a Department, which will automatically apply its preset attributes.
-
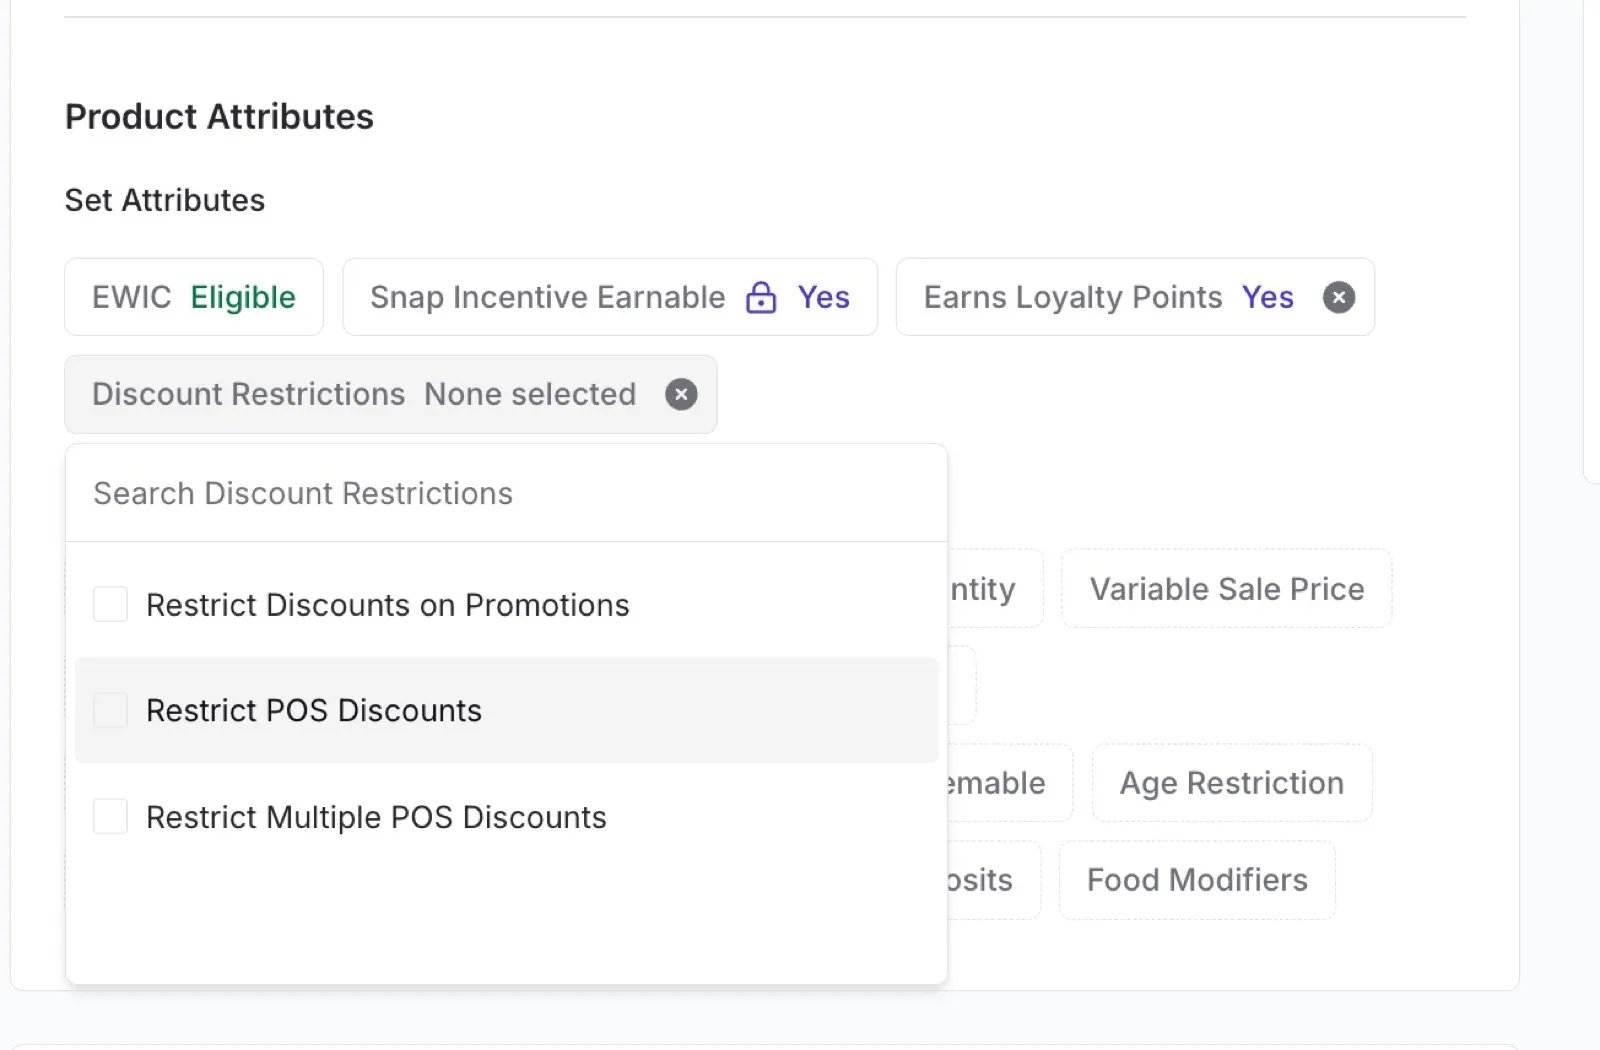
Restrict Discounts: Stop specific items from receiving discounts at the register. In the Set Attributes section, open the Discount Restrictions attribute and choose one or more restrictions:
- Restrict Discounts on Promotions: Prevents double-discounting. When an item is already on promotion, your cashiers cannot apply an additional discount to it at the POS.
- Restrict POS Discounts: Blocks all discounts on the item at the POS. Use this for items you never want discounted, such as cigarettes.
- Restrict Multiple POS Discounts: Allows one discount per item, but not two at once. For example, a cashier cannot stack an Employee discount and a Reduced discount on the same item.
- Control Loyalty Point Accrual: In the Set Attributes section, set Earns Loyalty Points to No to stop this item from earning loyalty points or punches, or leave it on Yes to keep it eligible. To exclude a whole department at once instead, see Loyalty exclusion in Product Rules.
-
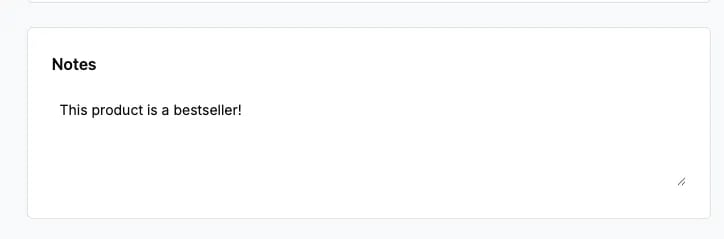
Include Notes: Add internal notes to help your team track important product-specific information.
-
The Description field is customer-facing, while the Notes section is for internal team information only and does not print on tags.
-
The Description field is customer-facing, while the Notes section is for internal team information only and does not print on tags.
-
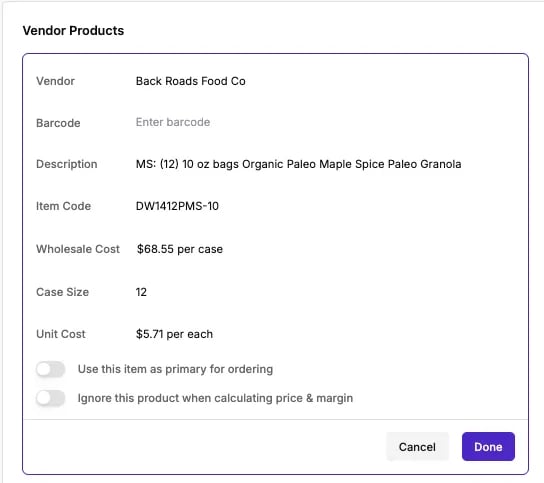
View & Update the Vendor Product: View and edit the vendor, barcode, description, and other related details directly in the Vendor Products section.
-
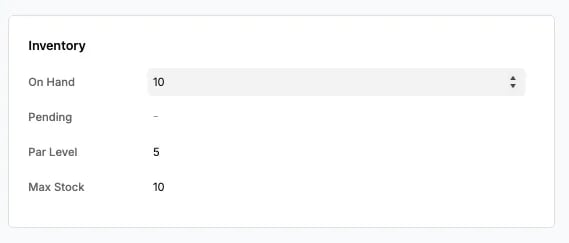
Update Inventory: Quickly adjust on-hand quantity, max stock, and other inventory-related details directly in the Inventory section.
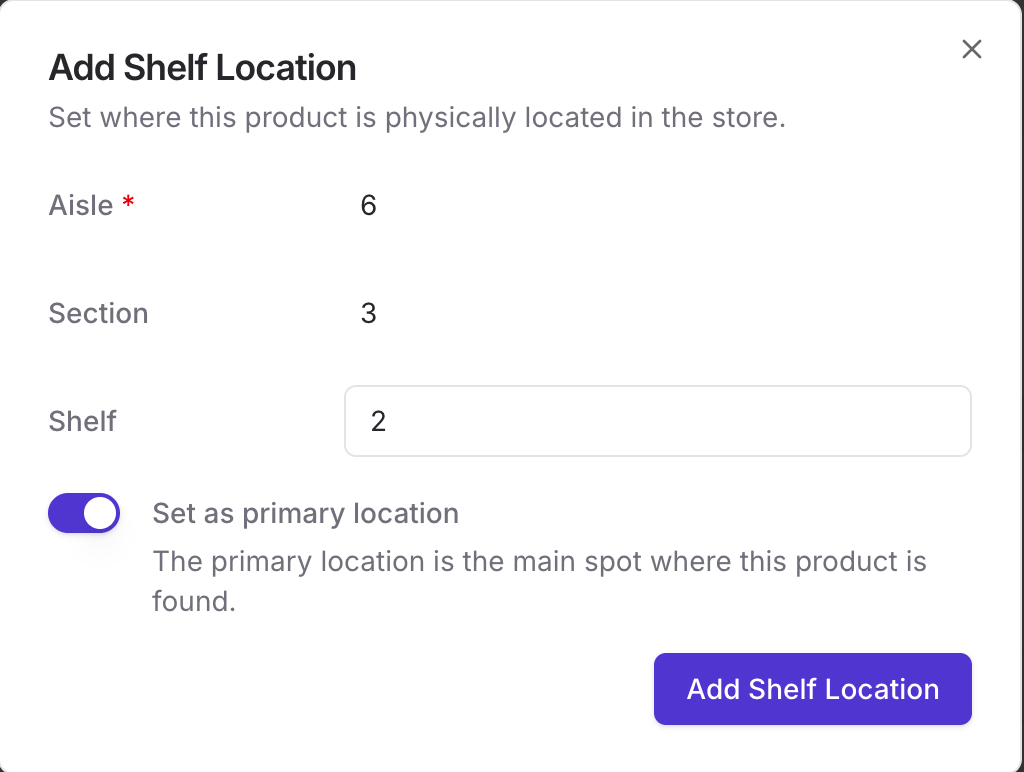
Add a shelf location
Add one or more shelf locations to a product so your team can find items quickly on the floor. Set the Aisle, Section, and Shelf, then mark one as the primary location—the main spot where the product is found.