

The Product Group dashboard
To get started, open the VoriOS app on your handheld and navigate to the Product Group module.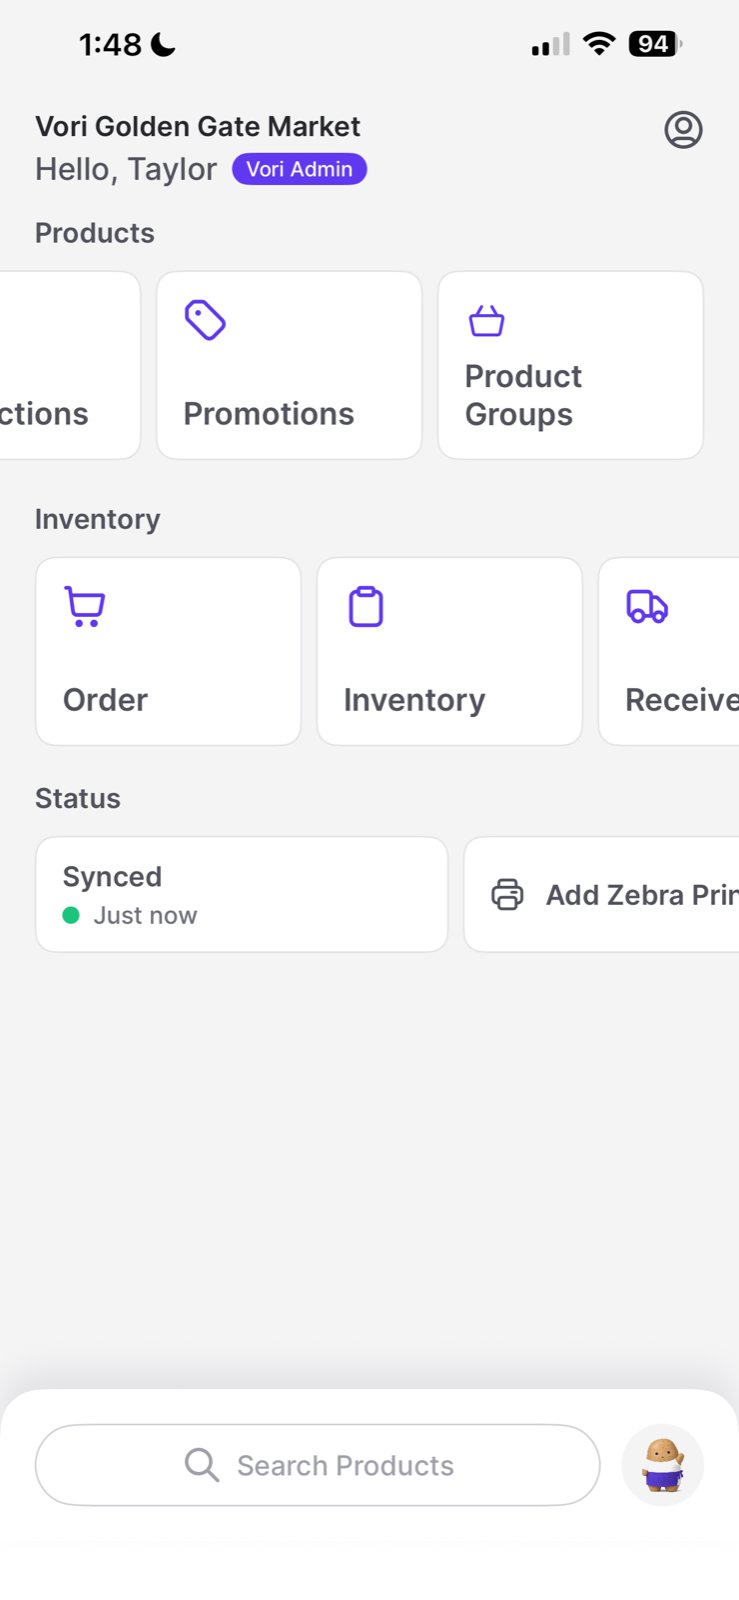
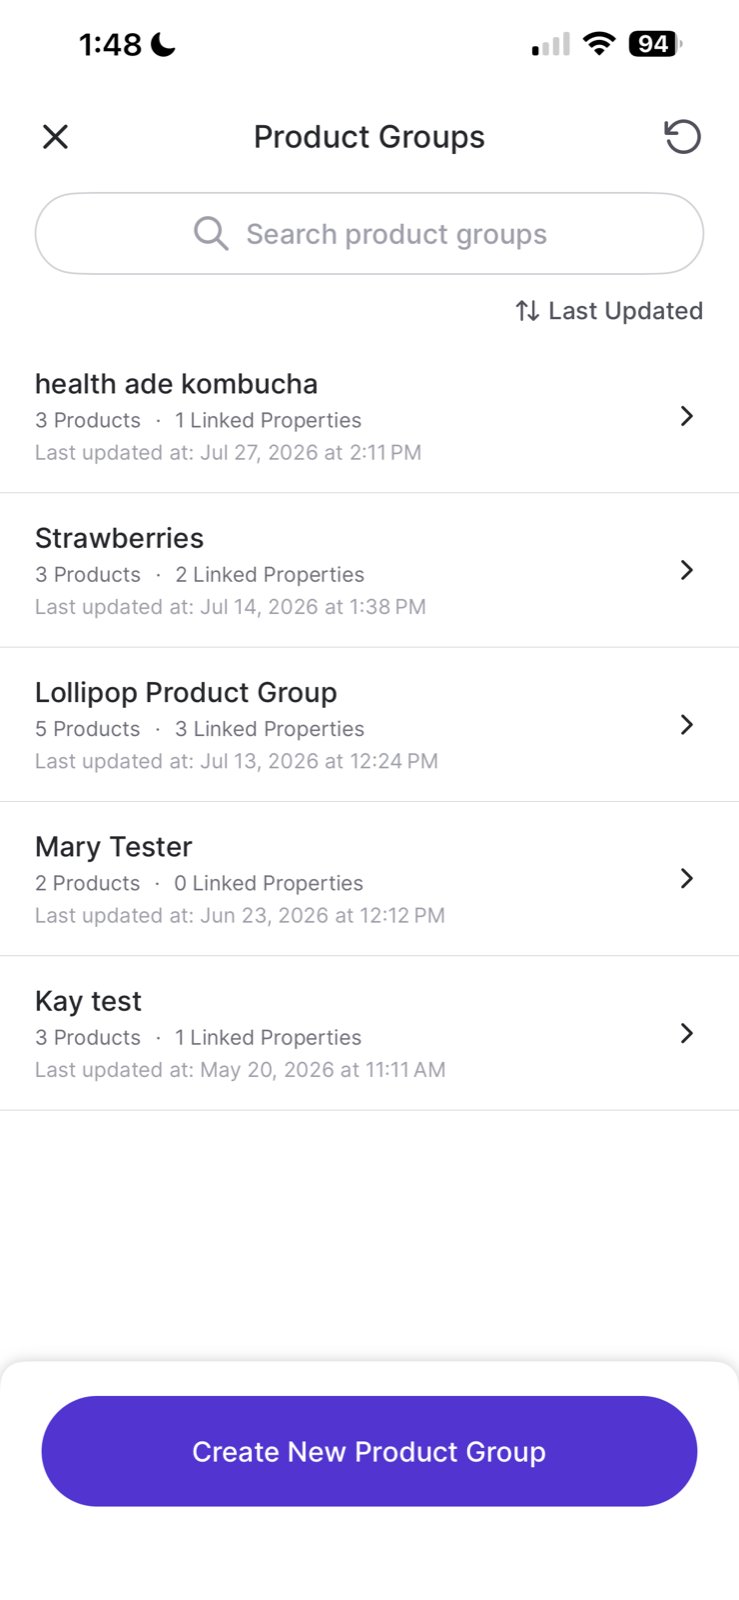
- Search: Use the search bar to find a group by name (e.g., Chobani 5.3oz).
- Filter: Sort your view by Last Updated or Created At to track recent changes.
- Quick View: Tap into any group to see a summary of the group name, linked products, active shared properties, and current reporting settings.
- Edit on the fly: From the detail view, you can edit group attributes or tap Add Items to expand the group immediately.
Create a new Product Group
Creating a group on mobile is built for speed, so you can build groups as you walk the aisles.- From the main Product Group screen, tap Create New Product Group.
-
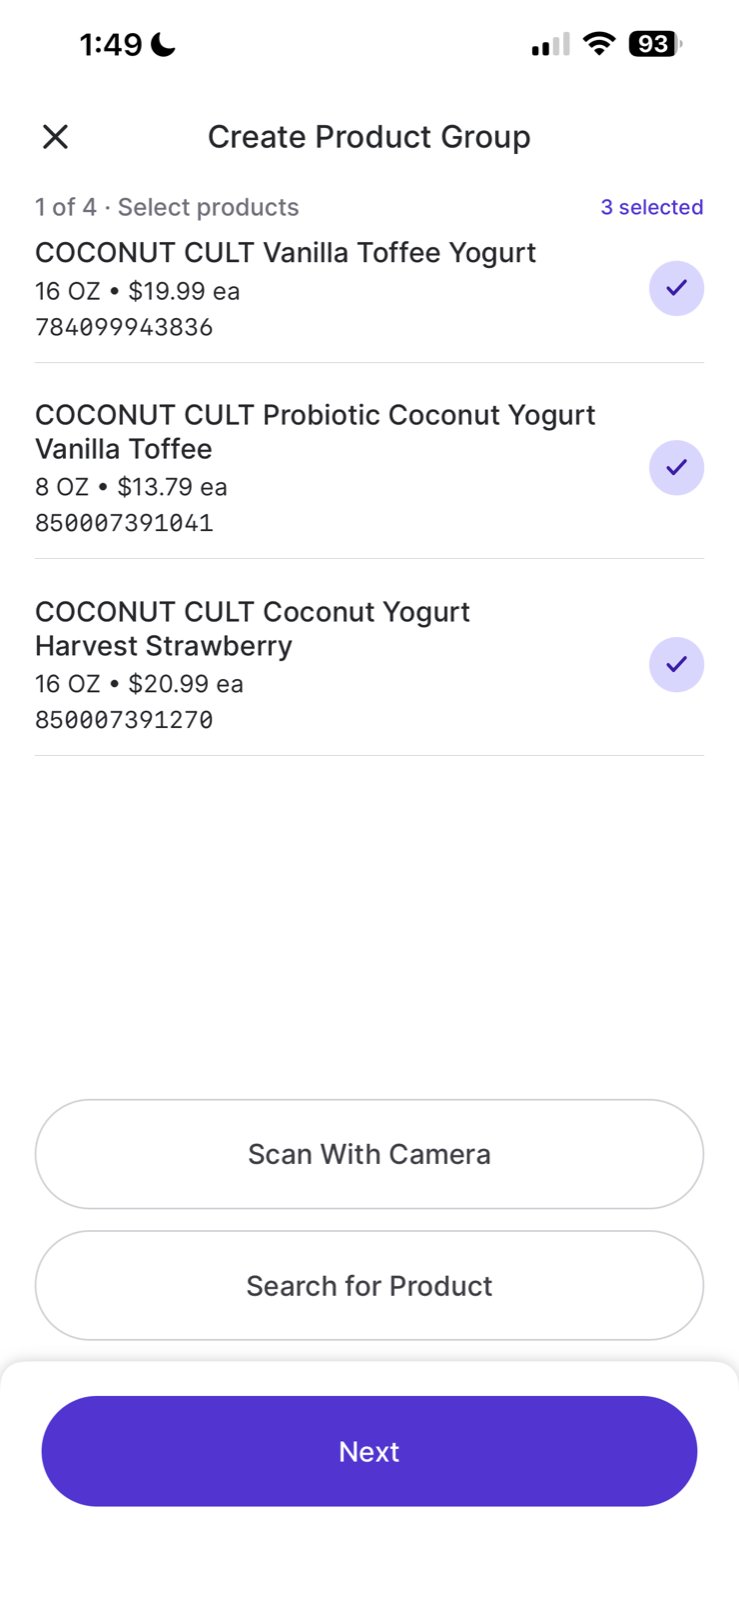
Scan or search: Use your handheld’s camera to scan barcodes directly, or use the search bar to add items. Once your list is complete, tap Next.
-
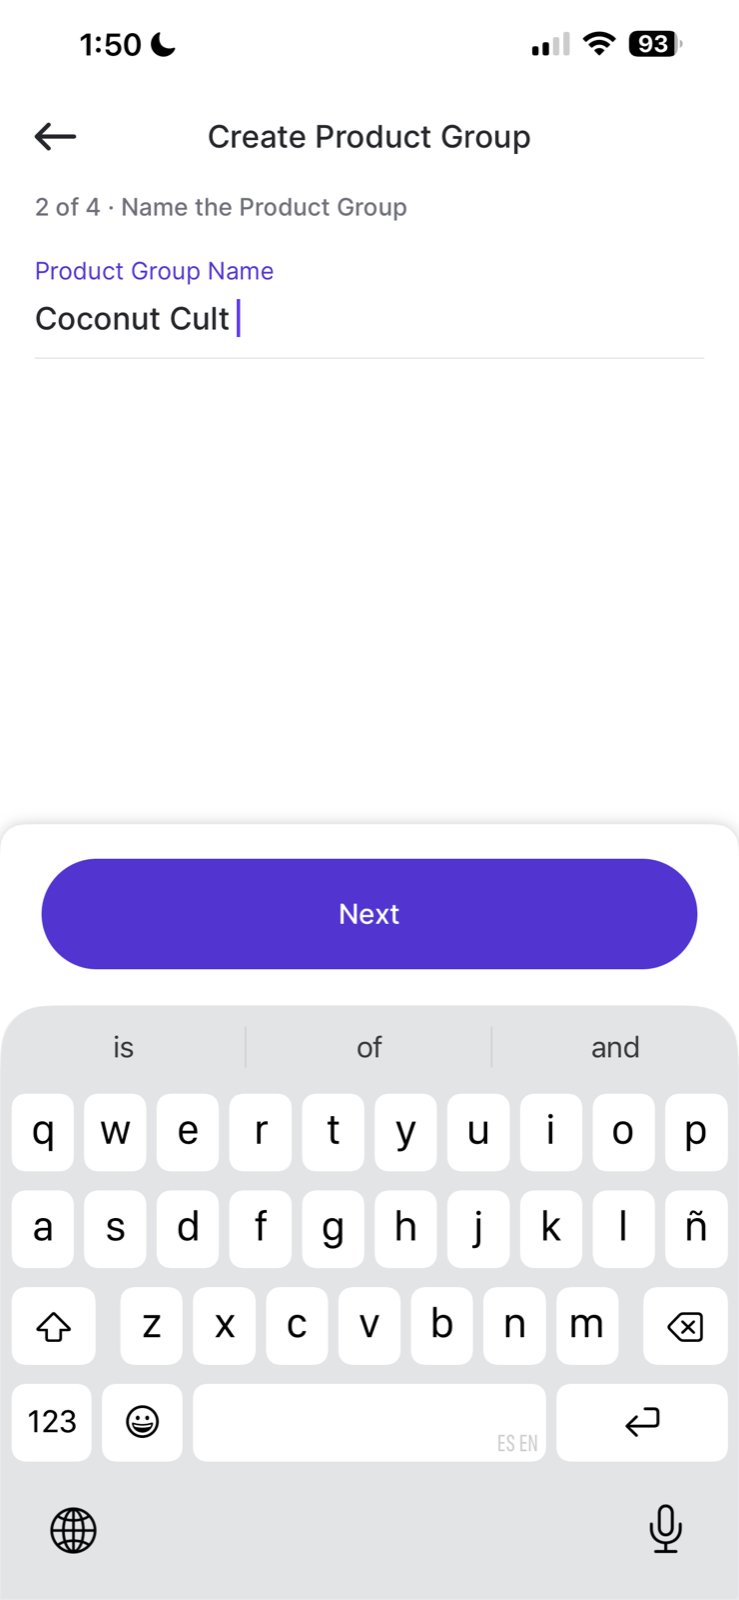
Name your group: Enter a descriptive name (e.g., Raspberry Pints - Alt Barcodes).
-
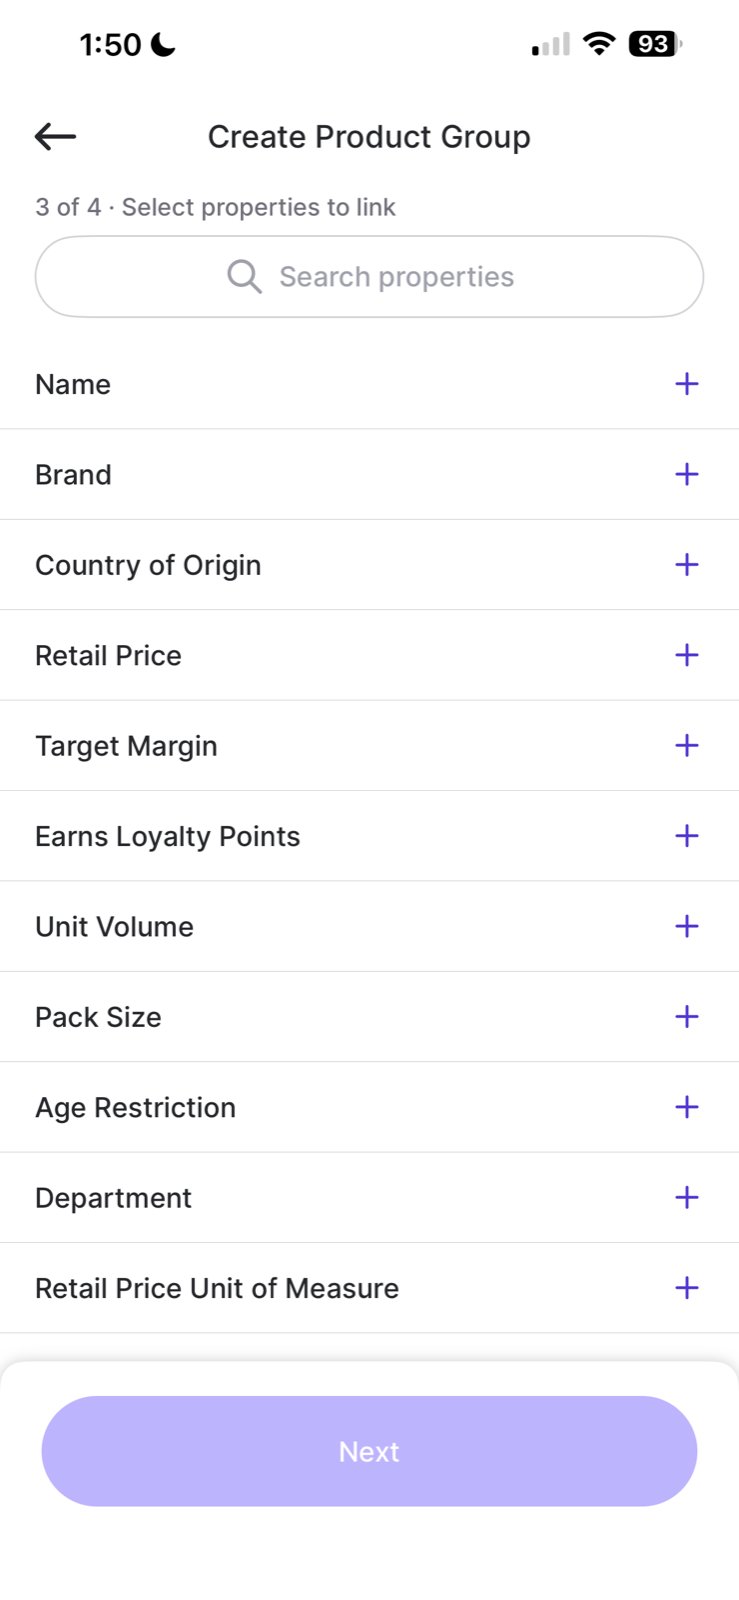
Link attributes: Select the properties you want to stay in sync. Options include Target Margin, Retail Price, Pack Size, EBT Eligibility, Unit Volume, and more.
-
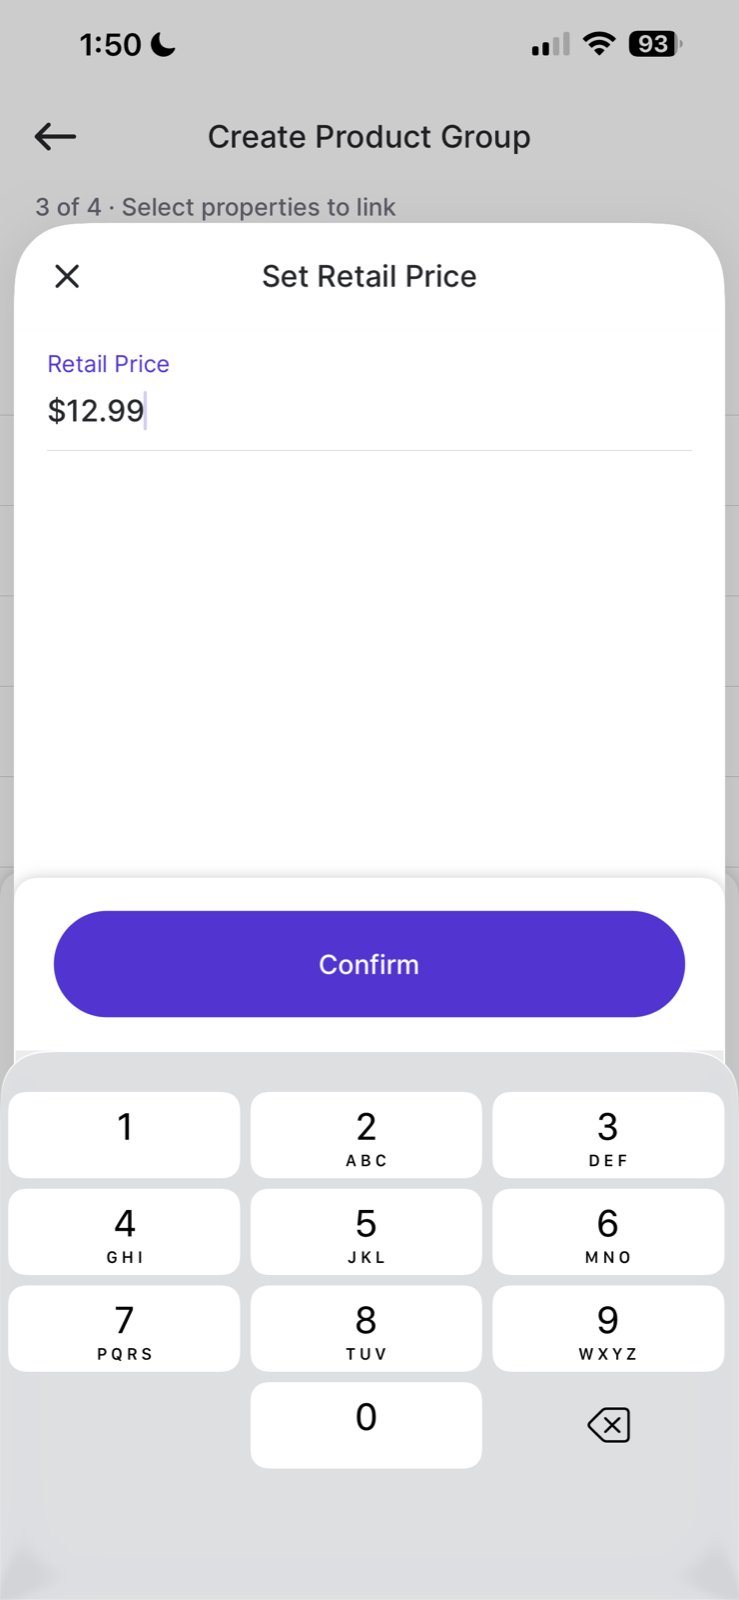
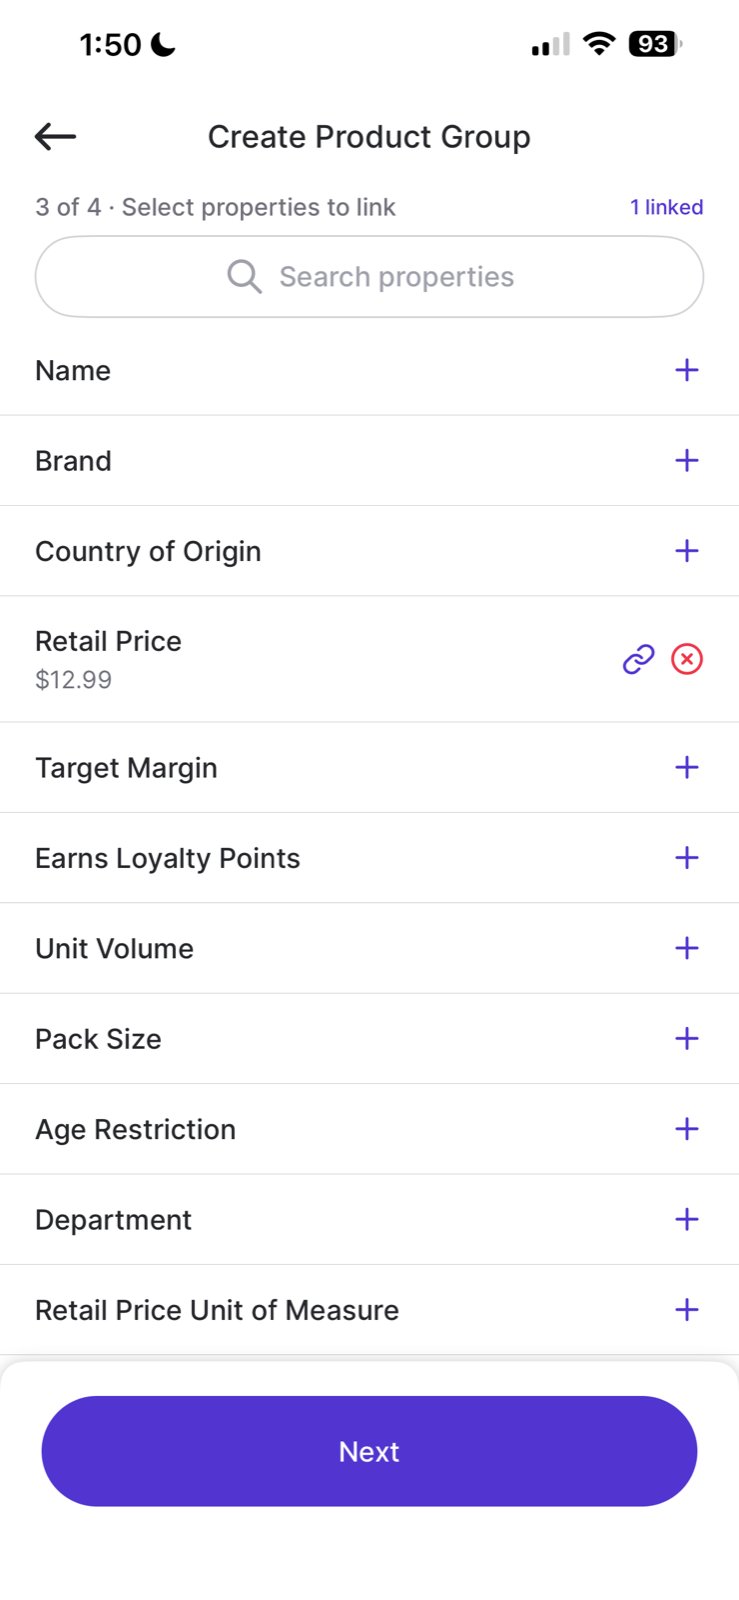
Example: If you select Retail Price, a pop-up appears that lets you type the specific price (e.g., $12.99) to apply to every item in the group.
-
Example: If you select Retail Price, a pop-up appears that lets you type the specific price (e.g., $12.99) to apply to every item in the group.
-
Set reporting: Choose your Sales Reporting and Inventory Count visibility settings (e.g., Individual sales with an Individual Sum inventory count) to control how combined sales data and on-hand inventory show up across all SKUs in the group.
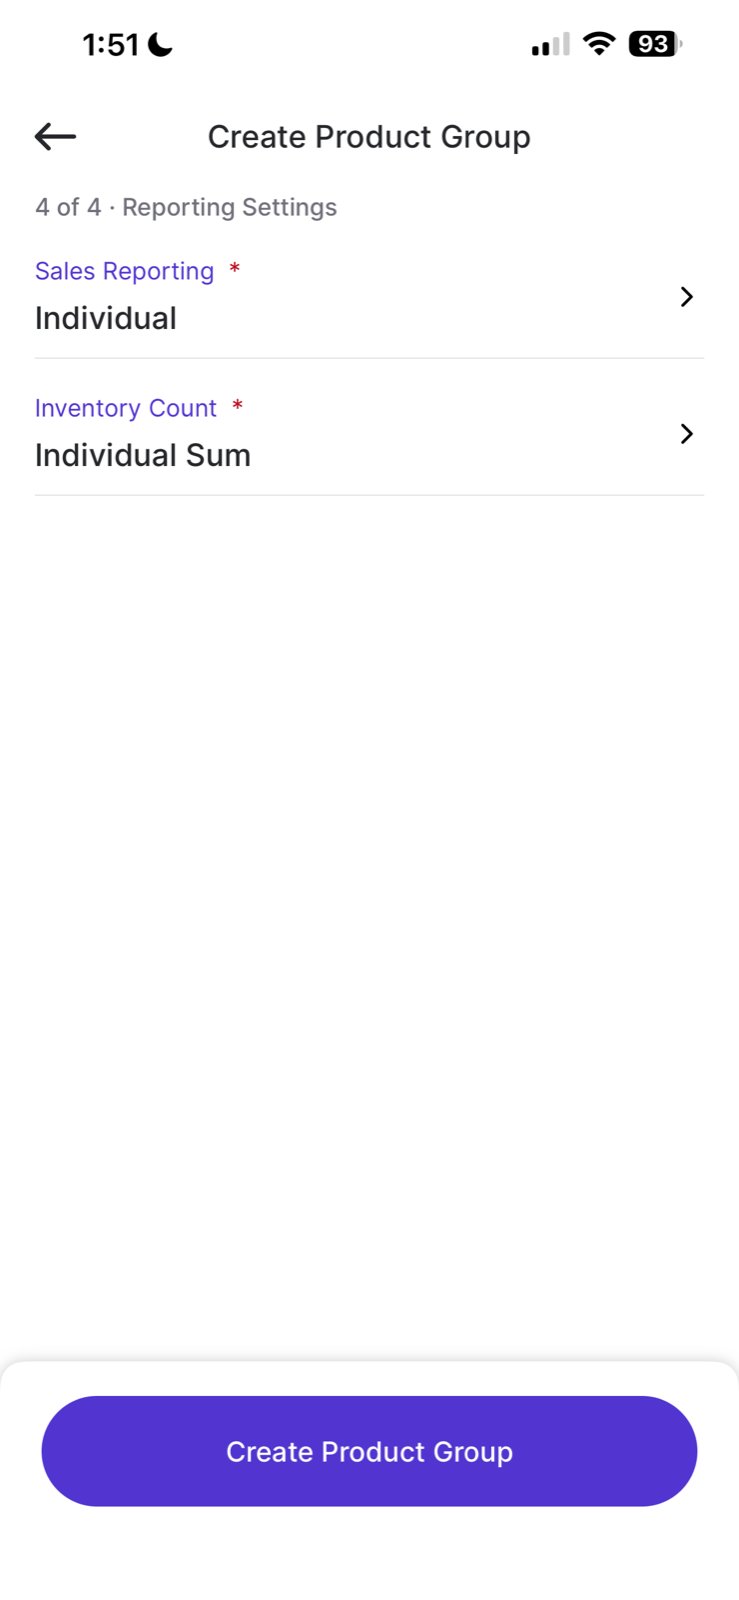
- Tap Create Product Group.
Understanding icons
When viewing a Product Details page on the handheld, pay attention to the icons next to specific attributes:- The link icon (🔗): Indicates the attribute is managed by a Product Group. Changing this value will update all other items in that group.
- The lock icon (🔒): Appears if an attribute is controlled at the Department or Sub-Department level.