

Where to Find Inventory Sessions
- Open the Vori operating system on your handheld.
- From the home screen, tap Inventory.
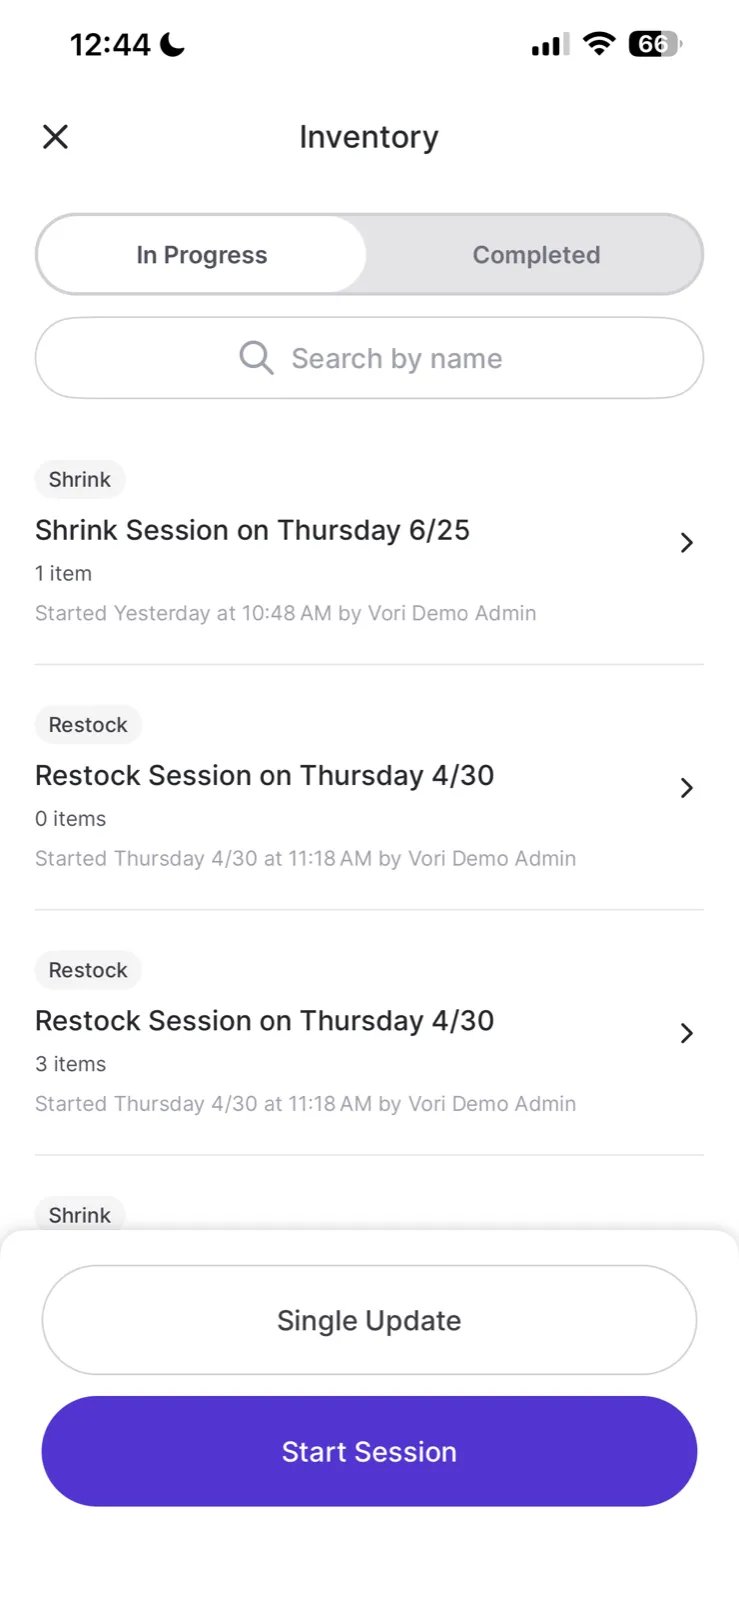
- The Inventory screen shows two tabs: In Progress and Completed.
Start a New Session
- From the Inventory screen, tap Start Session.
- Select a Mode for the session. (See Session Modes below.)
- Give the session a Name — a descriptive name makes it easier to find later.
- Tap Begin to start.
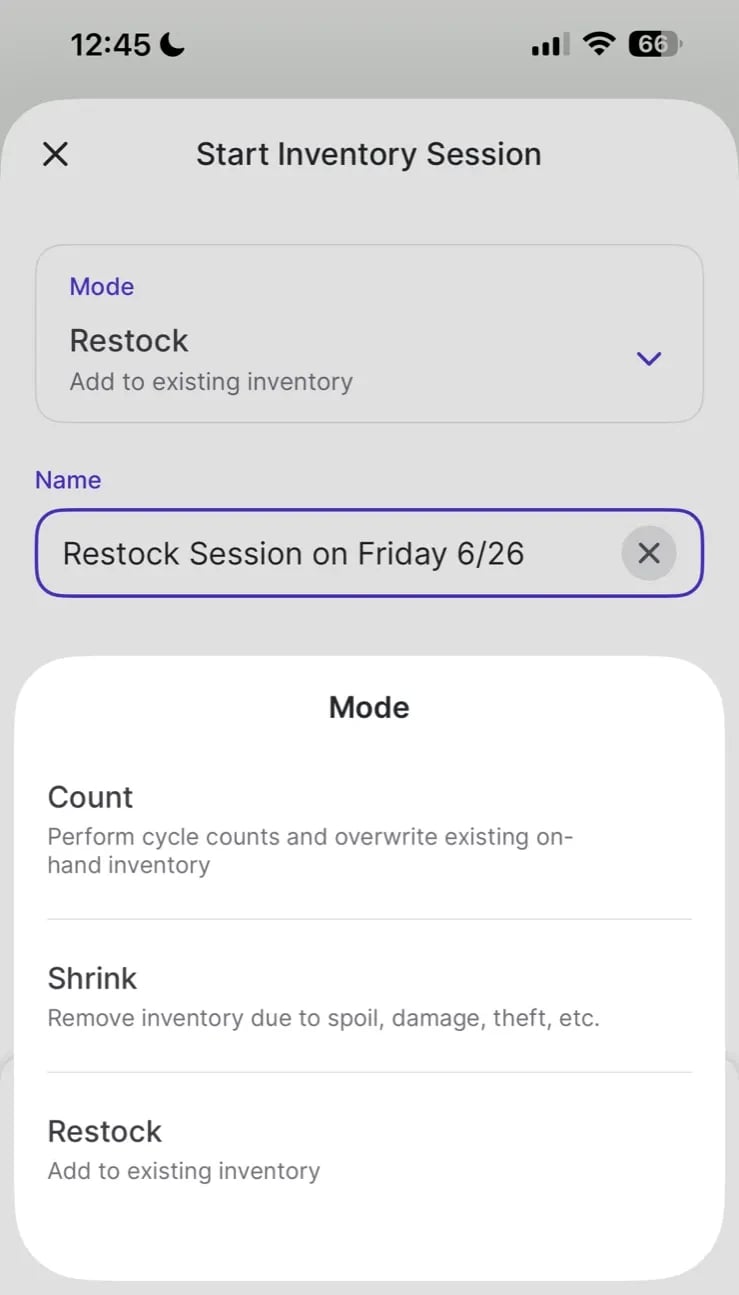
Session Modes
Rename a Session
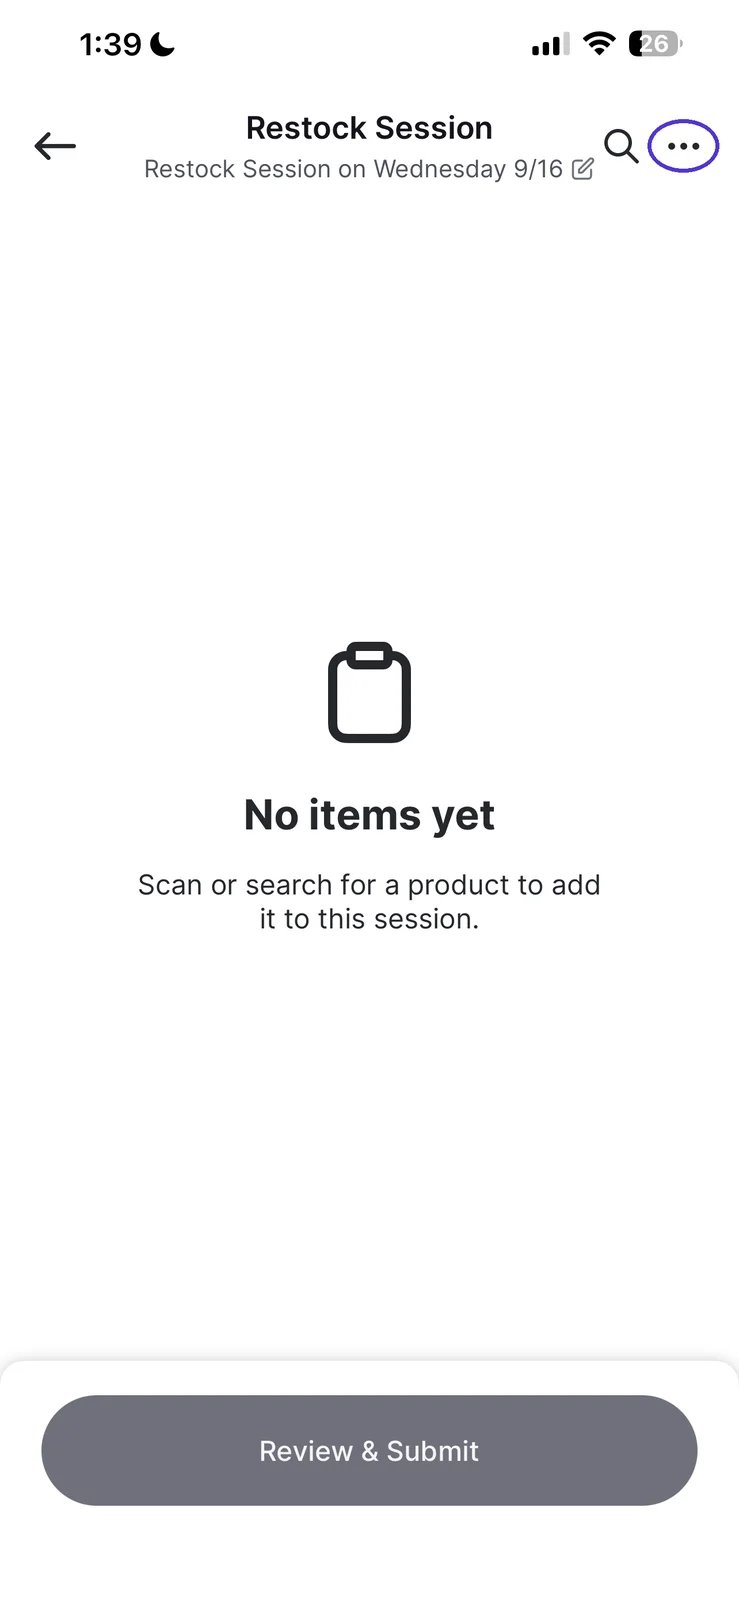
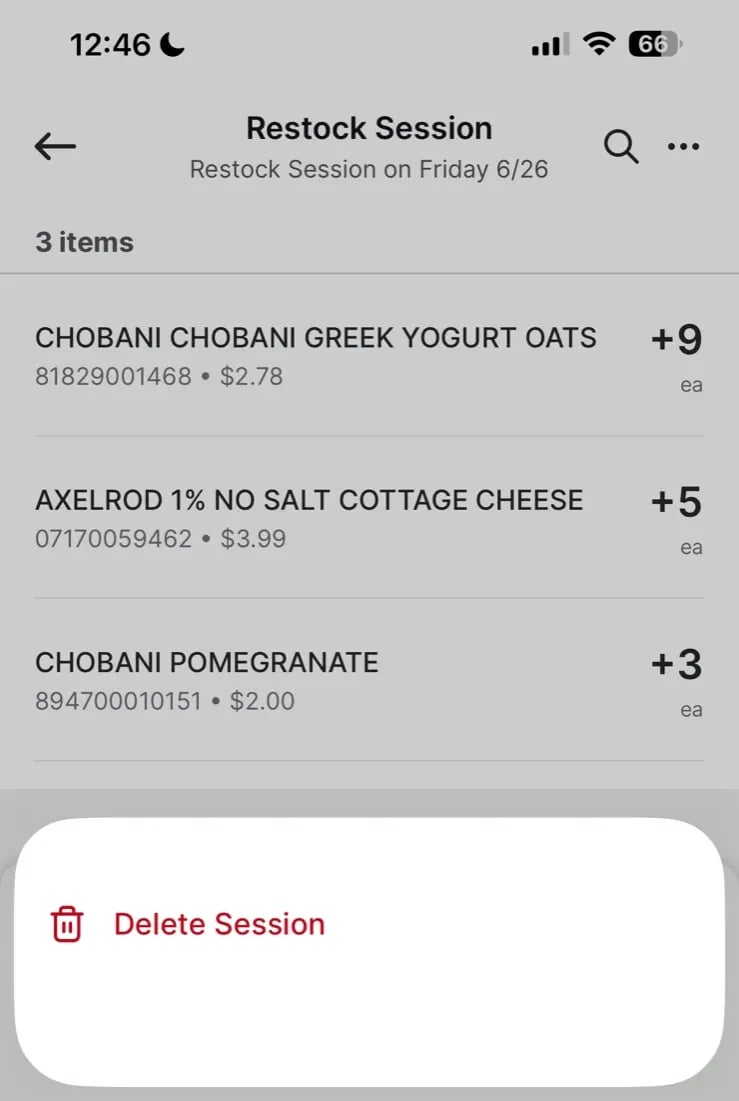
You can rename an open session at any time — you don’t need to get the name right when you start it.- From the open session screen, tap the ••• icon in the top right corner.
- Tap Rename Session.
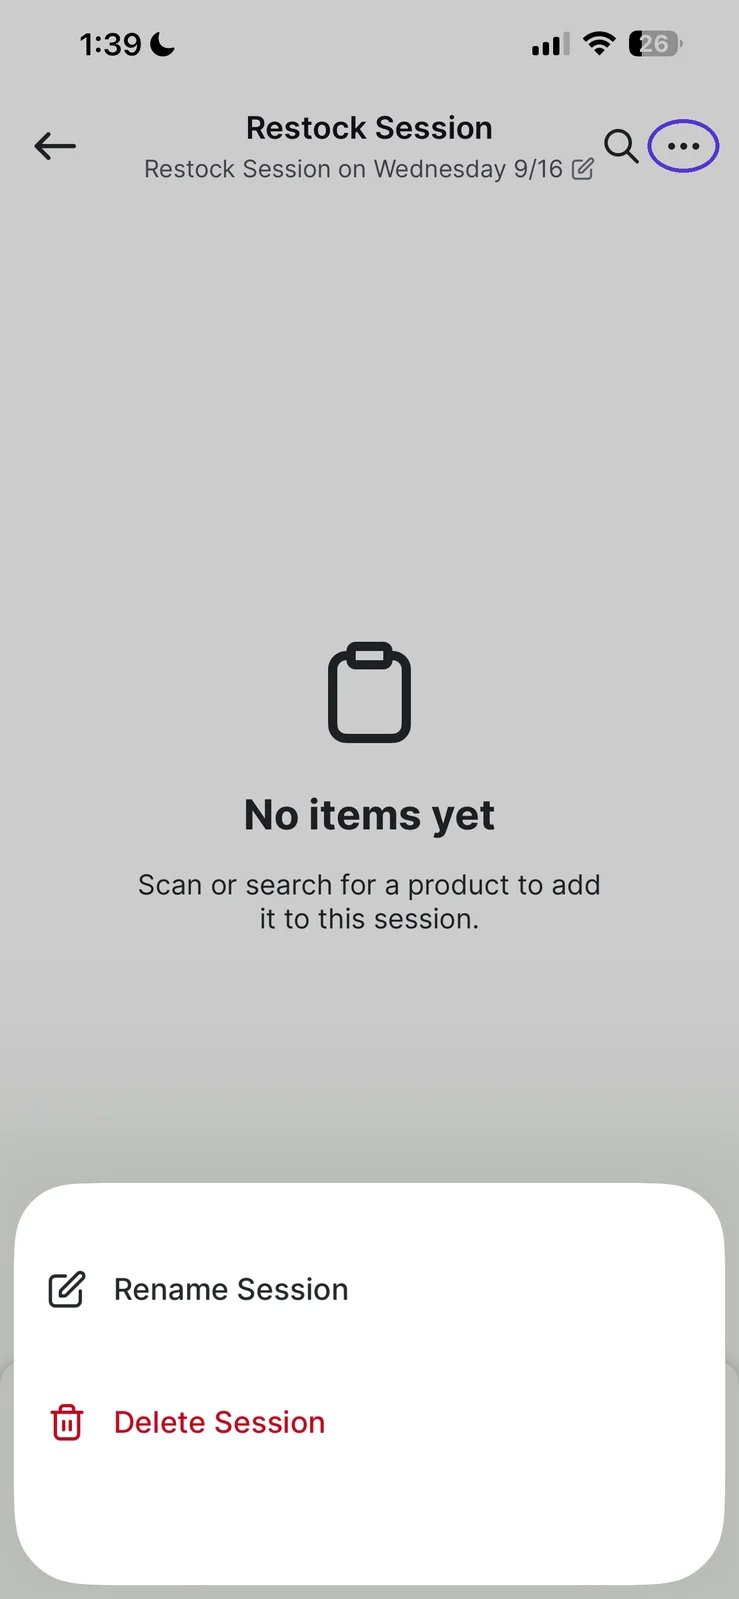
- Enter the new name and save.
Add Items to Your Session
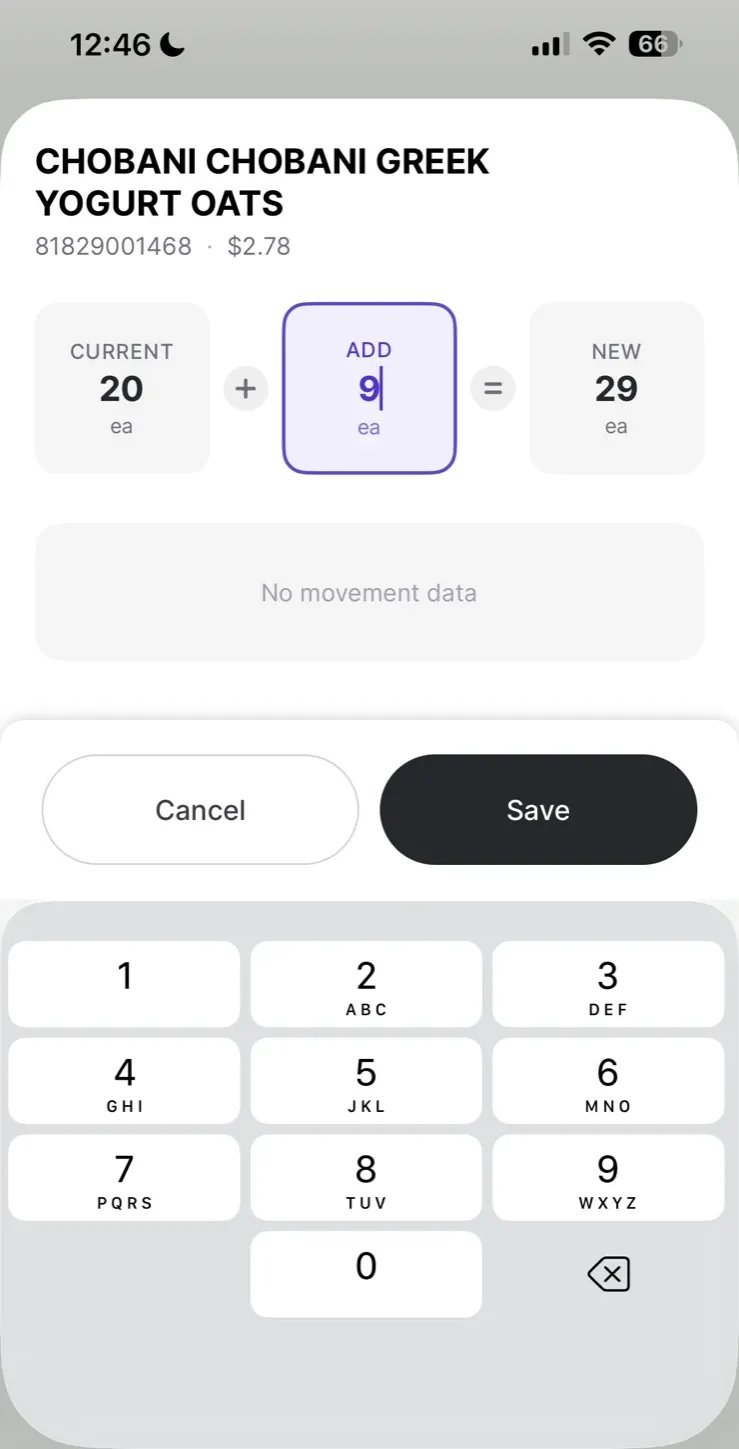
Once your session is open, you can add items in two ways: Scan an item barcode — point the handheld’s camera at a product’s barcode to add it instantly. Search for an item — tap the search icon (🔍) in the top right to search by product name. Items already added to the session are marked In Session so you can spot them at a glance.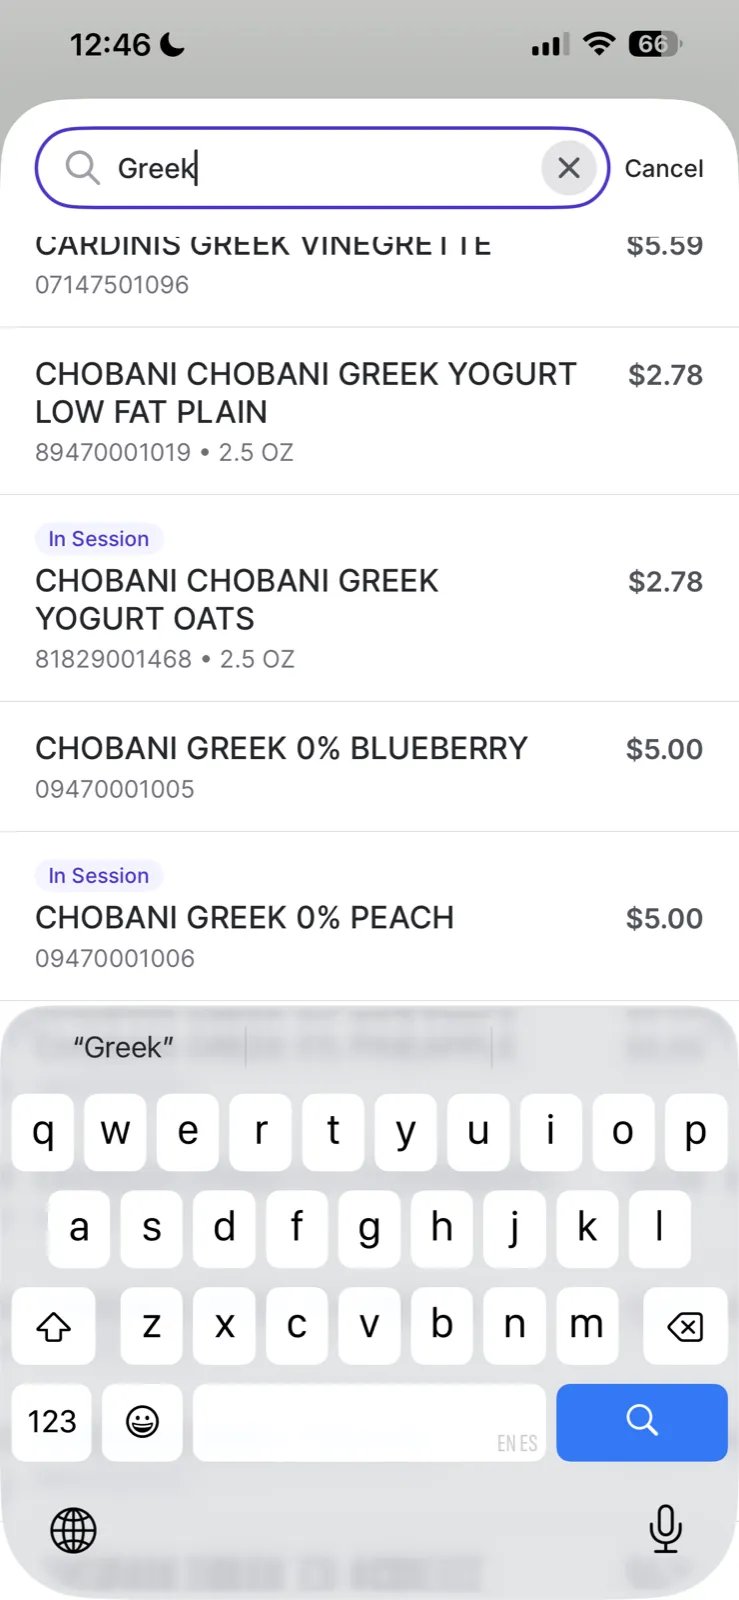
Review and Submit Your Session
When you’re done adding items, tap Submit and Review. You’ll see a summary of the session:- Mode (Count, Shrink, or Restock)
- Started by — the user who opened the session
- Items — total number of products included
- Departments — breakdown of which departments are affected
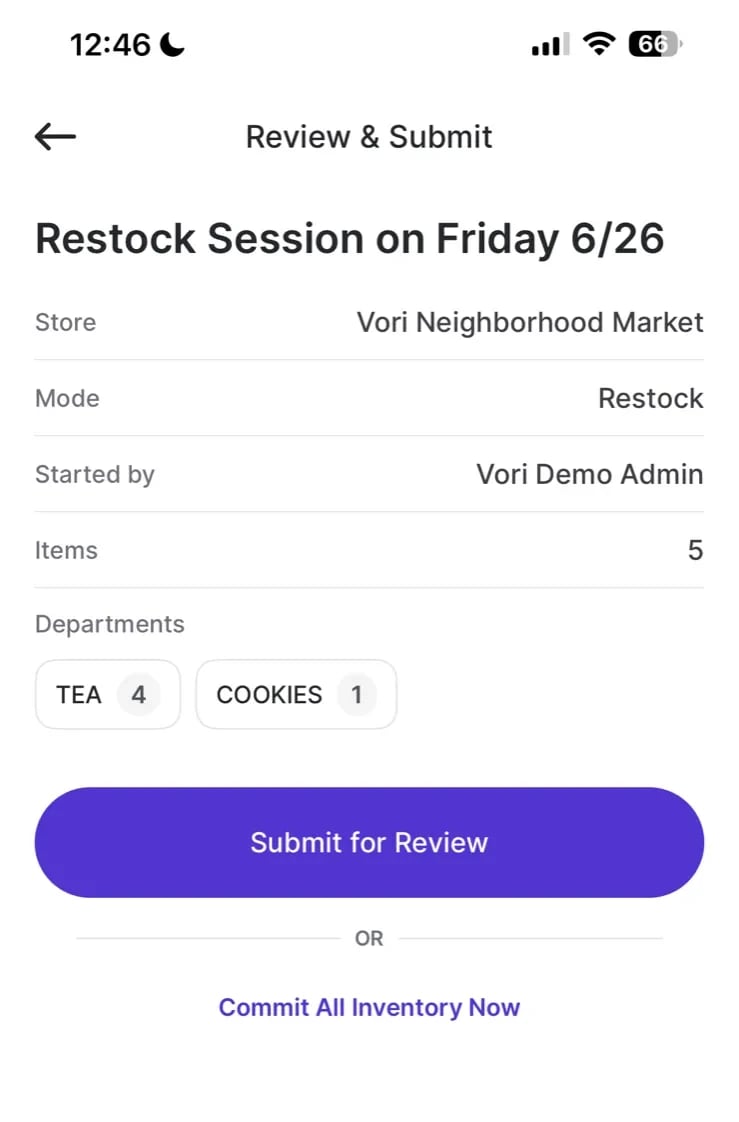
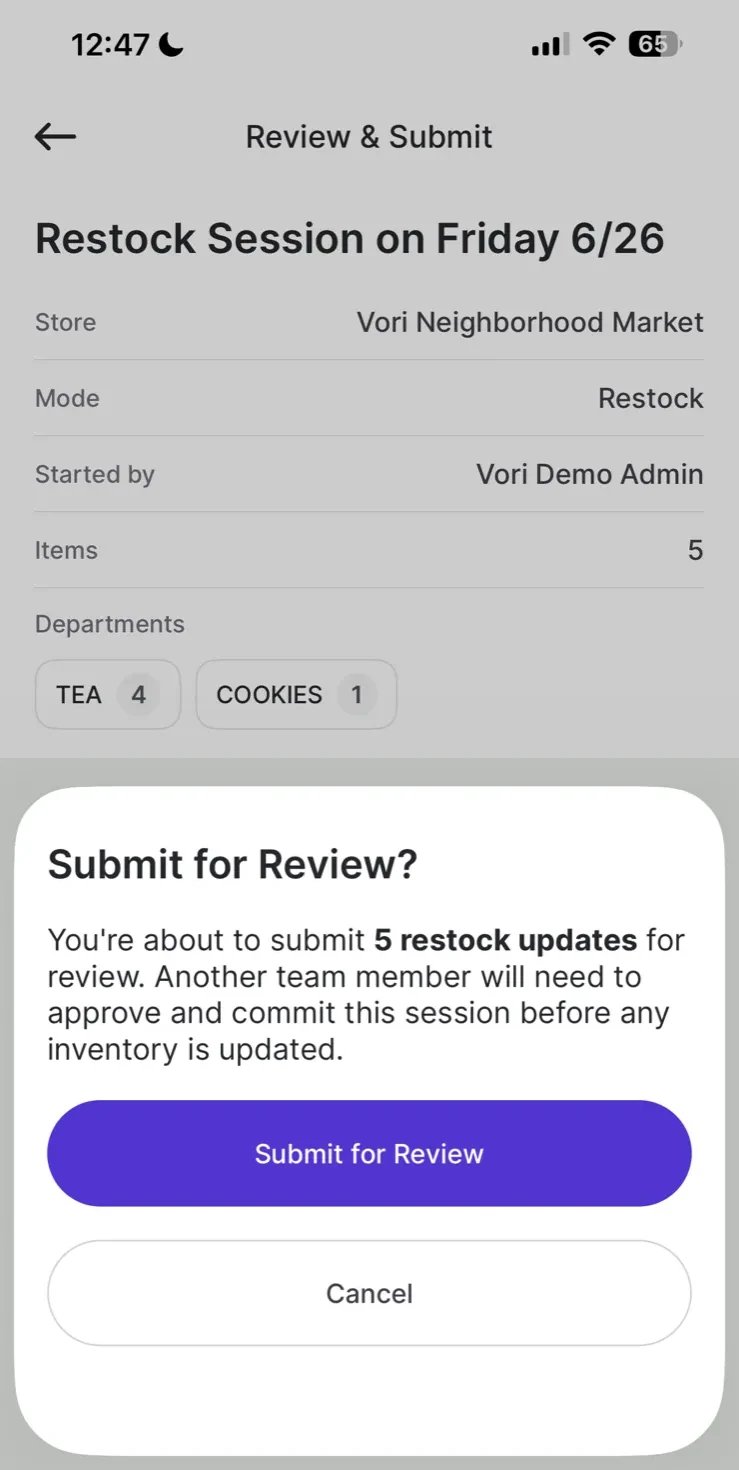
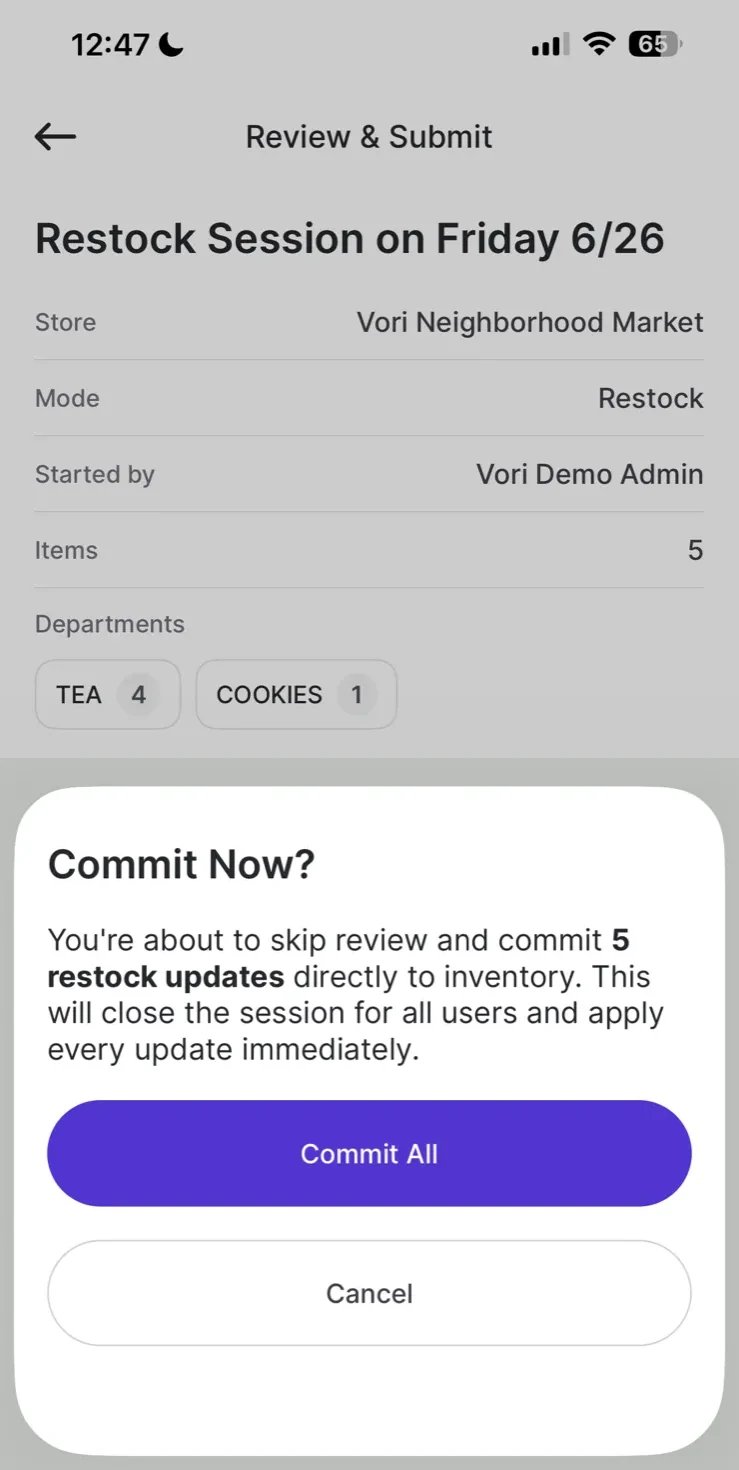
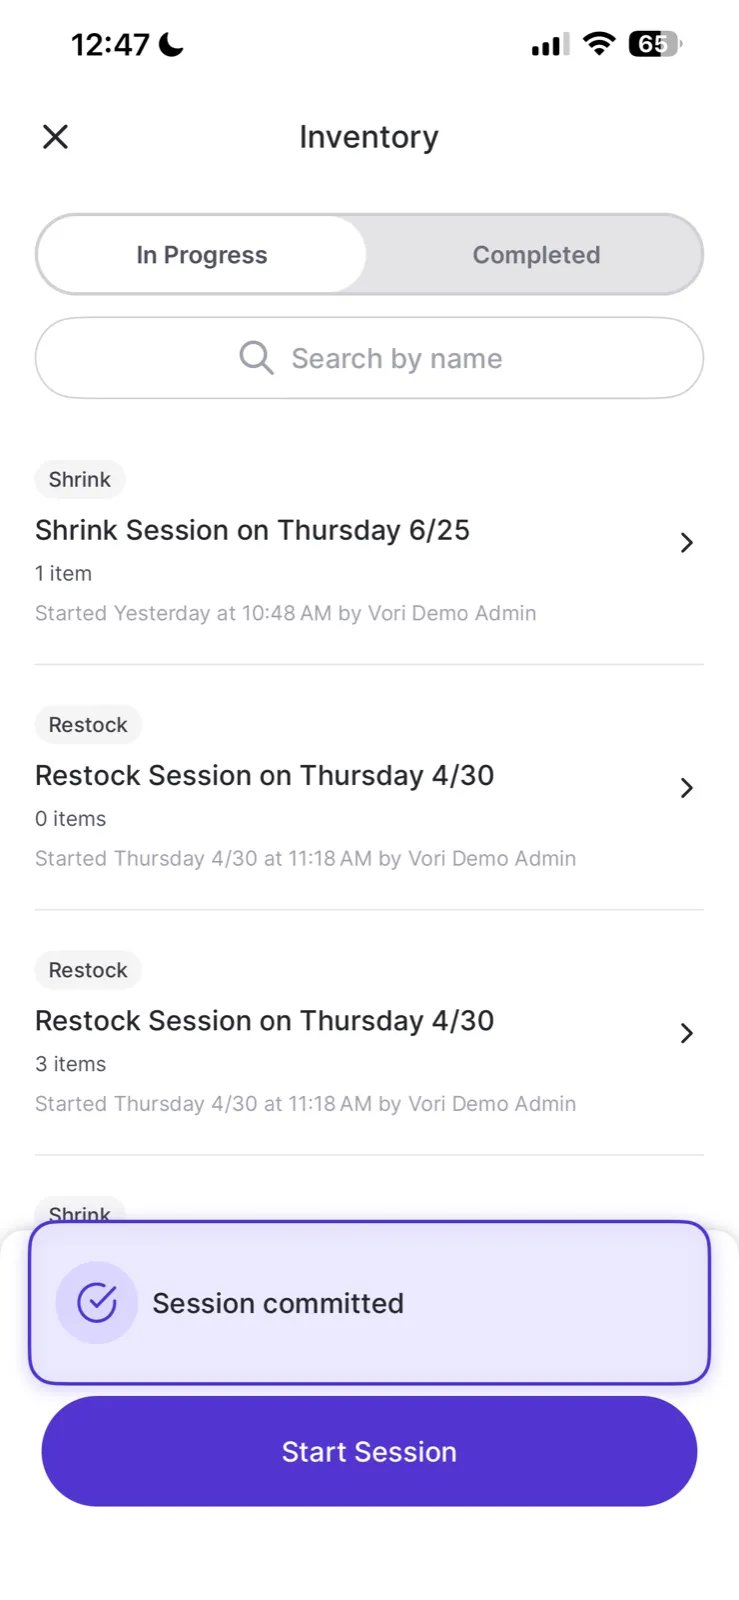
If a manager has turned on Require review for this session type (see Choose Which Session Types Require Review below), tapping Commit all inventory now shows a This session needs review alert instead of committing. Tap Submit for Review to send the session to the Back Office, where a manager can review and commit it.
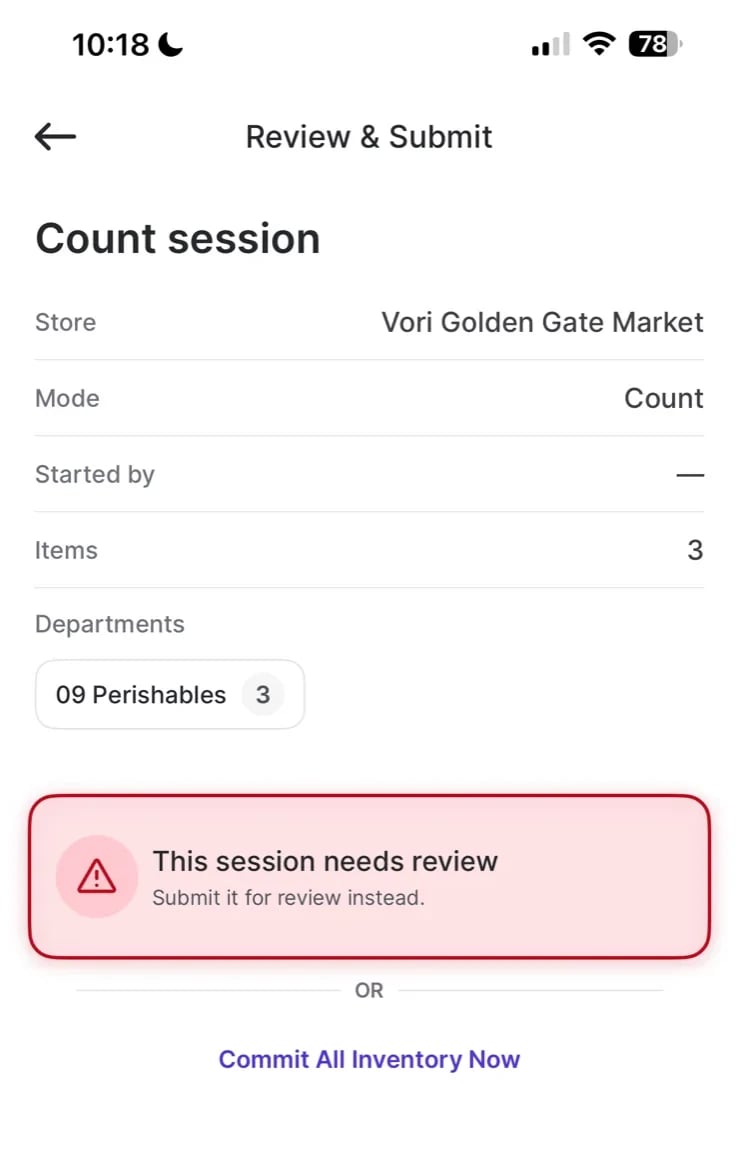
Choose Which Session Types Require Review
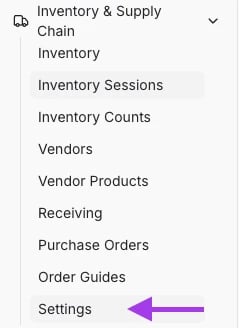
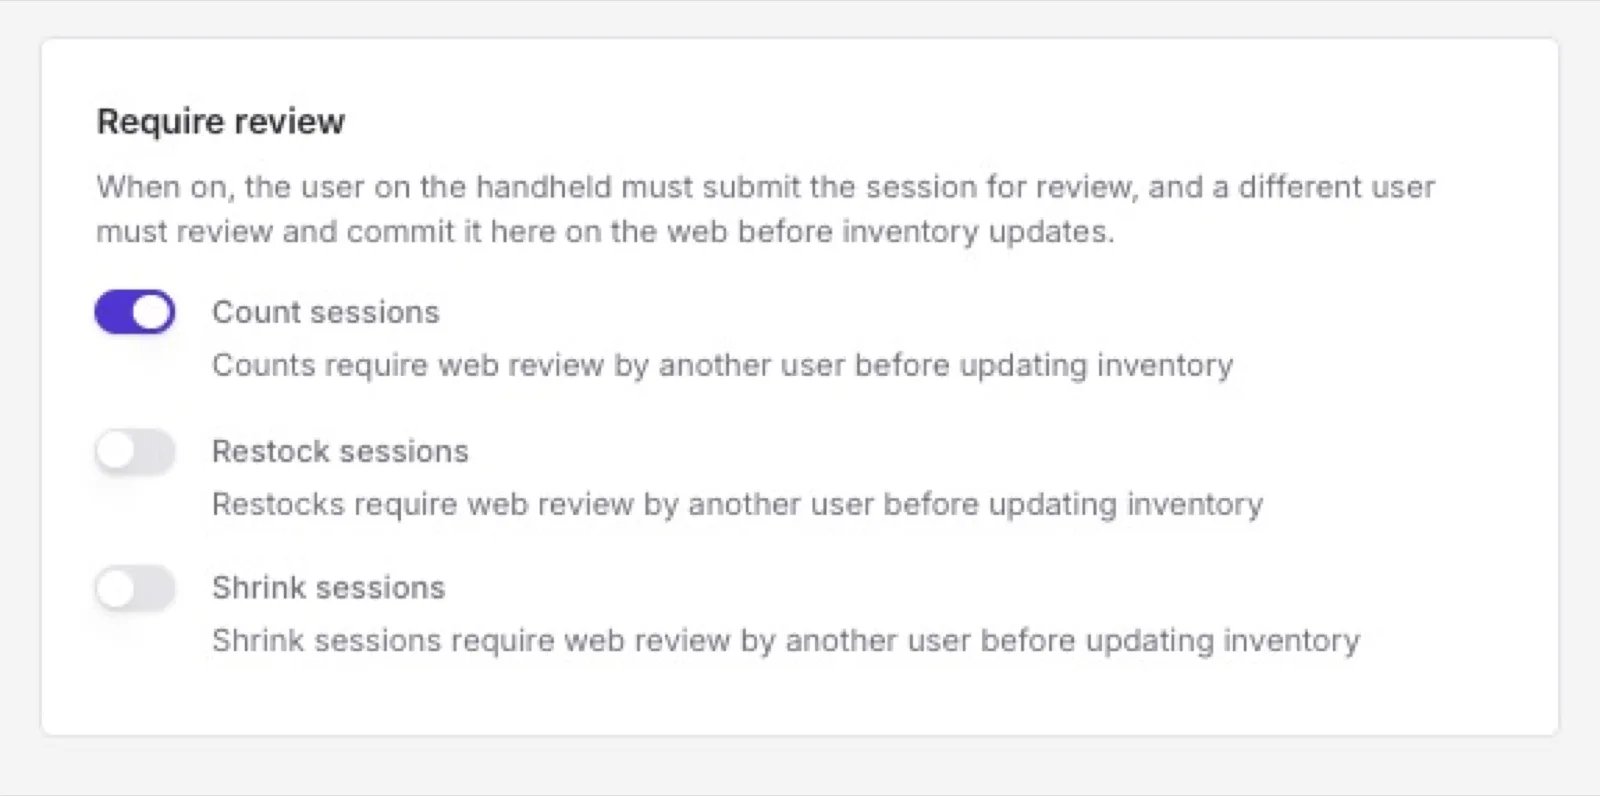
By default, anyone can commit a session directly from the handheld without a second person reviewing it first. To require review for certain session types, turn on Require review for that type in the Back Office.- In the Back Office, go to Inventory & Supply Chain → Settings.
- Under Require review, turn on the toggle for each session type — Count sessions, Restock sessions, Shrink sessions — that should require review before inventory updates.
Review Sessions in the Back Office
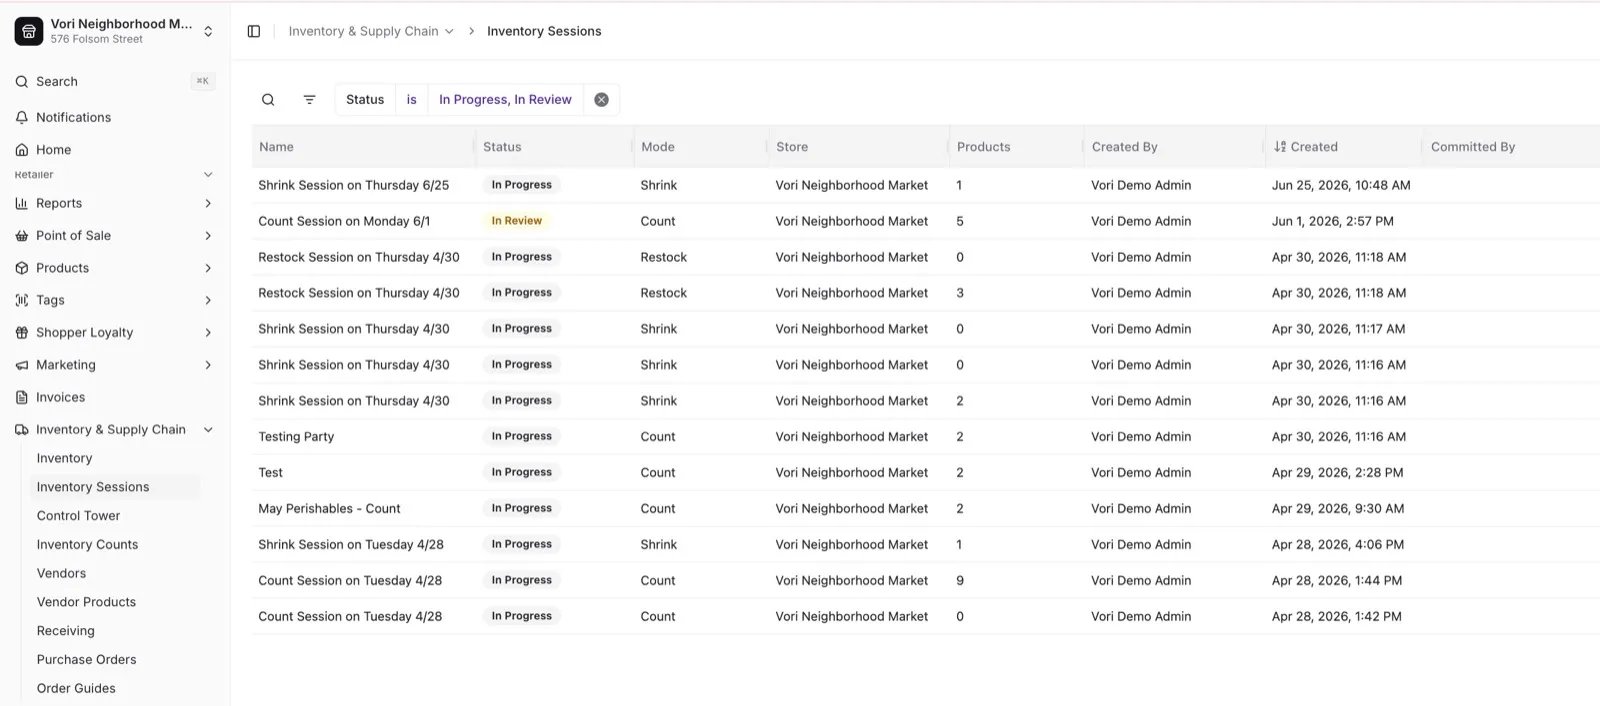
If a session was submitted for review, a manager can open it in the Back Office to inspect the changes before committing.- In the Back Office, go to Inventory & Supply Chain → Inventory Sessions.
- Find the session — sessions submitted for review show the status In Review.
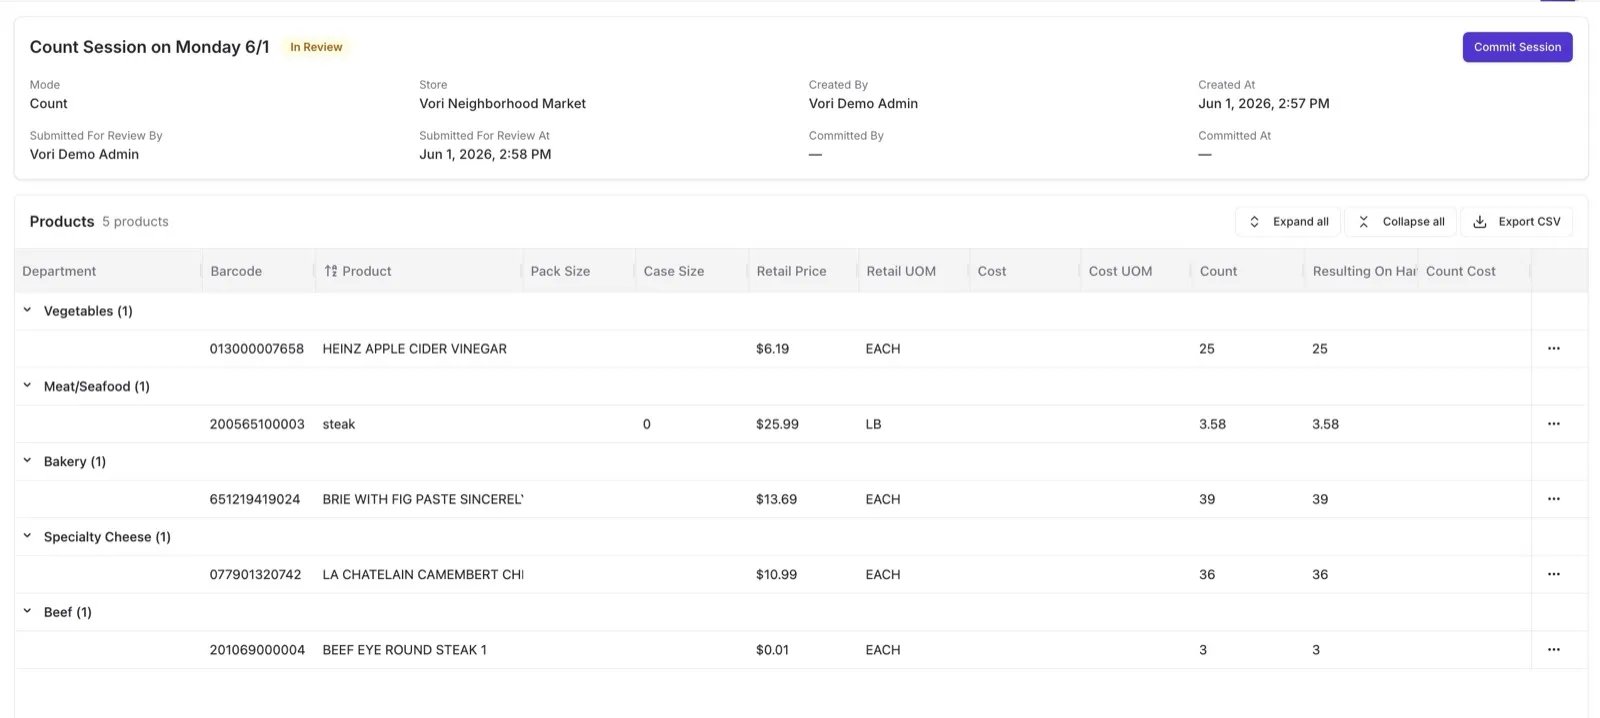
- Click into the session to see a full product table: department, barcode, product name, quantity entered, and the resulting on-hand count.
- When everything looks right, click Commit Session to apply the inventory changes.
Only one person needs to commit a session. Once committed, the session closes and inventory updates immediately across the system.