Start Date Check
-
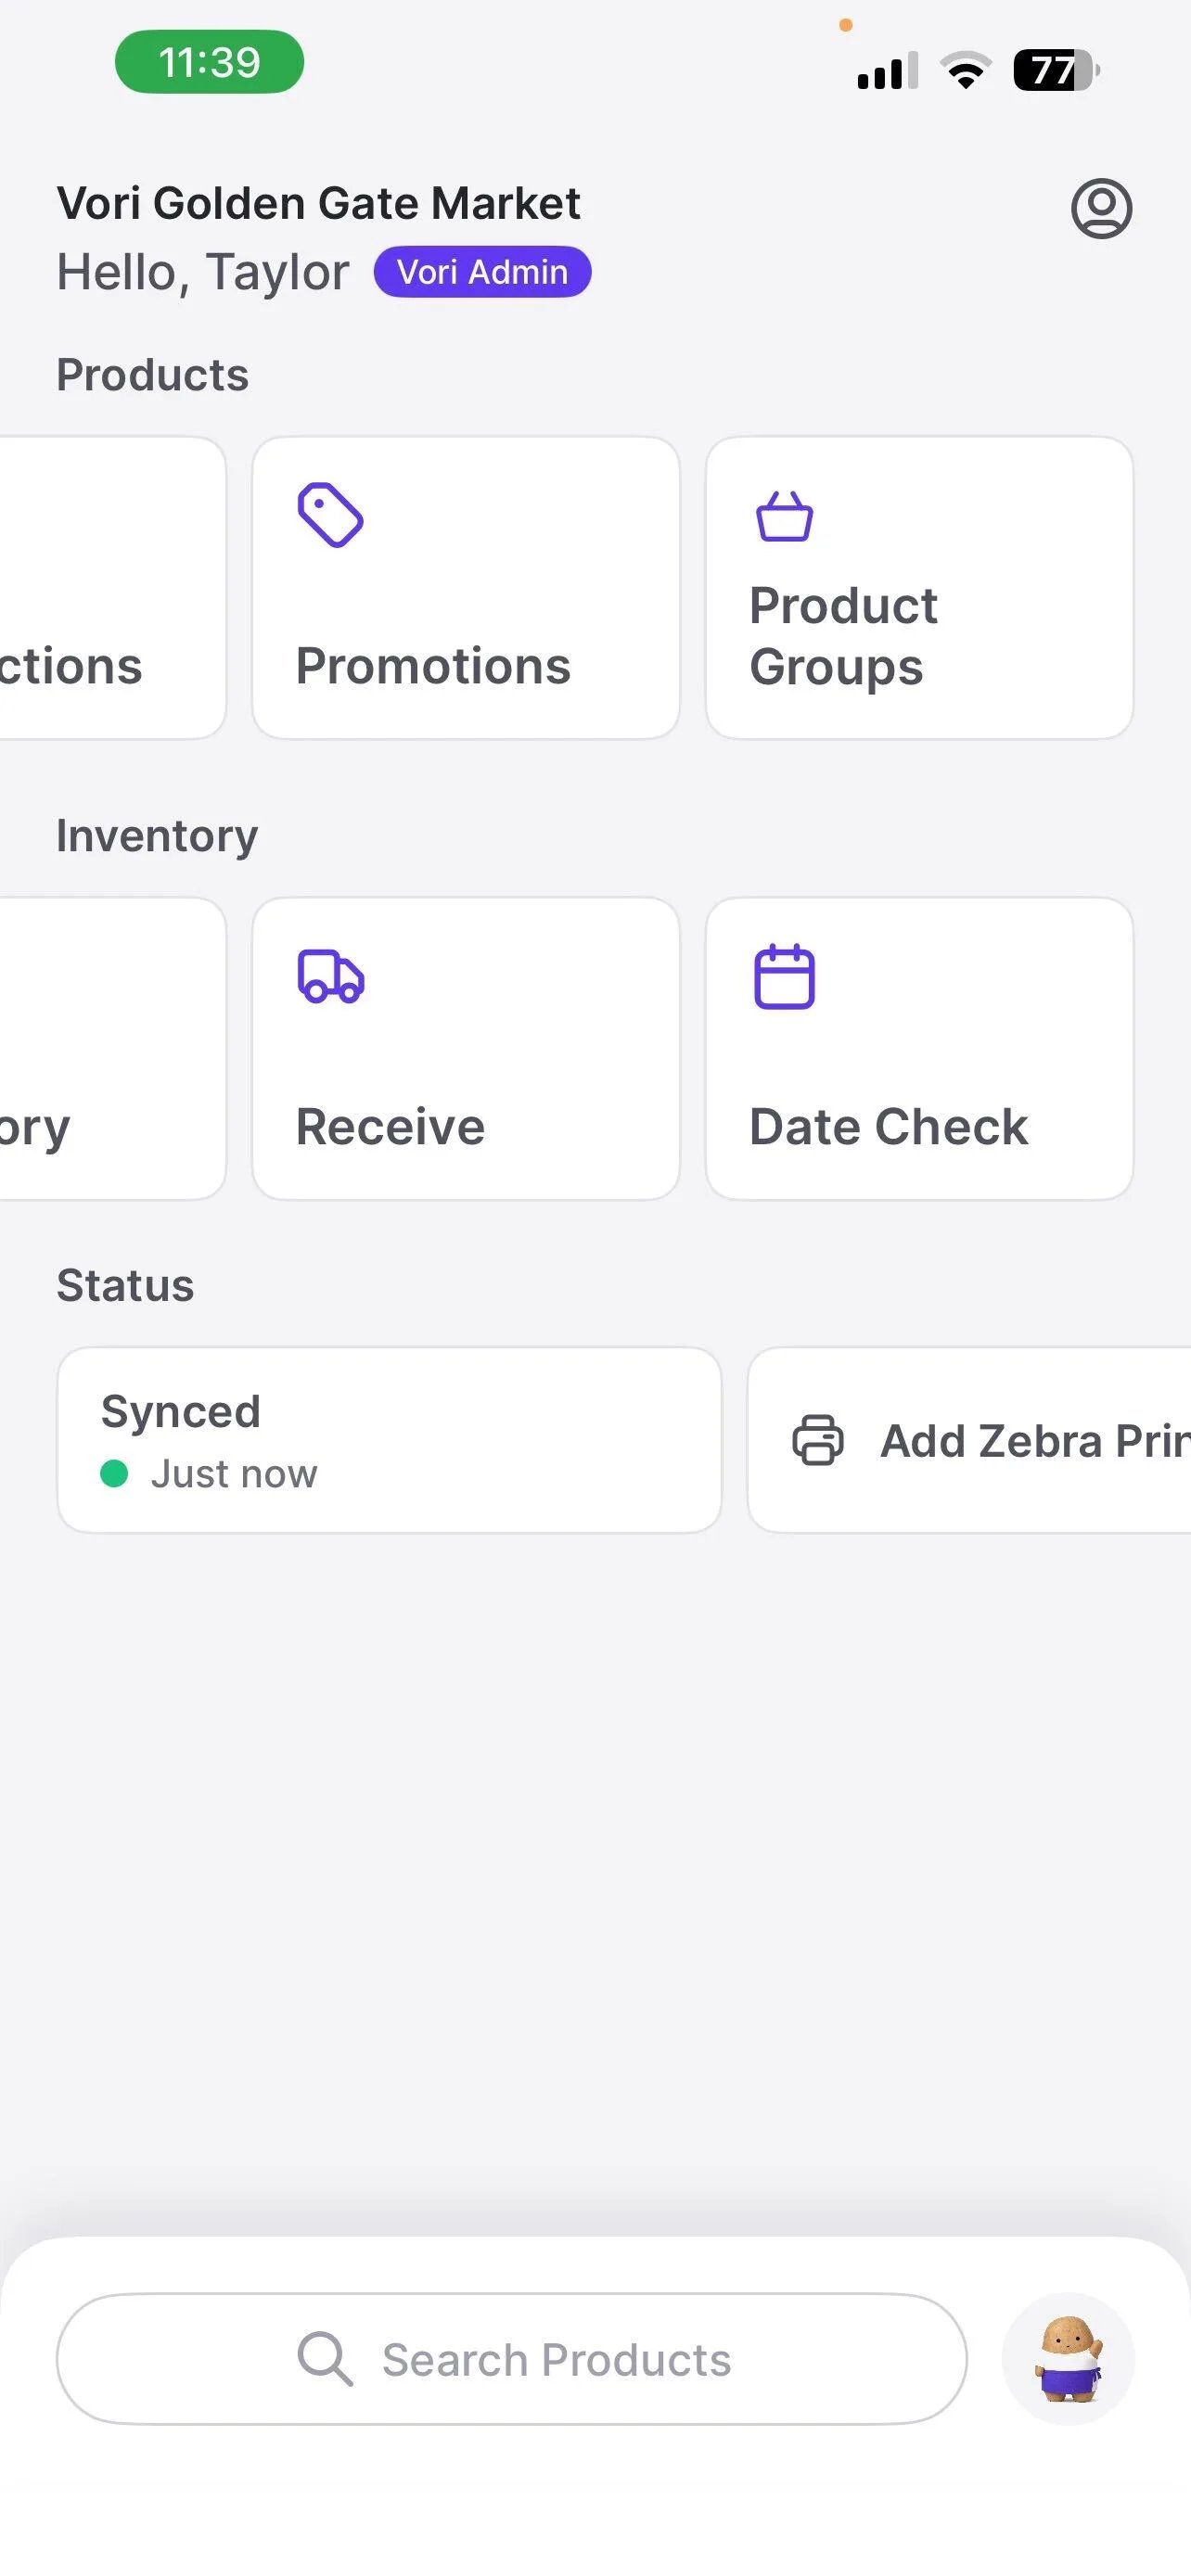
From the VoriOS home screen, tap Date Check under Inventory.
- Scan a product’s barcode, or search for it by name.
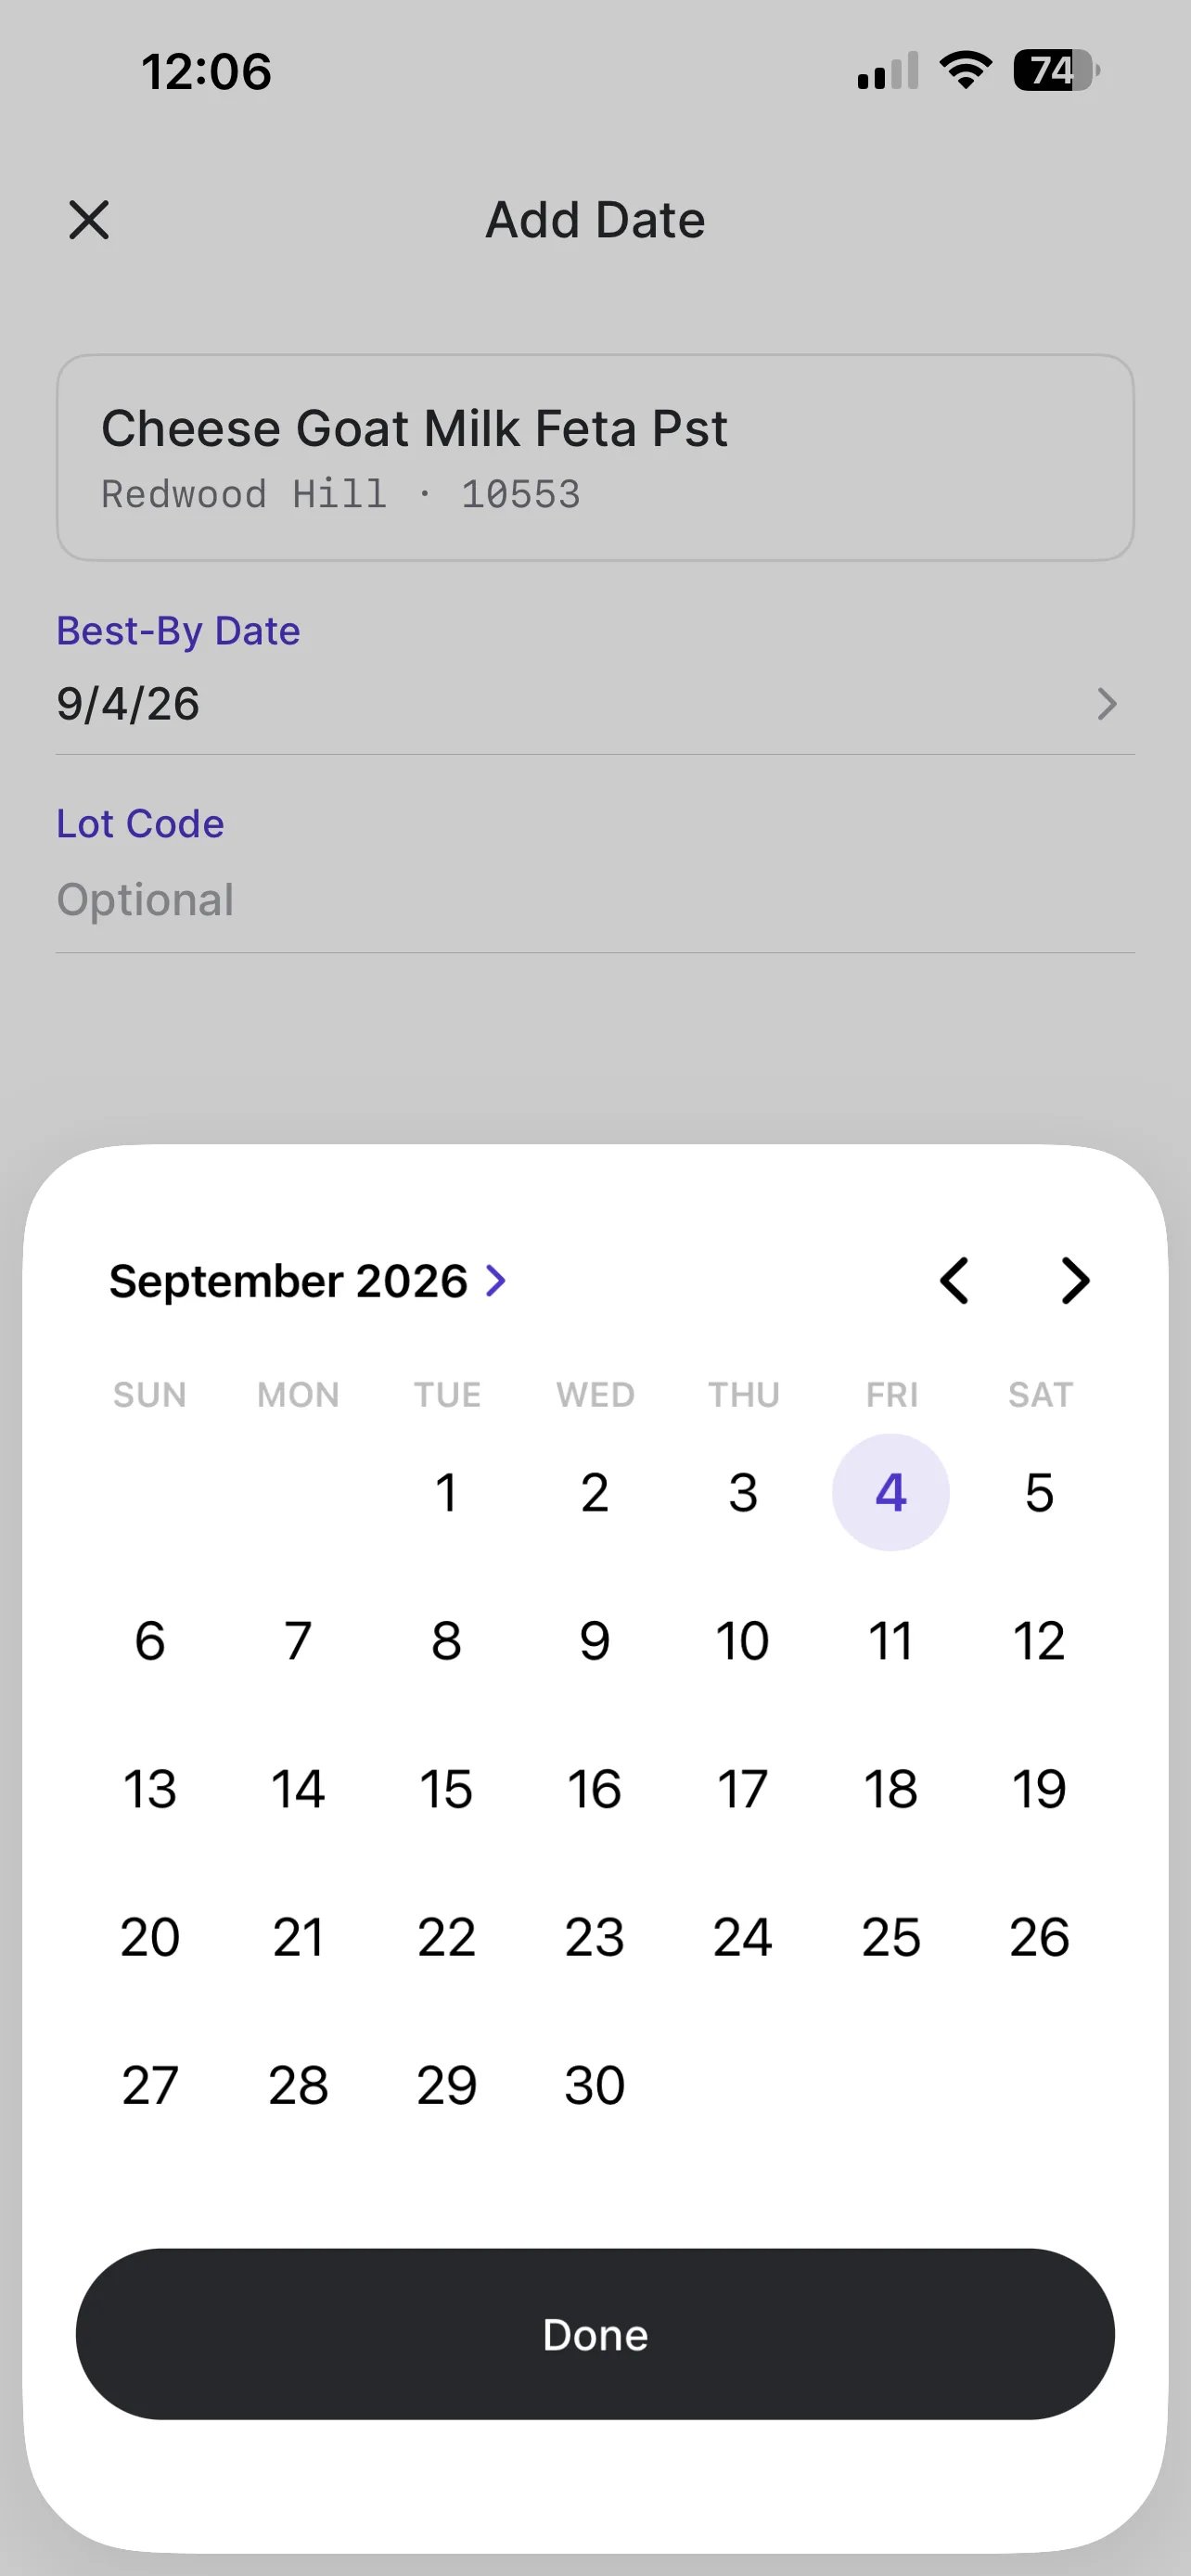
- Enter the Best-By Date for that item.
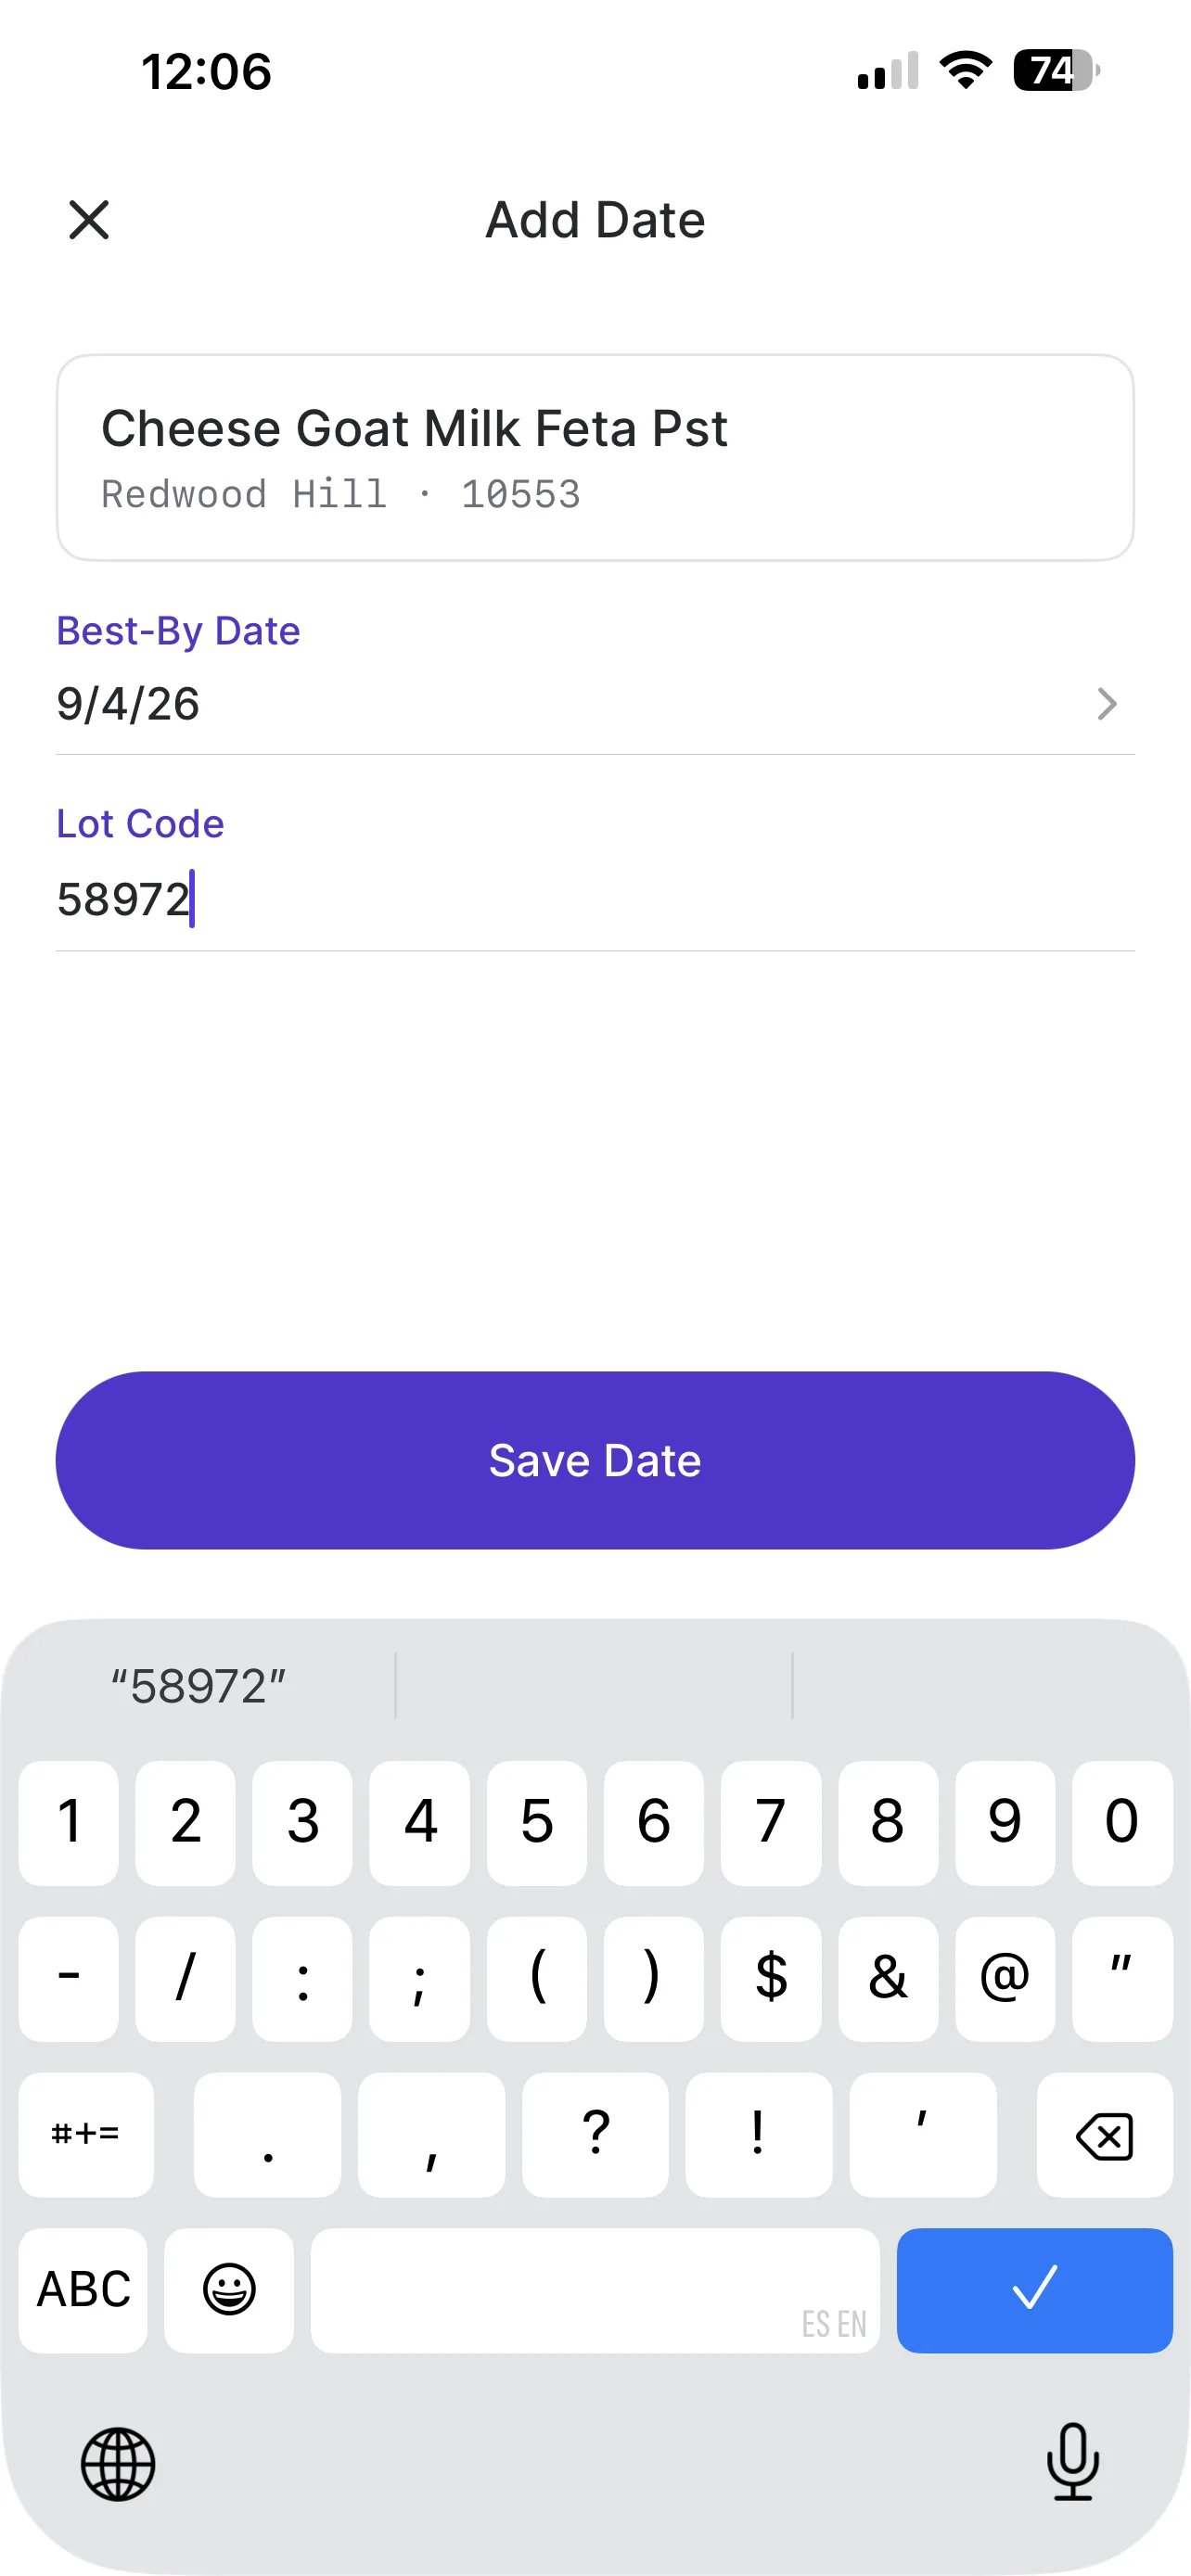
- Optionally, add a Lot Code to distinguish this batch from others of the same product.
-
Tap Save Date.
You can track more than one date for the same product — useful when you’ve got items from different shipments on the shelf at once. Scan the barcode again to add another date; Date Check keeps each one separate until it’s resolved.
How Date Check Sorts Your List
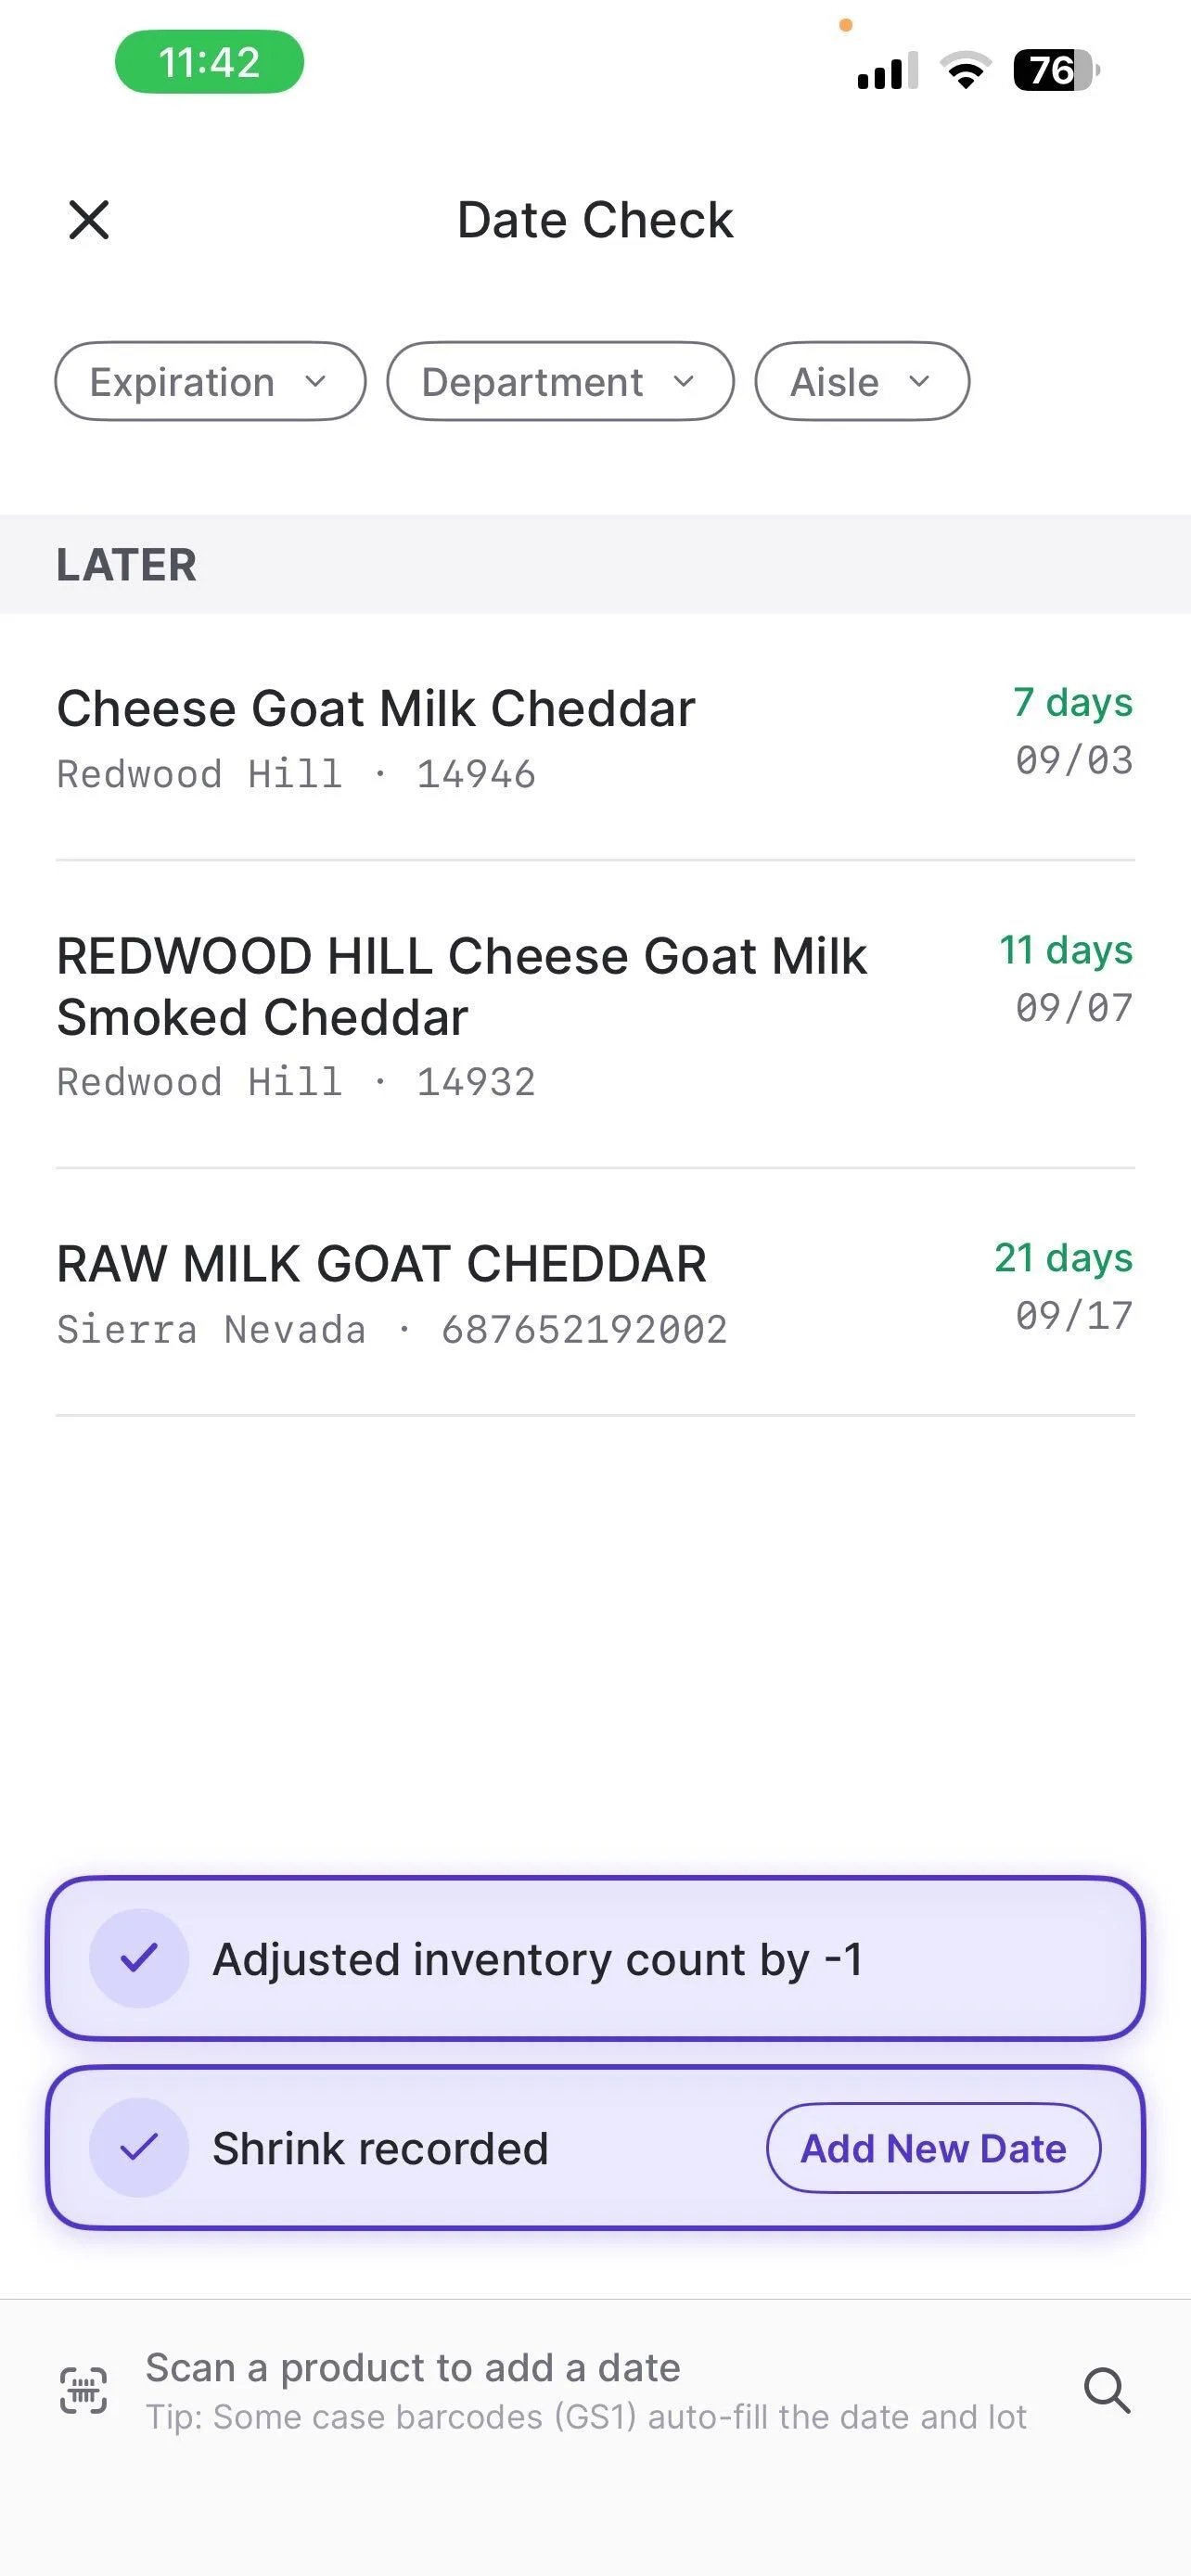
Every item you add is grouped automatically:- Expiring Soon — under 7 days until the Best-By Date
- Later — 7 days or more out
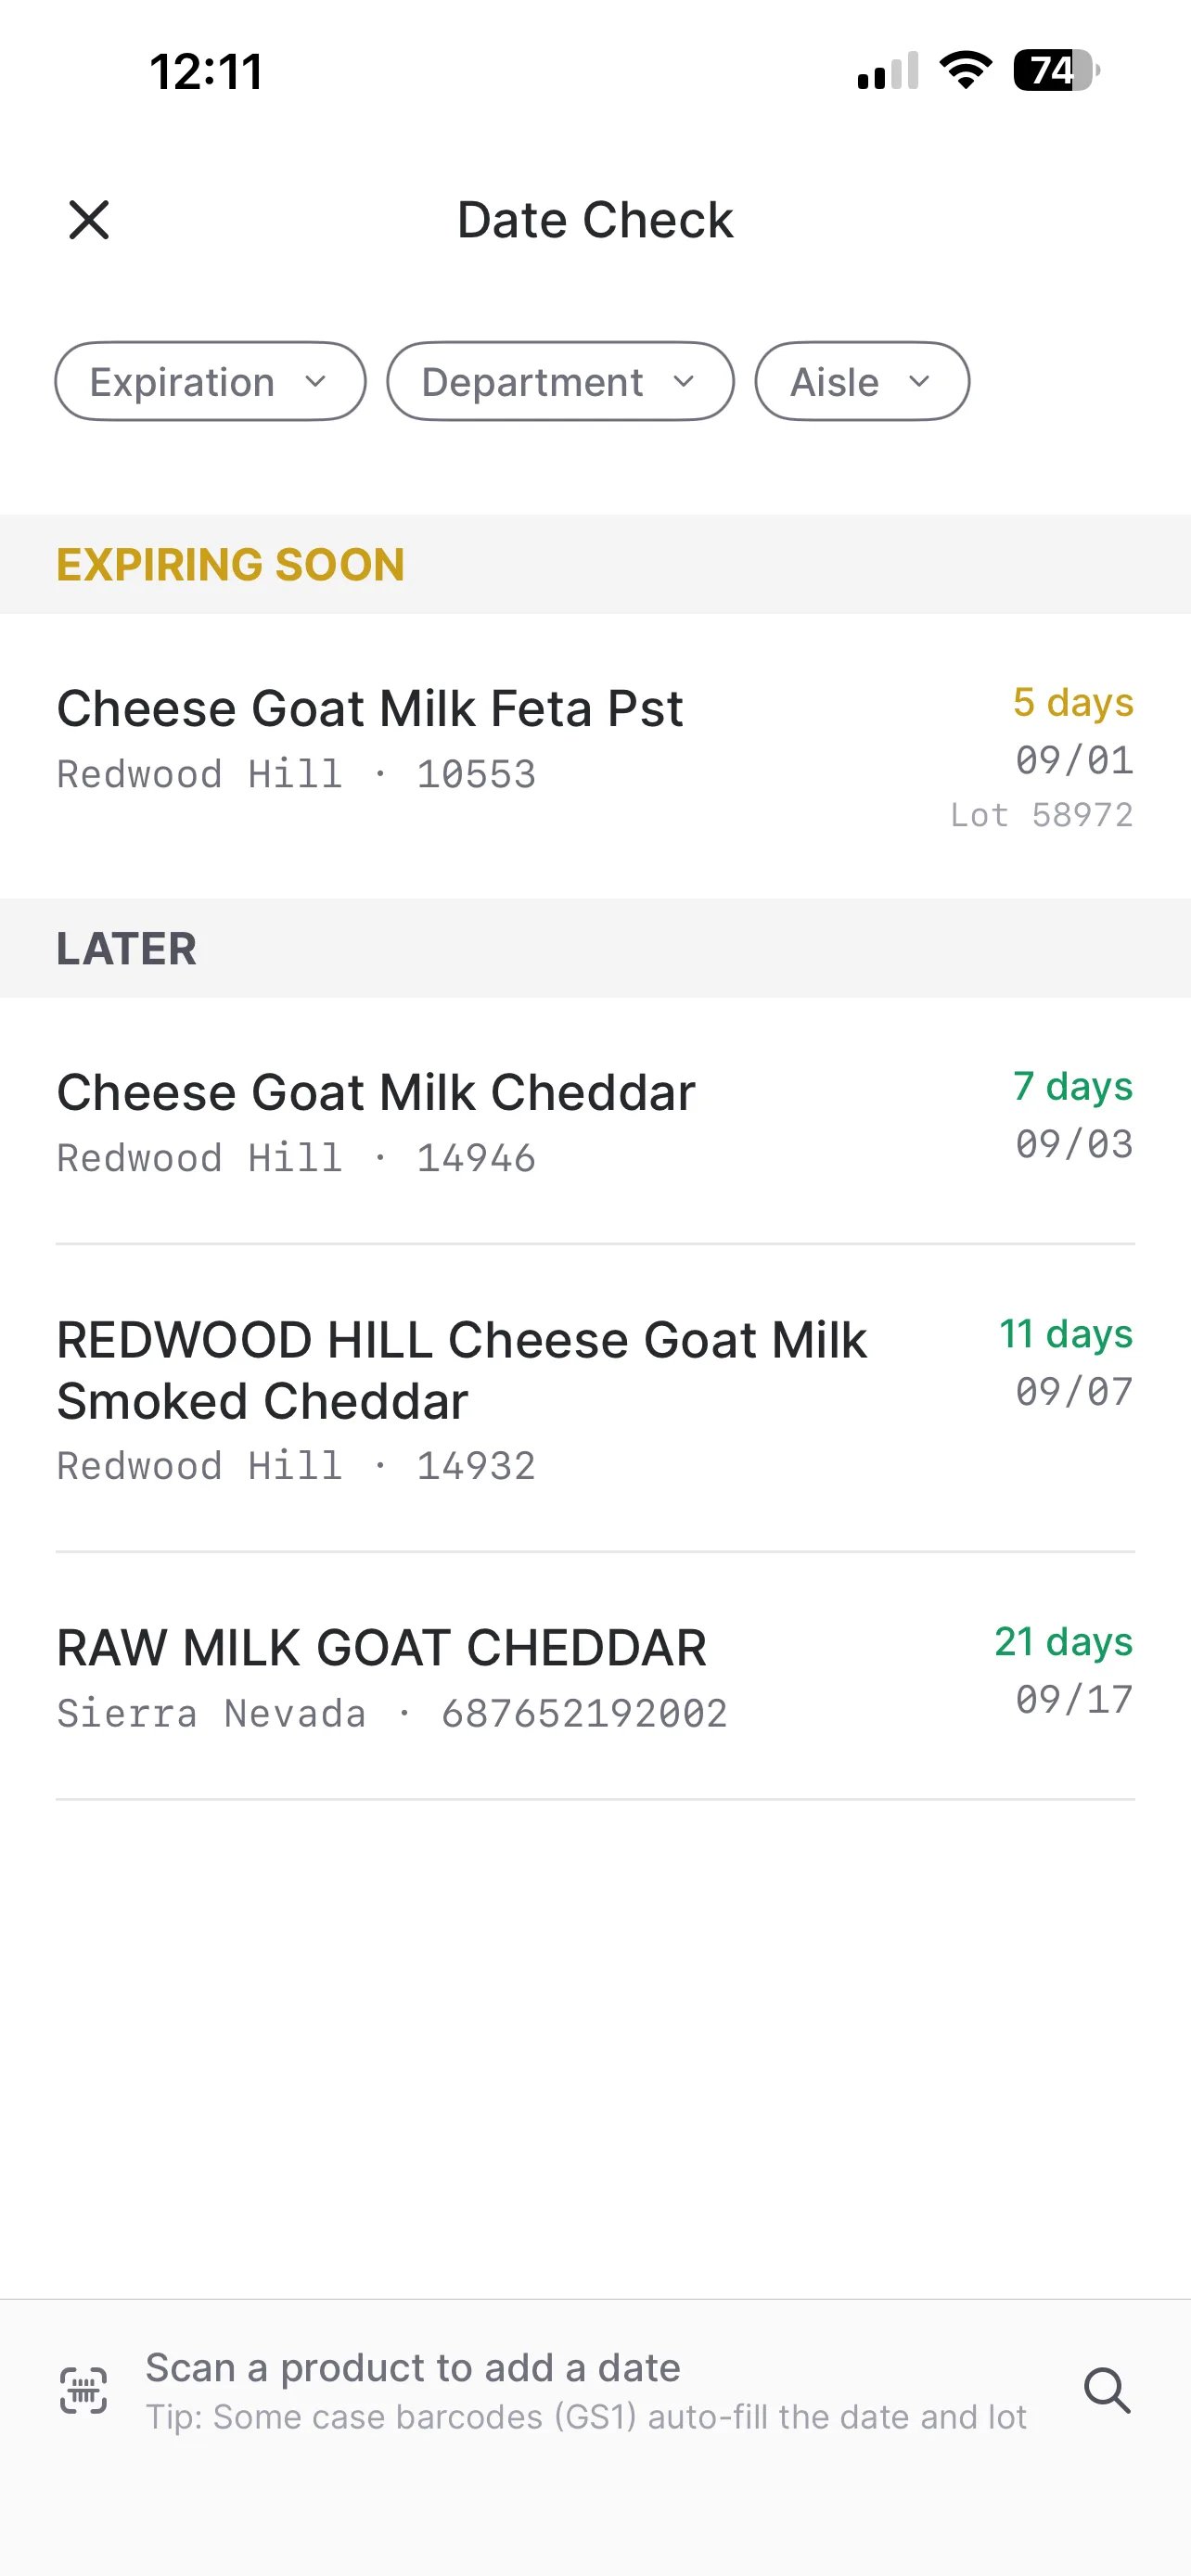
Filter and Sort Your List
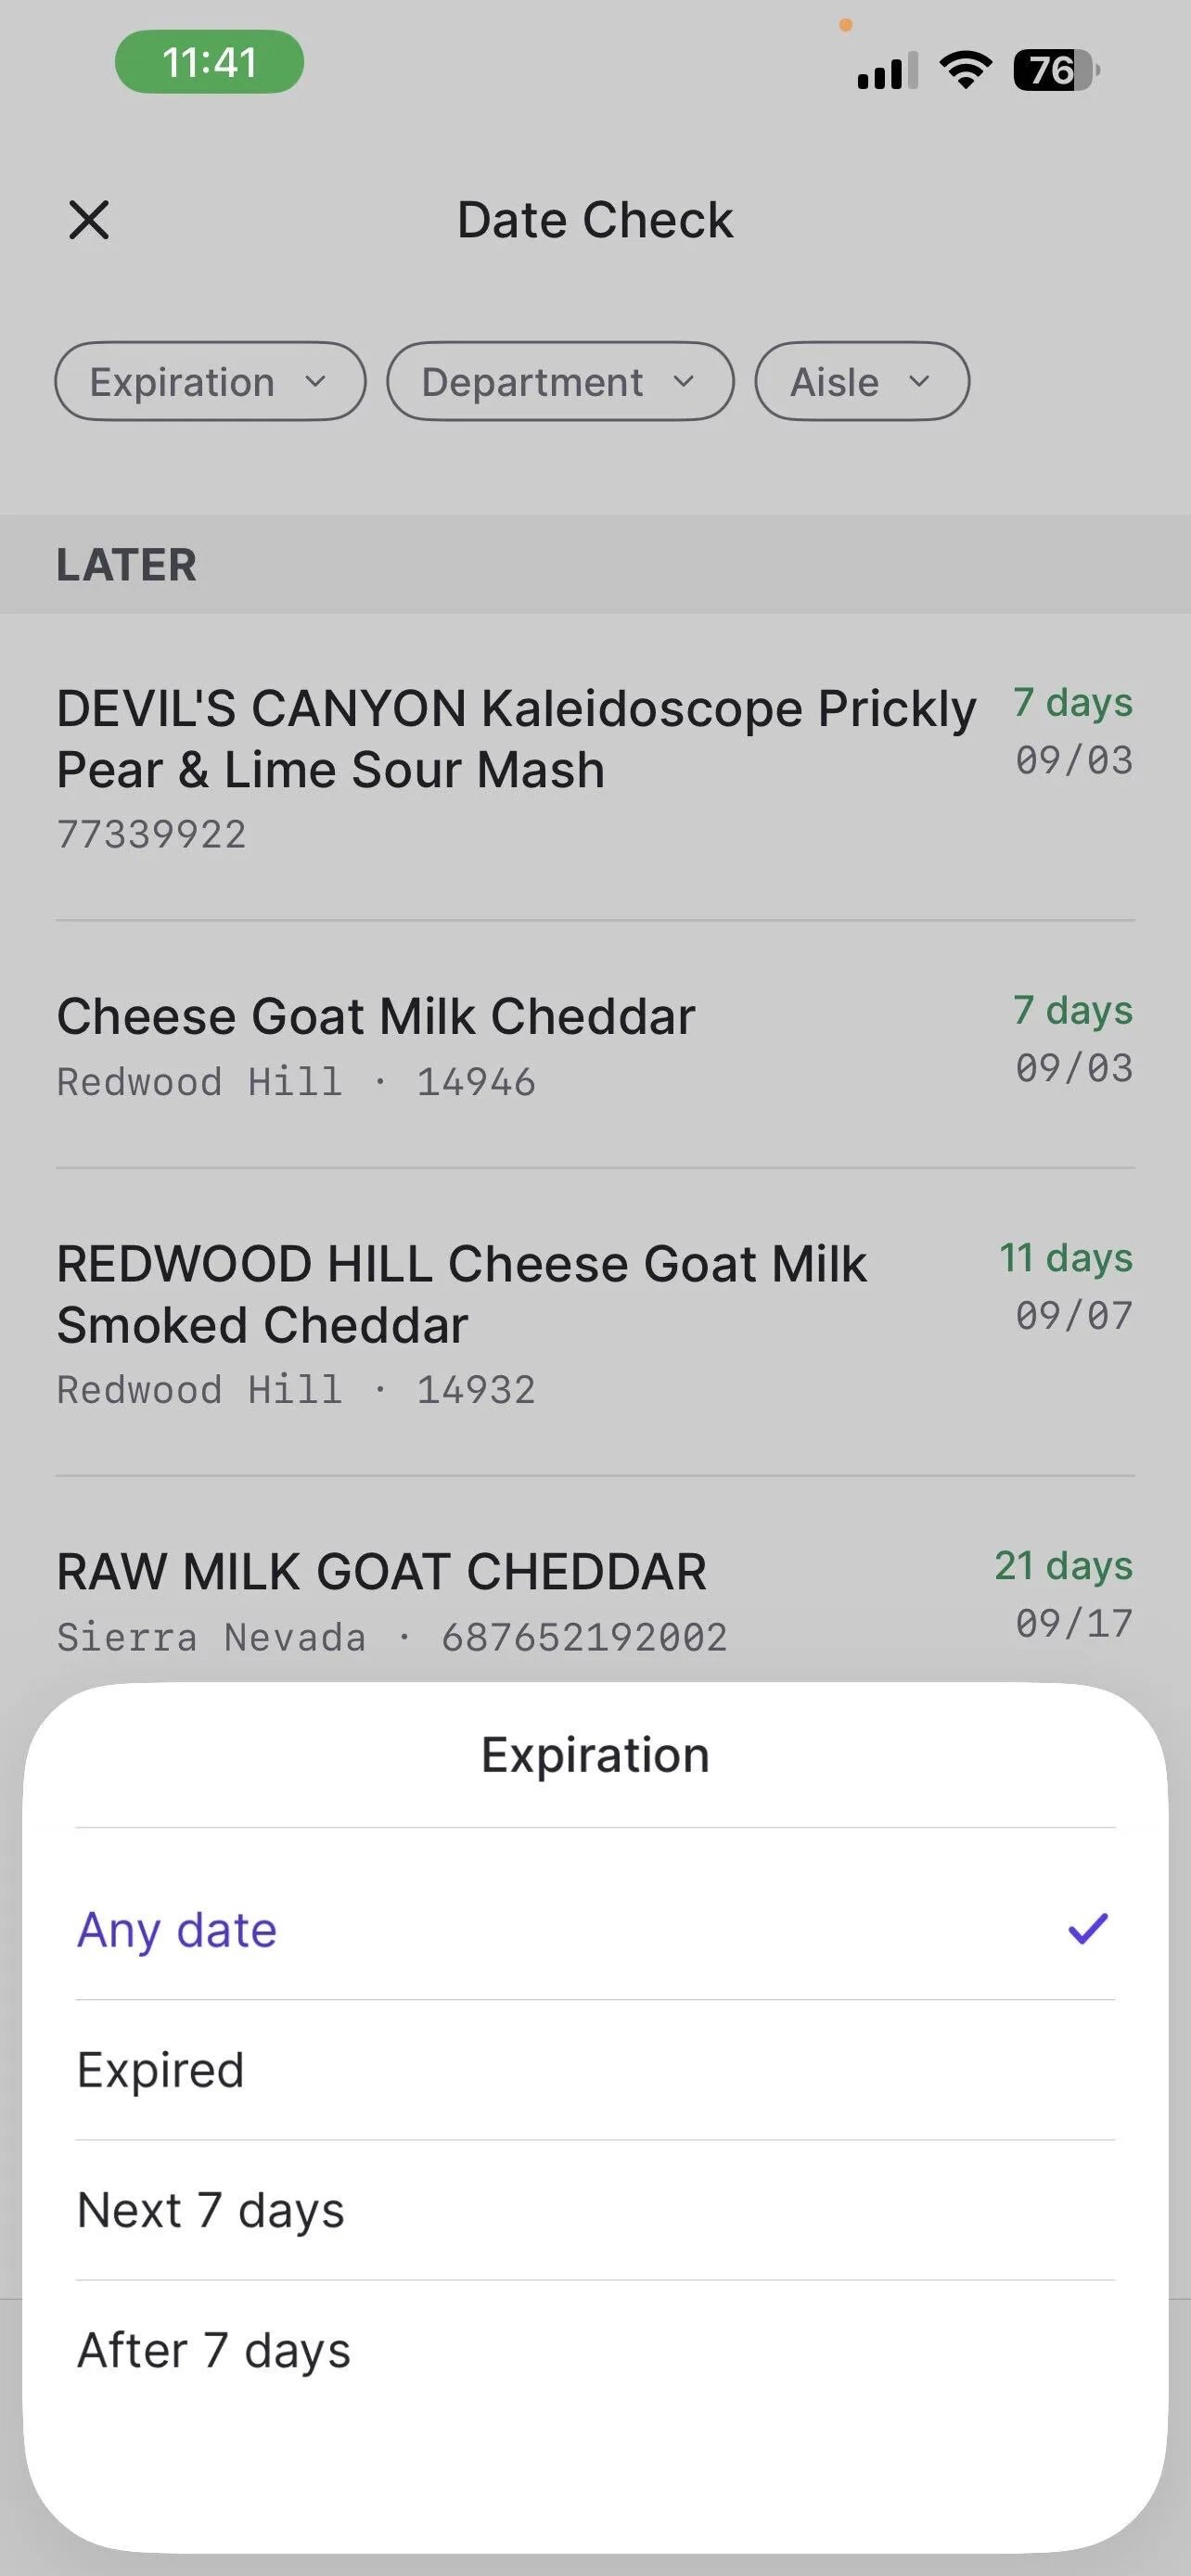
Use the three filters at the top of Date Check to narrow the list down to what you’re working on:- Expiration: Any Date, Expired, Next 7 Days, or After 7 Days
- Department: Limit the list to a specific department
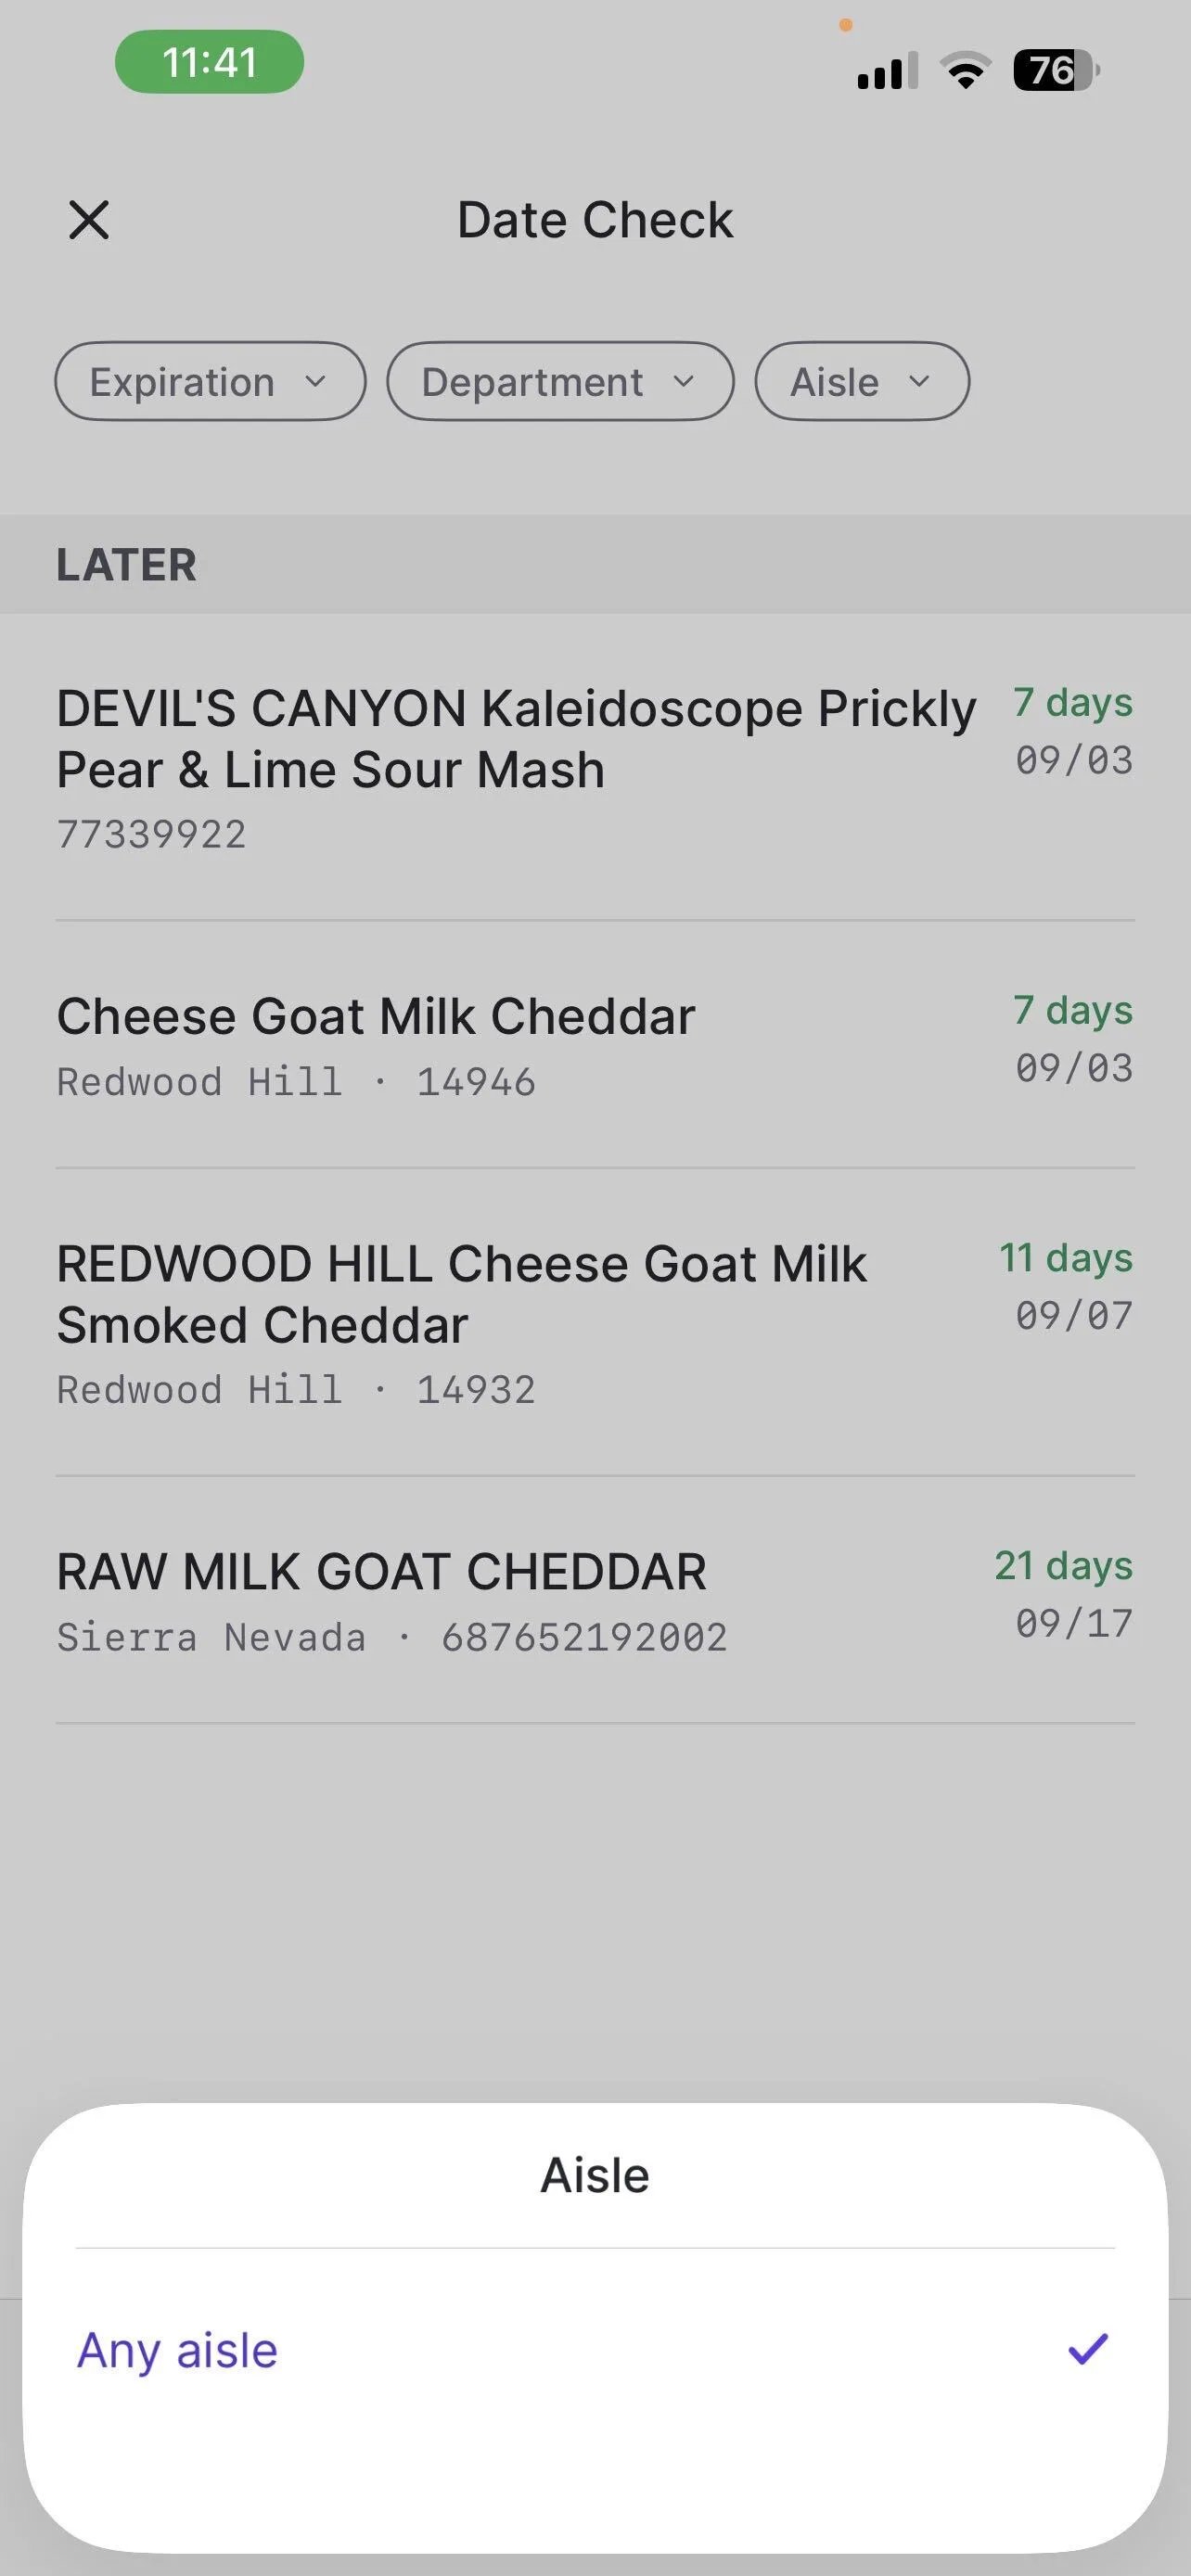
- Aisle: Limit the list to a specific aisle
Resolve an Item
Tap an item to open its Date Details, then choose how to resolve it. Choosing an option removes it from the list.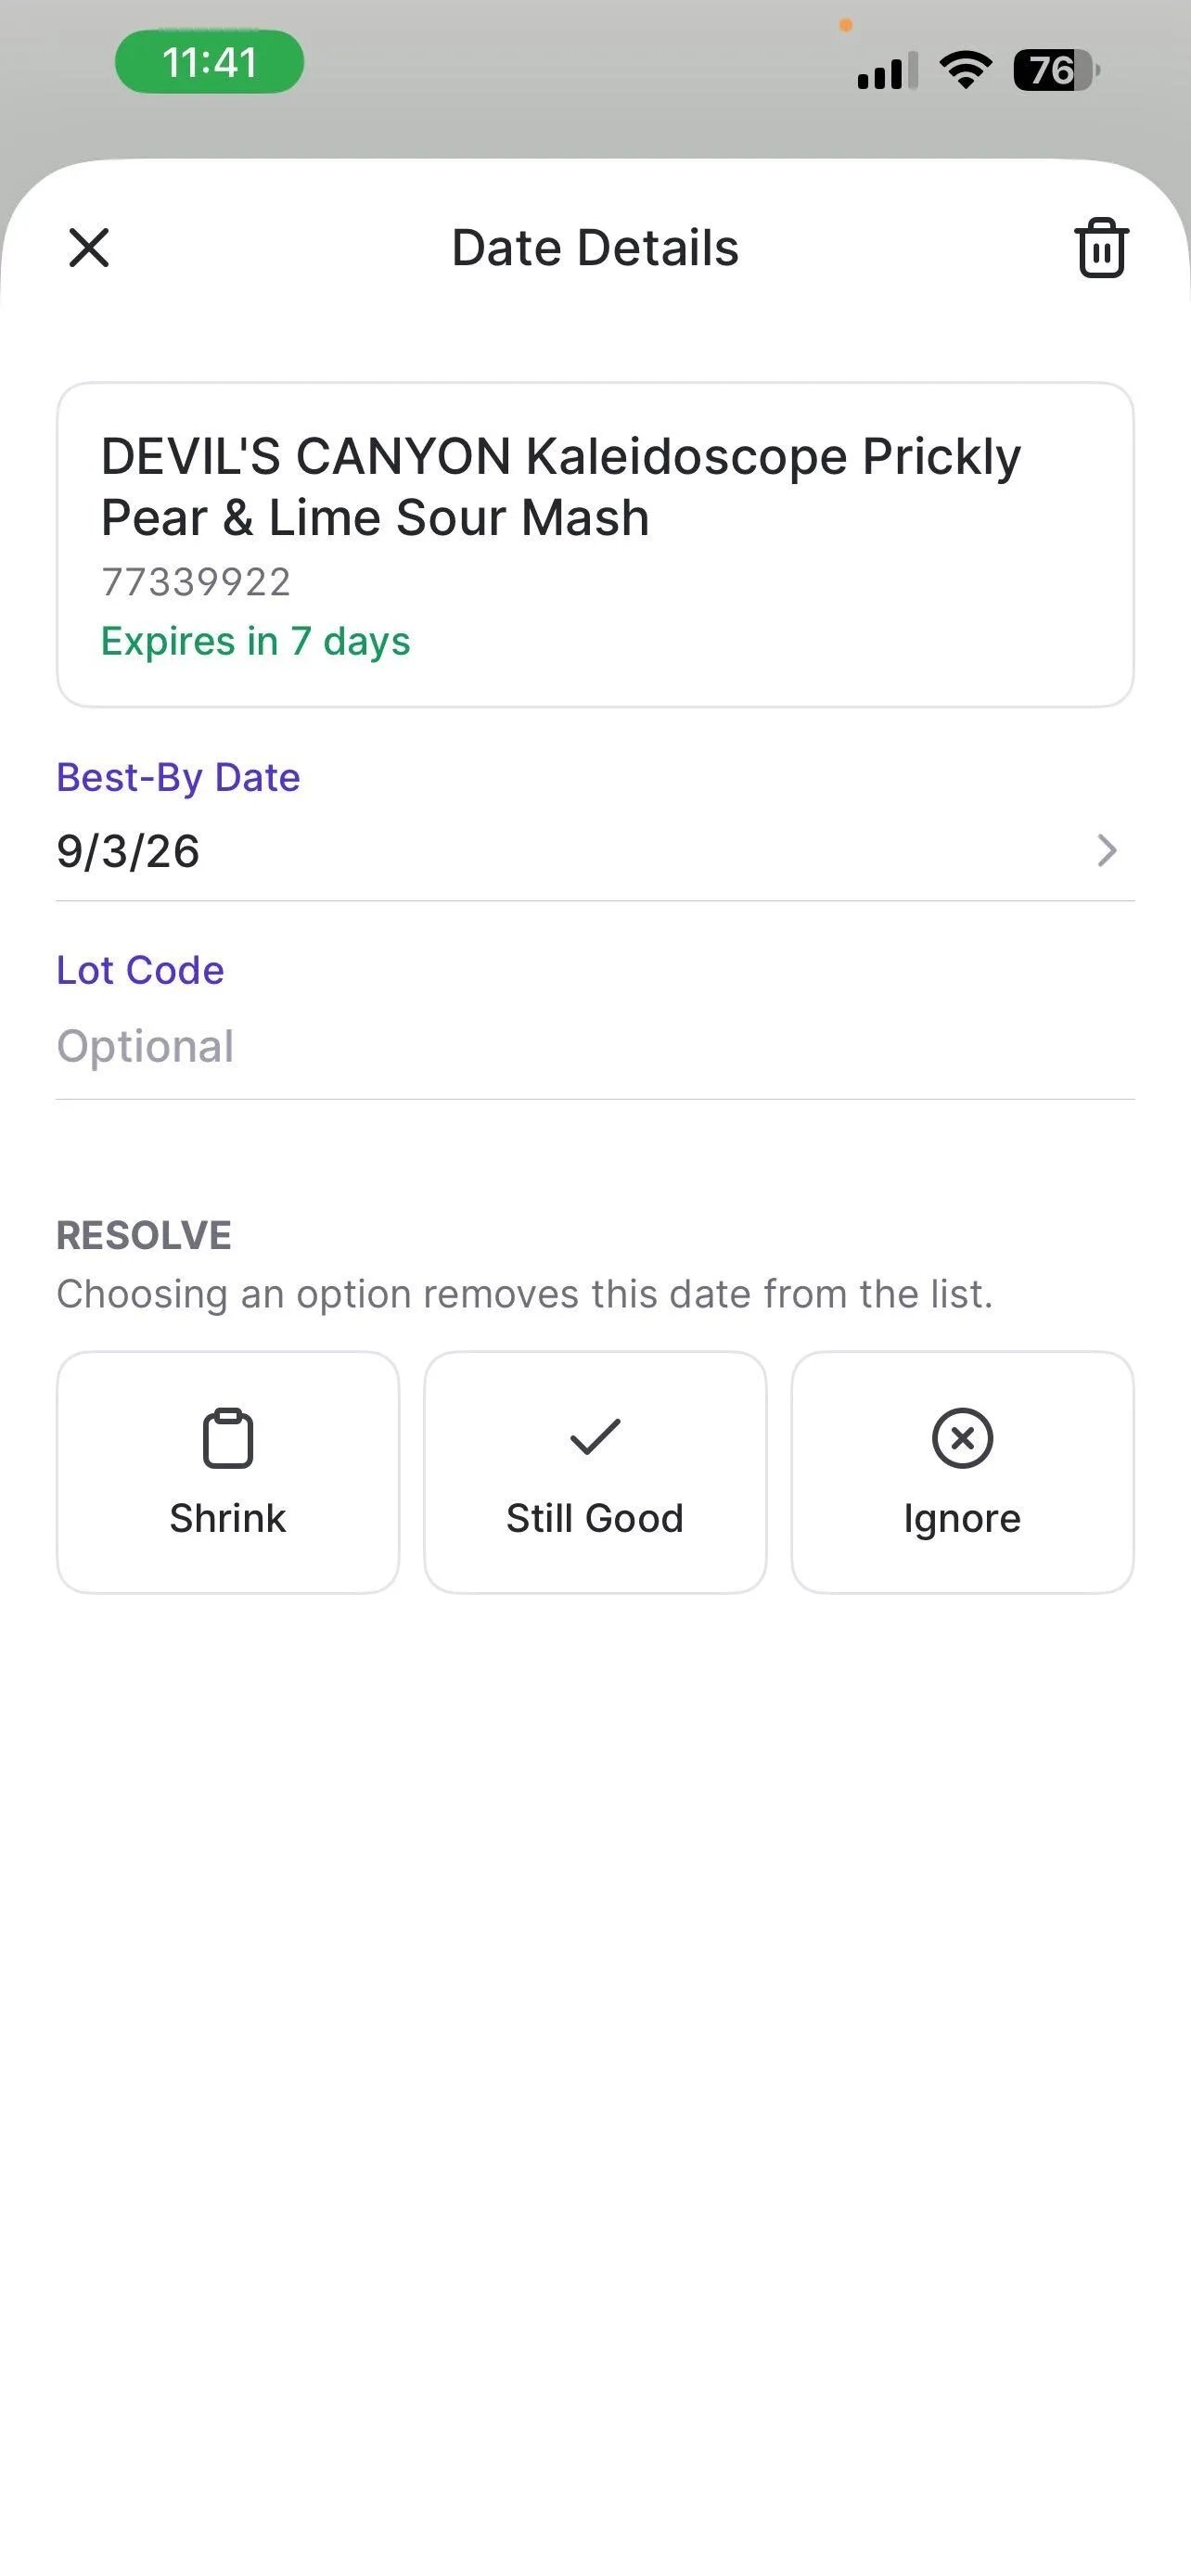
Shrink an Item from Date Check
Tapping Shrink takes you to the Shrink screen, where you set the quantity to remove and a reason, then tap Commit.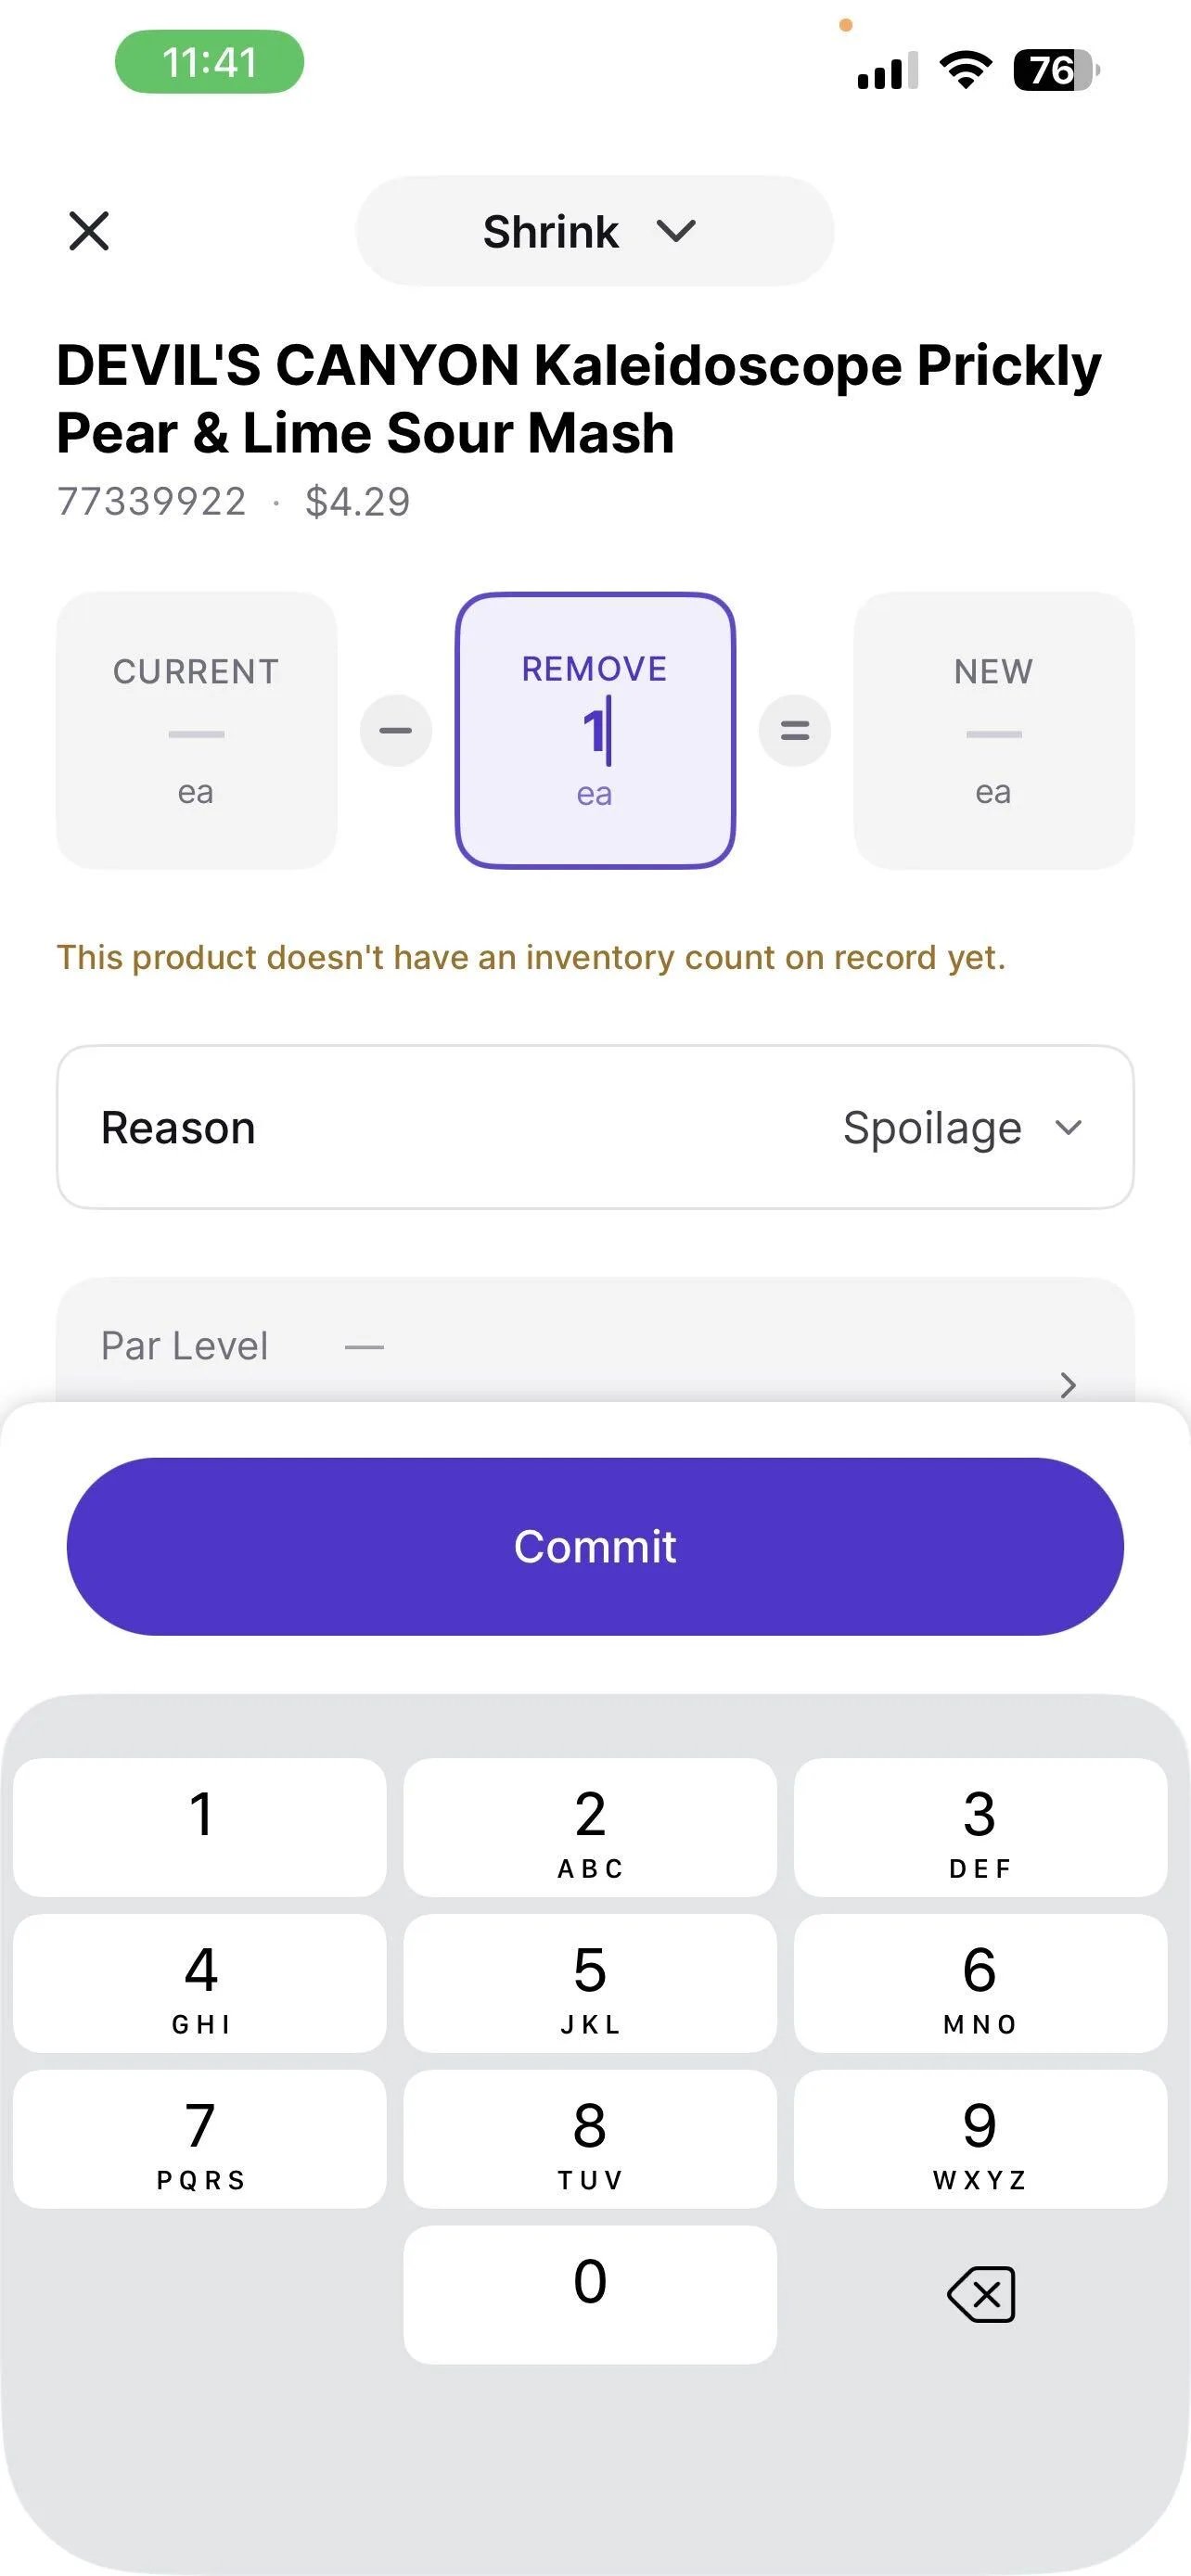
If the product doesn’t have an inventory count on record yet, Date Check flags that on the Shrink screen before you commit.