

Navigate to the New Transactions Page
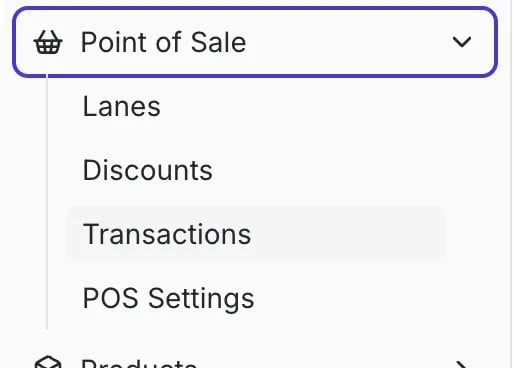
The new Transactions page provides a unified view of your Point of Sale (POS) activity, helping you monitor key transaction events like voids and refunds.- From the Back Office menu on the left, navigate to Point of Sale.
- Click Transactions under the Point of Sale section.
Understand the Transactions Table
The Transactions page table gives you an overview of every transaction at your store. You can customize the view by adjusting columns, applying filters, and sorting.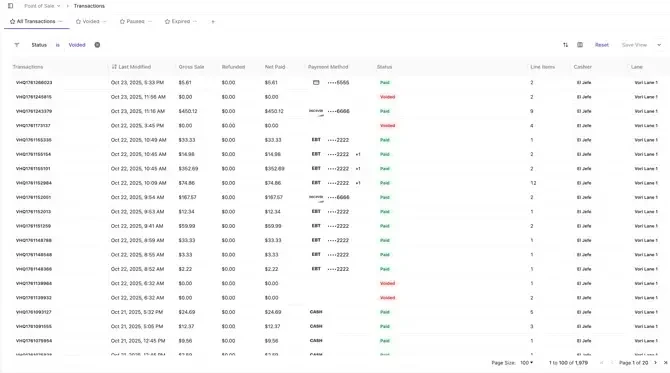
Filtering and Saving Views
To focus on transactions of interest, you can easily filter the table, by clicking the filter icon next to the column headers.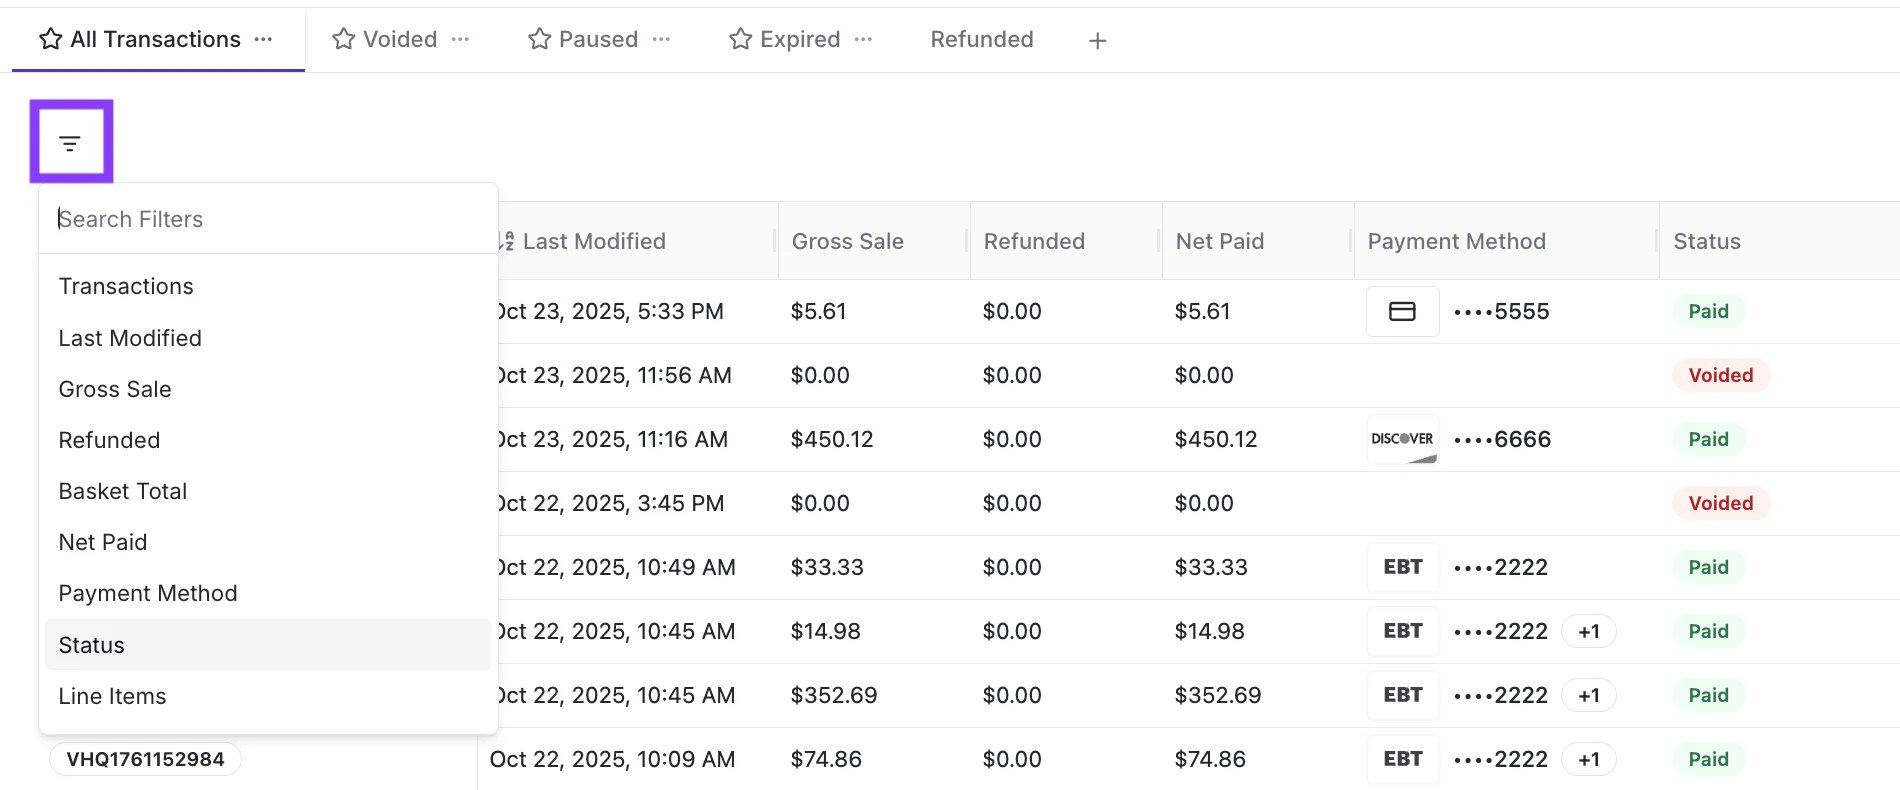
- After applying your filters, click Save View in the top right corner.
-
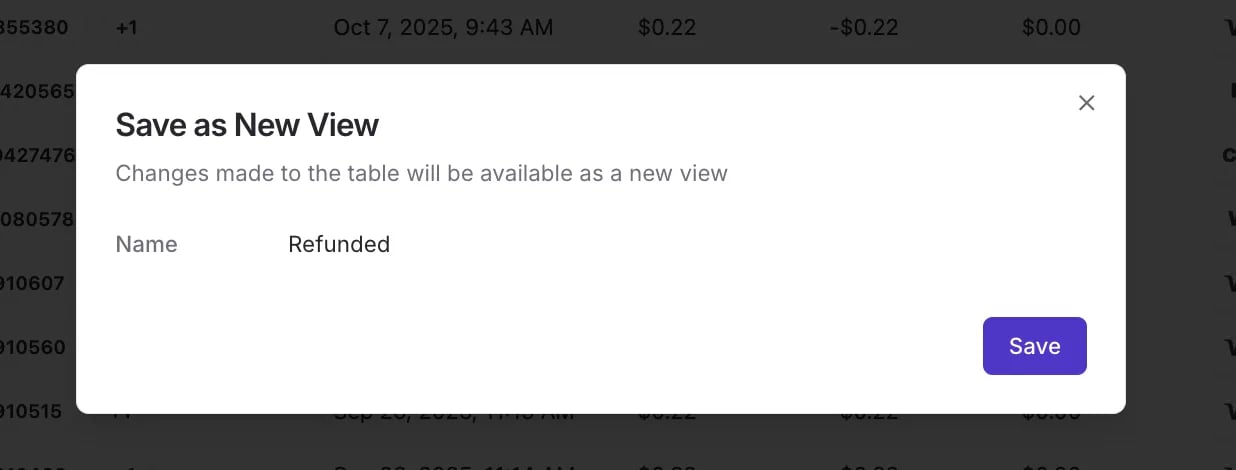
Click Save as New View.

-
Enter a descriptive title (e.g., Refunded or Cashier El Jefe Voids).\
-
Click Save. Your new view will appear as a selectable tab at the top of the table.

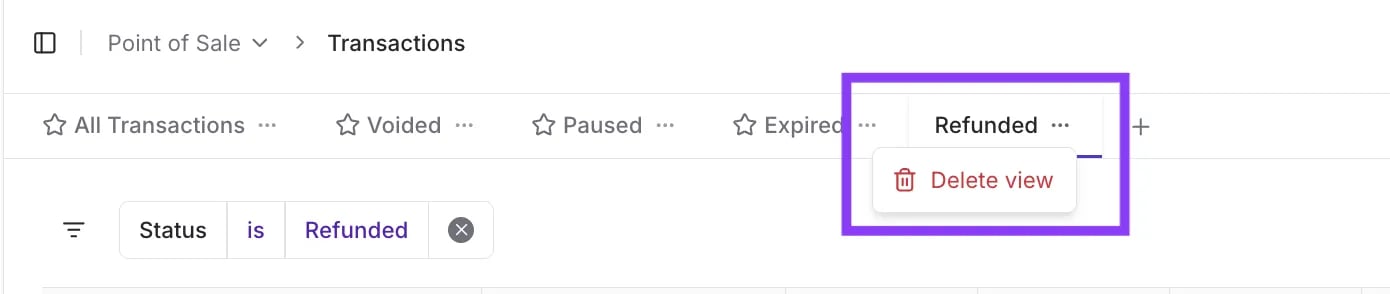
- Click the three dots (…) next to the saved view you wish to remove (e.g., the Refunded tab).
-
Click Delete view.
Inspect Transaction Details
You can click Open on any transaction in the table to view its complete, detailed history. This is key to inspecting for suspicious activity or understanding a specific order’s journey.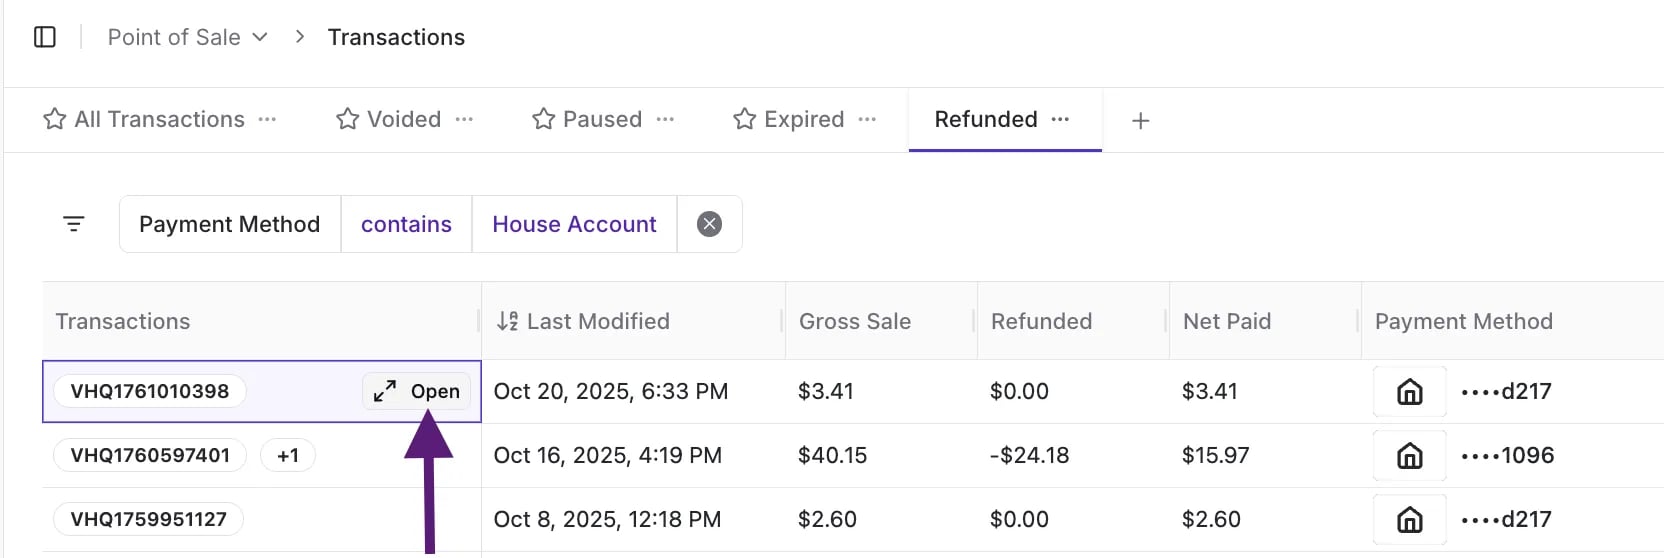
Transaction Summary
This section provides an overview of the transaction’s final state, including:- Status
- Net Paid amount
- Cashier and Register
- Payment Method (e.g., House Account ****1998)
- Last Modified
- Shopper and Loyalty Details

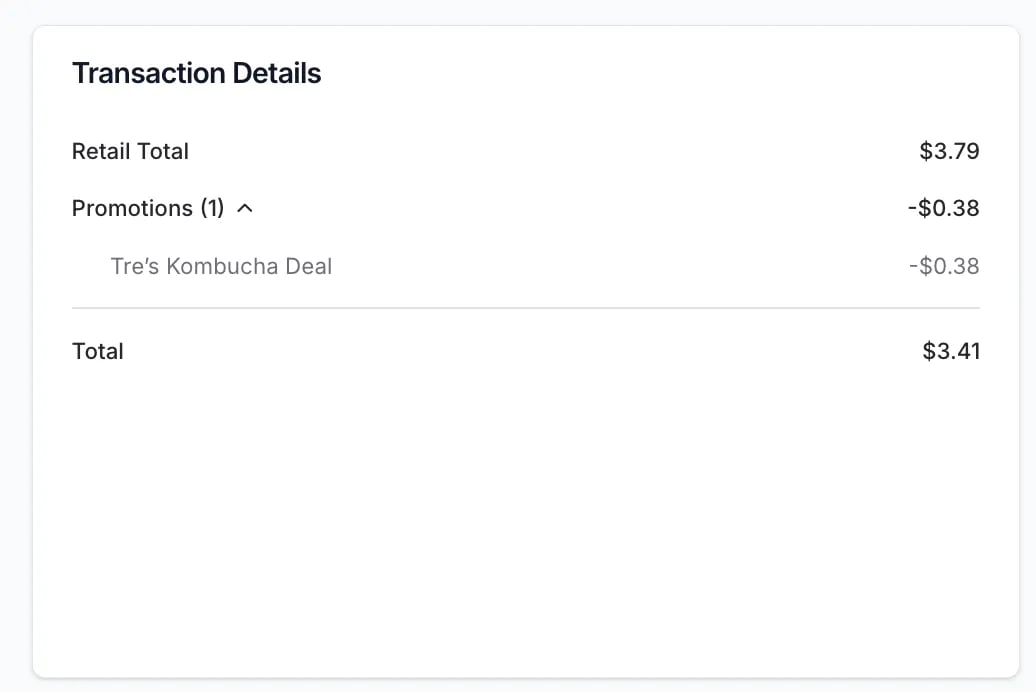
Transaction Details
This section breaks down the total transaction cost:- Retail Total: The sum of all item prices.
- Taxes:
- Modifiers: Details about the Bottle Deposits or CRVs charged.
- Coupons/Discounts/Promotions: Details around coupons, discounts, or promotions applied to the transaction.
- Refunds: Amount if any refunds were made.
- Total: The final amount.
Transaction History
This chronological log tracks all major events in the transaction’s lifecycle, creating a transparent, auditable trail.- You will see when the Transaction Started, when it was Paid, and when any Refunded or Voided actions occurred, including the staff member and time for each event.

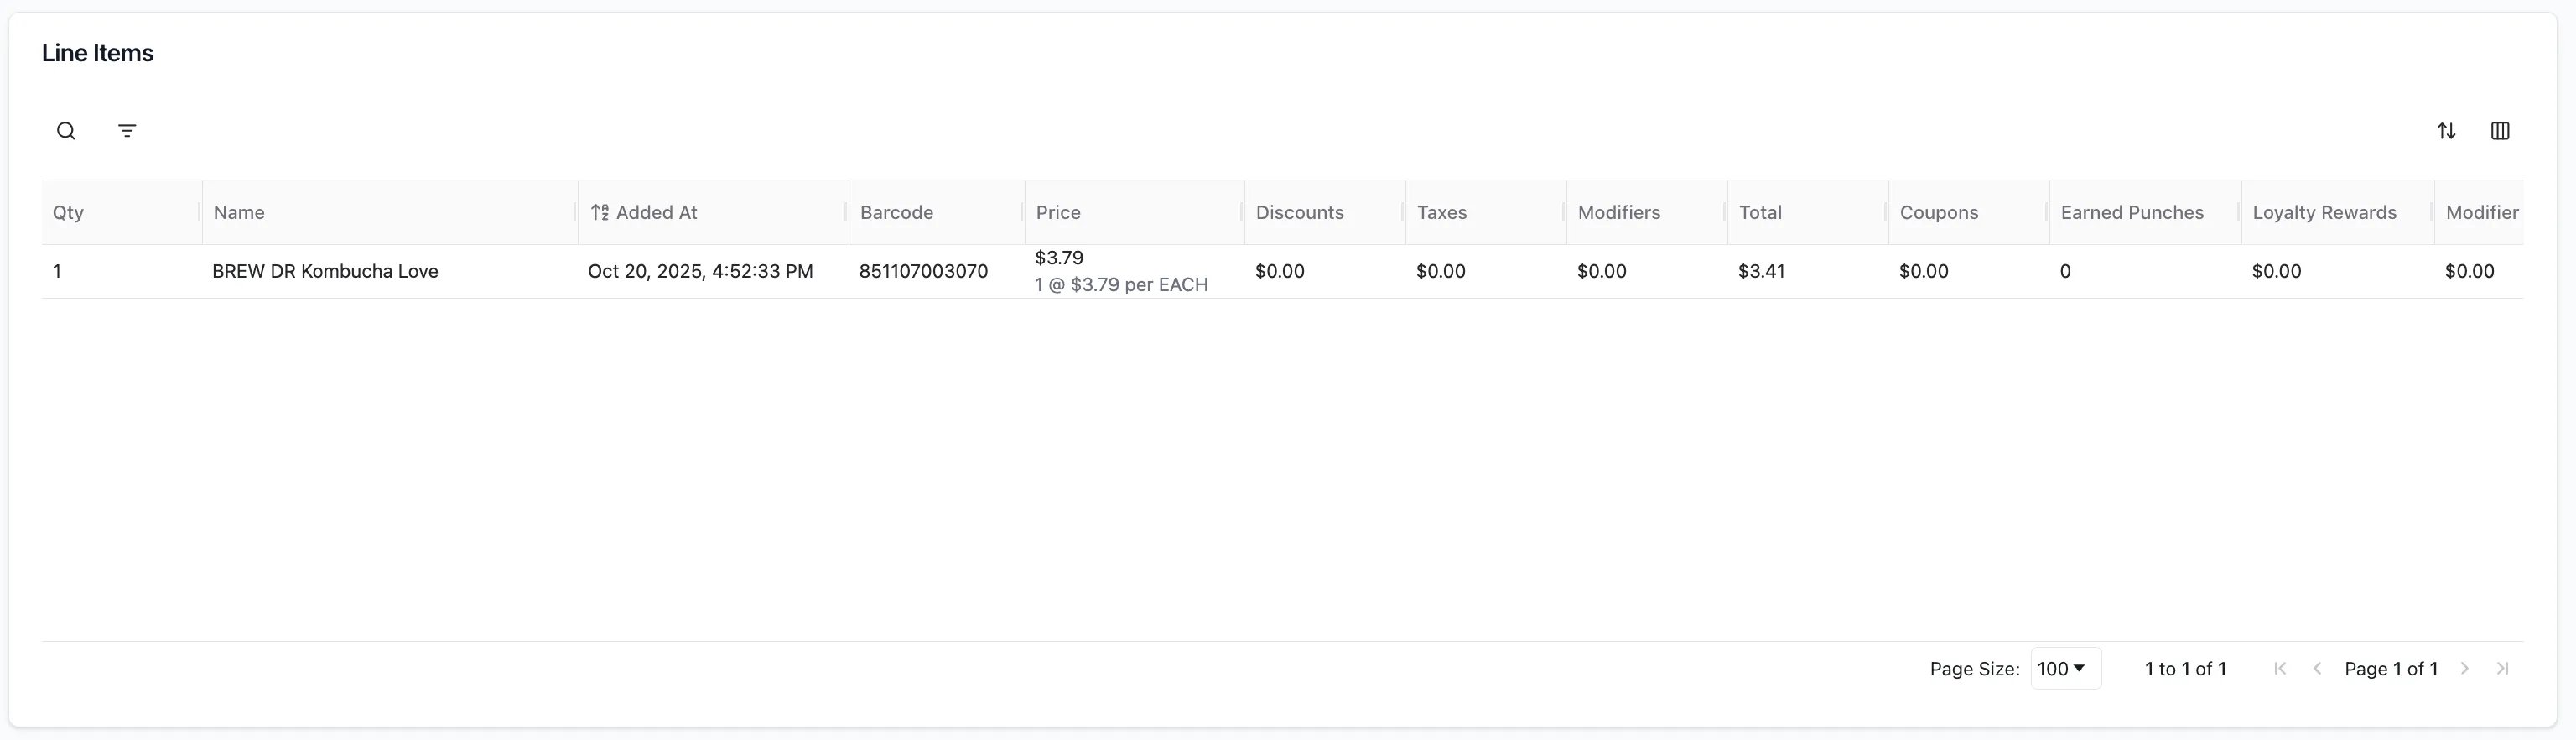
Line Items
This table details the products involved in the transaction, including:- Quantity (Qty)
- Name and Barcode
- The Added At column indicates the exact date and time the item was added (or removed/voided) from the transaction.
- Price, Discounts, Taxes, Modifiers, Total, Coupons, Earned Punches, Loyalty Rewards, Modifier Taxes, Promotions, WIC Adjustments and Status
How to Provide Printed POS Order Information for Older Transactions
You can use your web browser’s functionality to provide a physical copy of an order’s details.- Open the specific transaction details page (using the Open button in the main table).
- Click the receipt icon in the top right corner to view the original printed receipt.

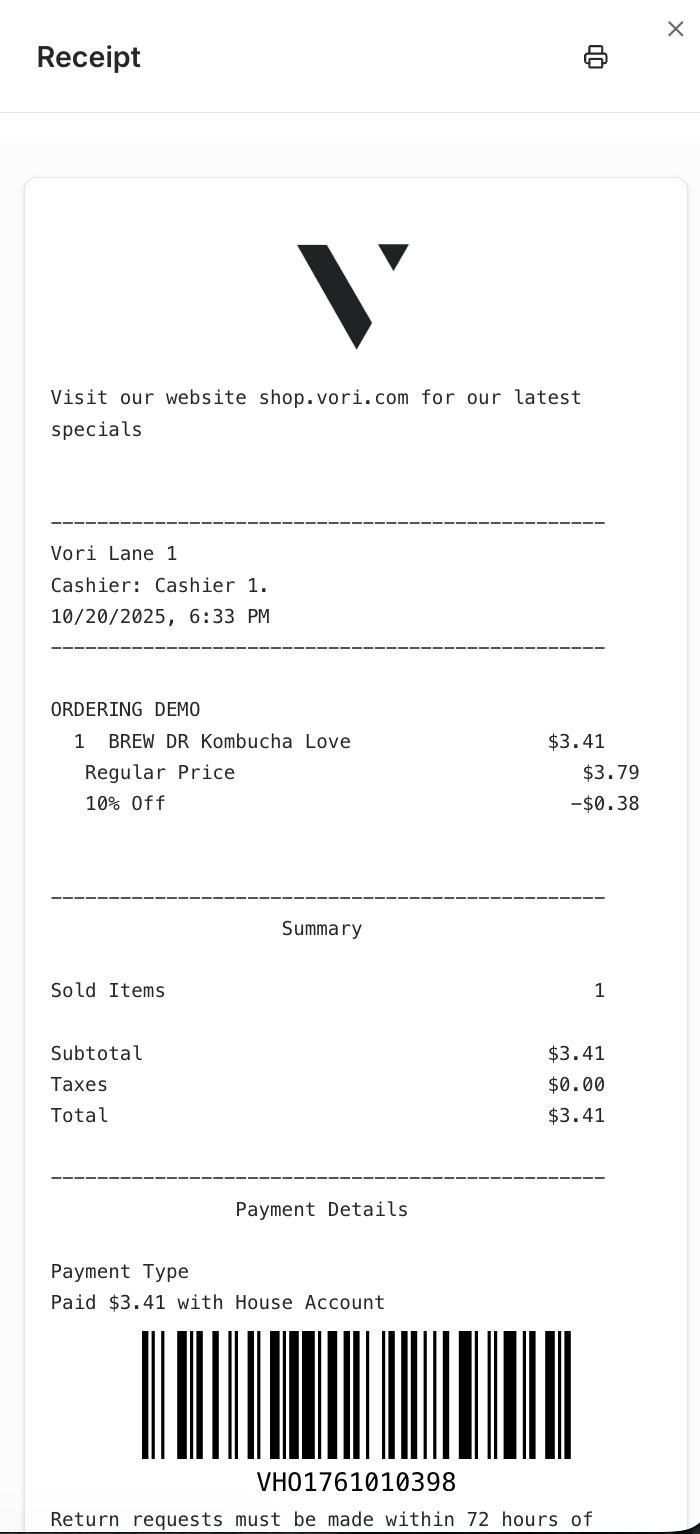
- Click the print icon at the top of the receipt (or use Ctrl + P on PC or Cmd + P on Mac) to print or reprint it.