Navigate to POS Settings Page
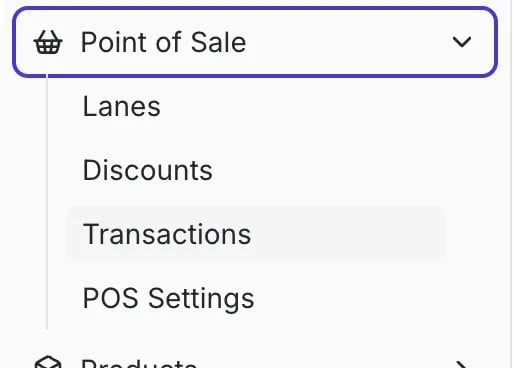
You can manage all POS settings for tills and manager approvals in one central location.- In the New Back Office, select Point of Sale on the lefthand menu.
- Select POS Settings from the dropdown menu.
Configuring Till Settings
Till settings help you establish consistent and secure POS operations, including starting balances, cashback limits, and end-of-day processes.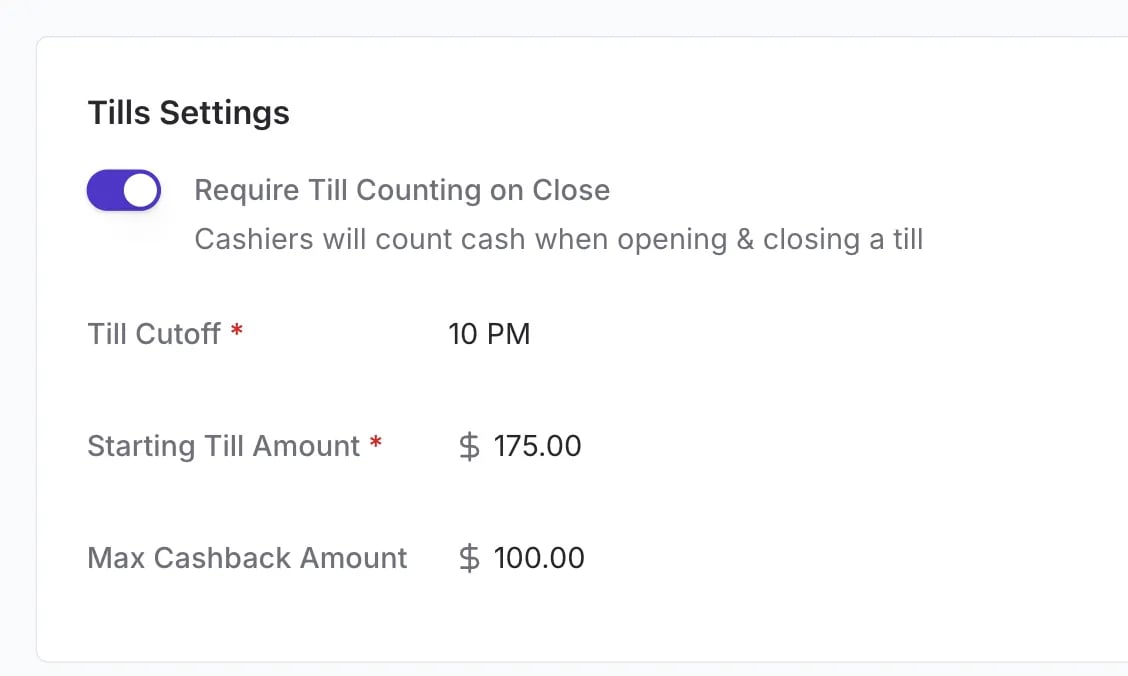
- Require Till Counting On Close: Enable this setting to require the cashier to count and enter the opening and closing till amount at the POS when they open and close a till.
- End of Day Cutoff: Set the time when cashiers must close their tills. If a till is open past this time, the cashier will be prompted to close it.
- Starting Amount: This value is the default starting balance that pre-fills when a cashier opens a till. Cashiers can still adjust this amount if needed.
- Max Cashback Amount: This setting establishes the absolute maximum cashback amount a shopper can request. Cashback amounts above this threshold will not be visible on the cashier or shopper displays.
Setting Manager Approvals
Manager approval settings allow you to require a manager’s 6-digit PIN entry for specific POS actions or for transactions that exceed a set threshold.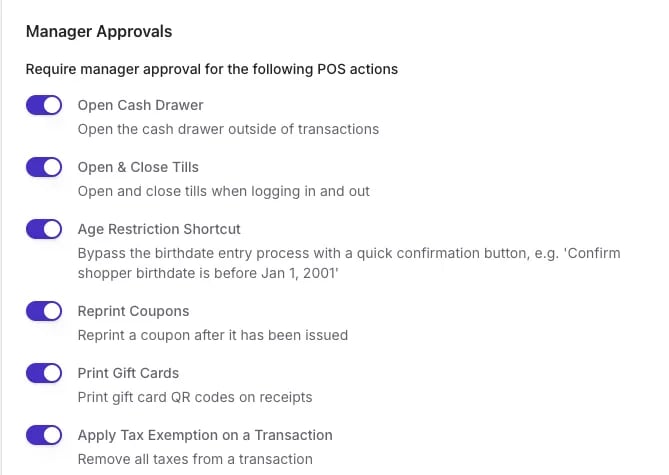
Actions Requiring Manager Approval
You can enable these settings to require manager approval for the following actions, regardless of the amount:- Open Cash Drawer: Opening the cash drawer outside of a standard cash transaction.
- Open & Close Tills: Opening and closing tills when logging in and out of the POS.
- Age Restriction Shortcut: Bypassing the full birthdate entry process with a quick confirmation button (e.g., confirming a shopper is before Jan 1, 2001).
- Reprint Coupons: Reprinting SNAP Incentive coupons.
- Print Gift Cards: Printing gift card QR codes on receipts.
- Apply Tax Exemption on a Transaction: Removing all taxes from a transaction.
Thresholds for Manager Approval
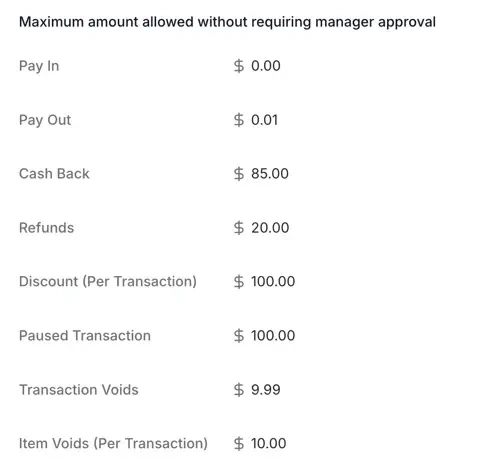
For transactional actions, you can set the Maximum amount allowed without requiring manager approval:- Pay In: Maximum cash amount that can be added to the till without manager approval.
- Pay Out: Maximum cash amount that can be removed from the till without manager approval.
- Cashback: Maximum cashback amount that can be processed without manager approval. This works in conjunction with the Max Cashback Amount setting.
- Refunds: Maximum total refund amount allowed per transaction without manager approval.
- Discount (Per Transaction): Maximum total discount amount allowed per transaction without manager approval.
- Paused Transaction: Maximum value of a paused transaction that can be retrieved and completed without manager approval.
- Transaction Voids: Maximum total value of a transaction that can be voided without manager approval.
-
Item Voids (Per Transaction): Maximum total value of items that can be voided within a single transaction without manager approval.
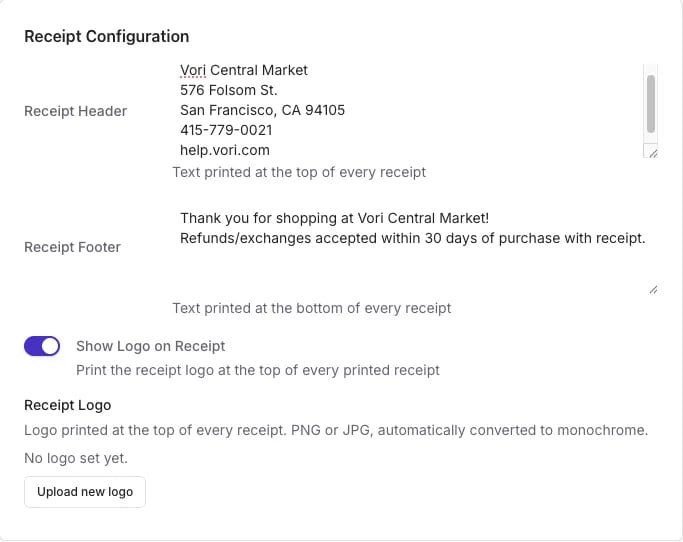
Receipt Configuration
Customize the information that prints on every receipt at your store, including the header, footer, and store logo.-
Receipt Header: Text printed at the top of the receipt. Typically contains your store and business information.
Example:
- Receipt Footer: The section printed at the bottom of the receipt. Typically contains a thank-you message or your return and refund policy.
- Show Logo on Receipt: Toggle on to print your store logo at the top of every receipt. If disabled, the receipt prints your store name instead.
- Receipt Logo: Upload the logo image as a PNG or JPG. Vori automatically converts it to monochrome for thermal printing. This logo can be different from the one shown on the shopper display.
If your banner includes more than one store, any change to the receipt configuration applies to every store under that banner.
Leave the Receipt Header blank to automatically print your store’s address instead.