

Receiving is currently in closed beta and only available to select stores.
Start a Receiving Session
-
From the VoriOS home screen, tap Receive.
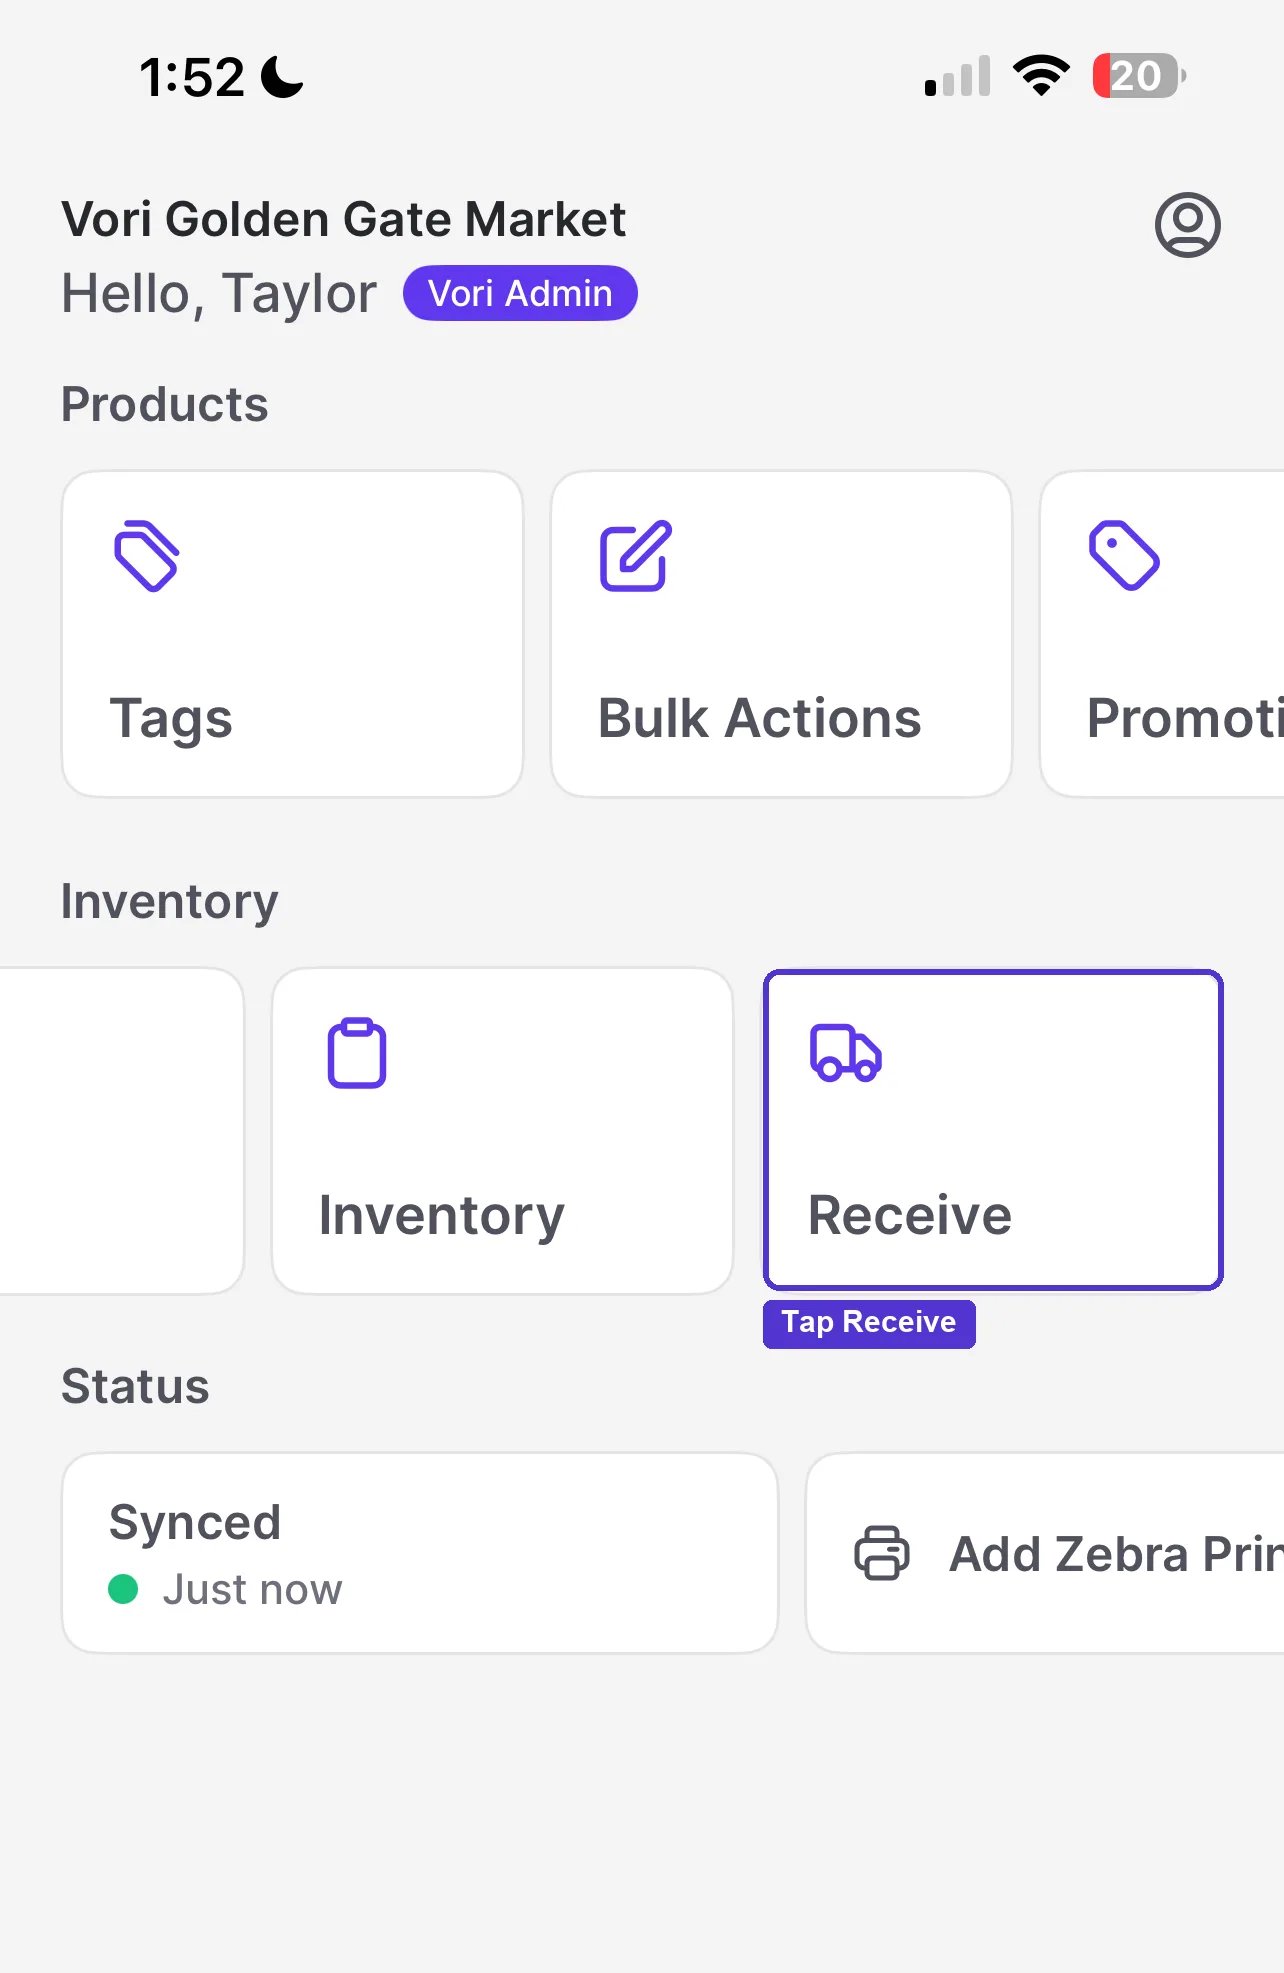
-
Check In Progress sessions to pick up where you left off, or switch to Completed Sessions to see everything you’ve already submitted, including when each one was completed.
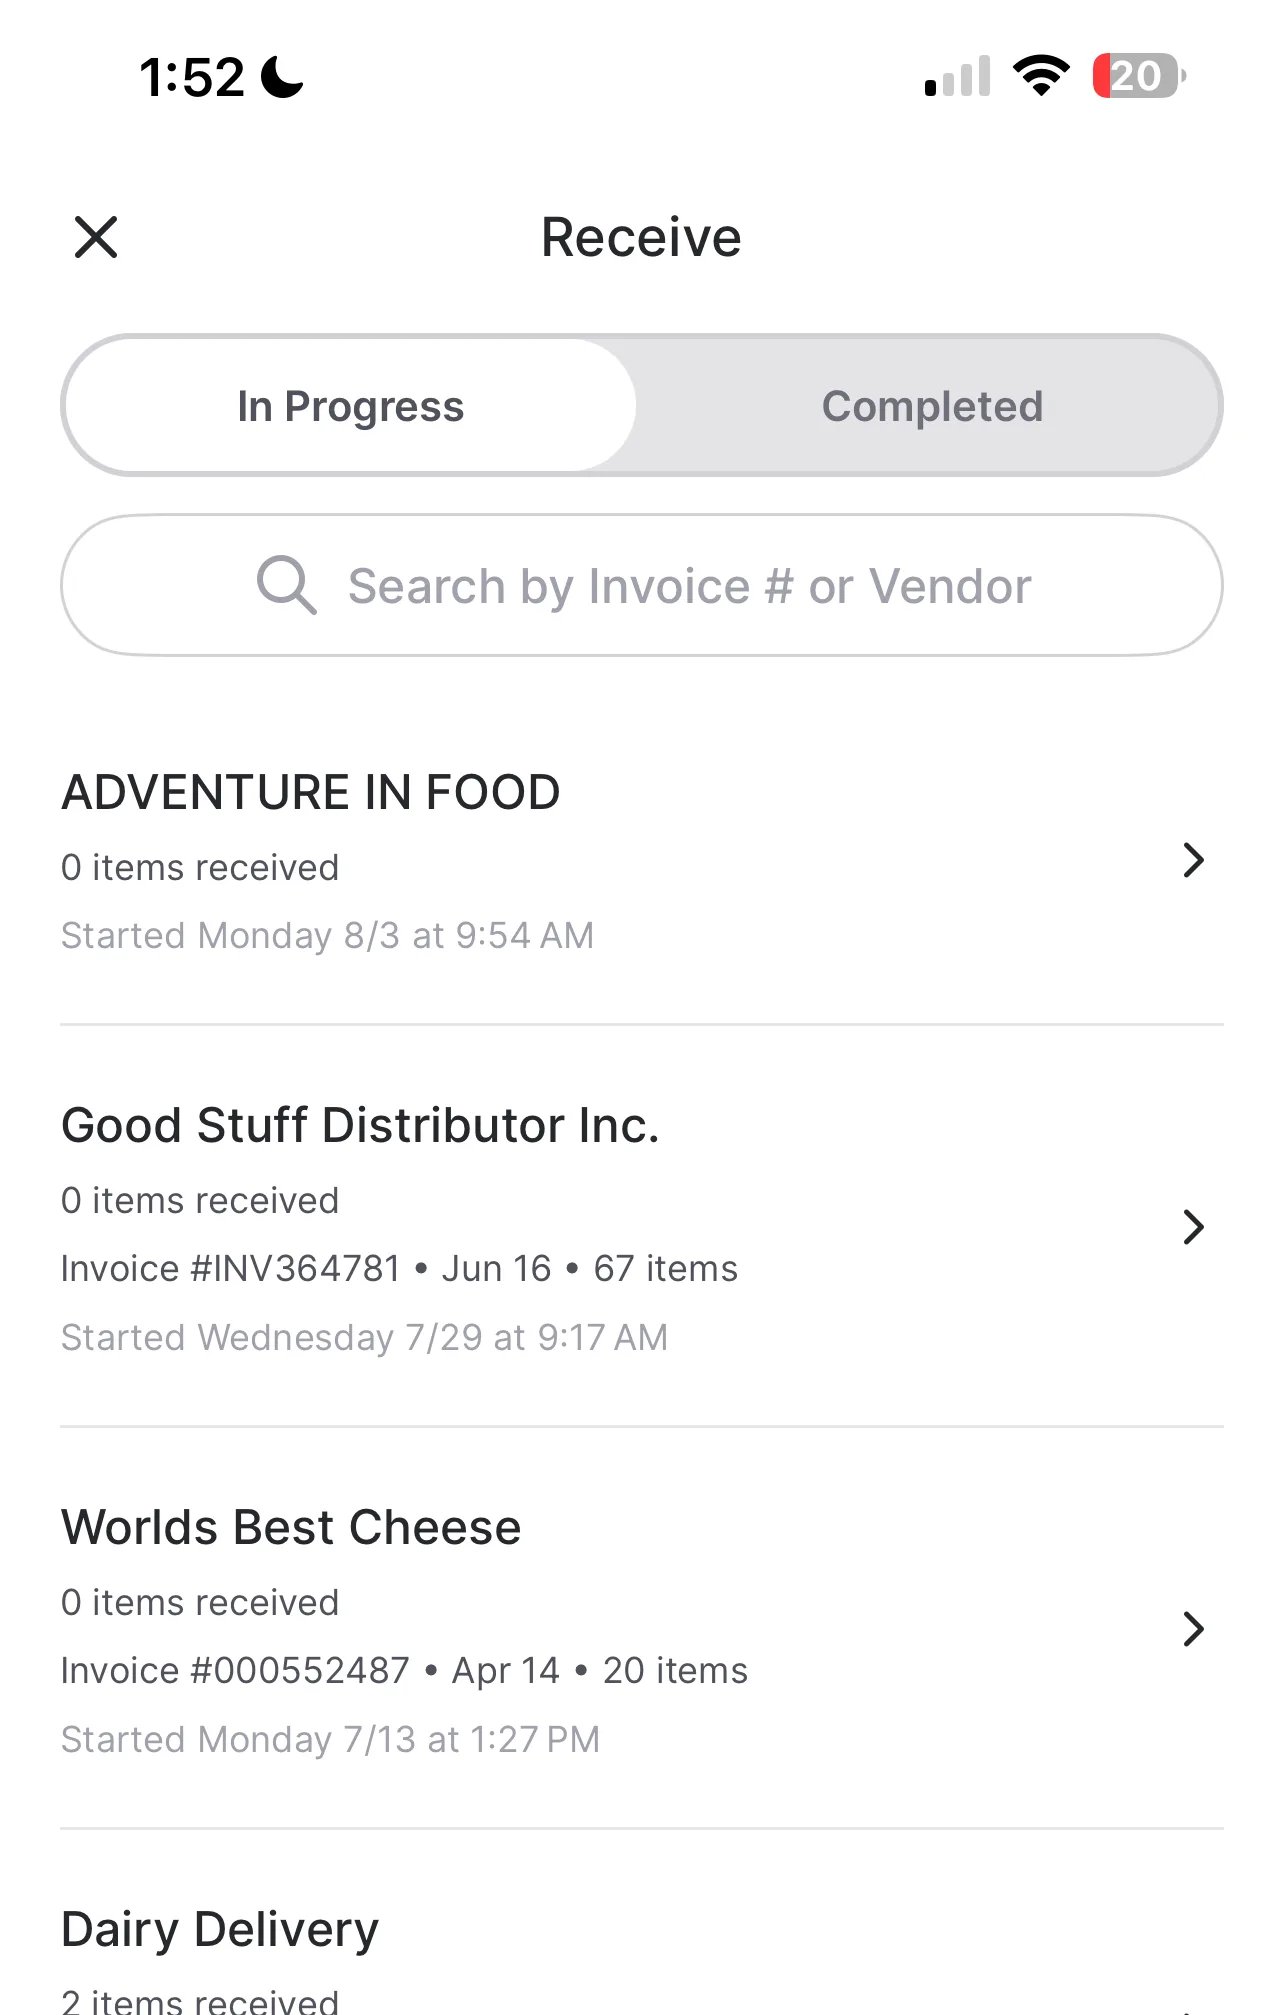
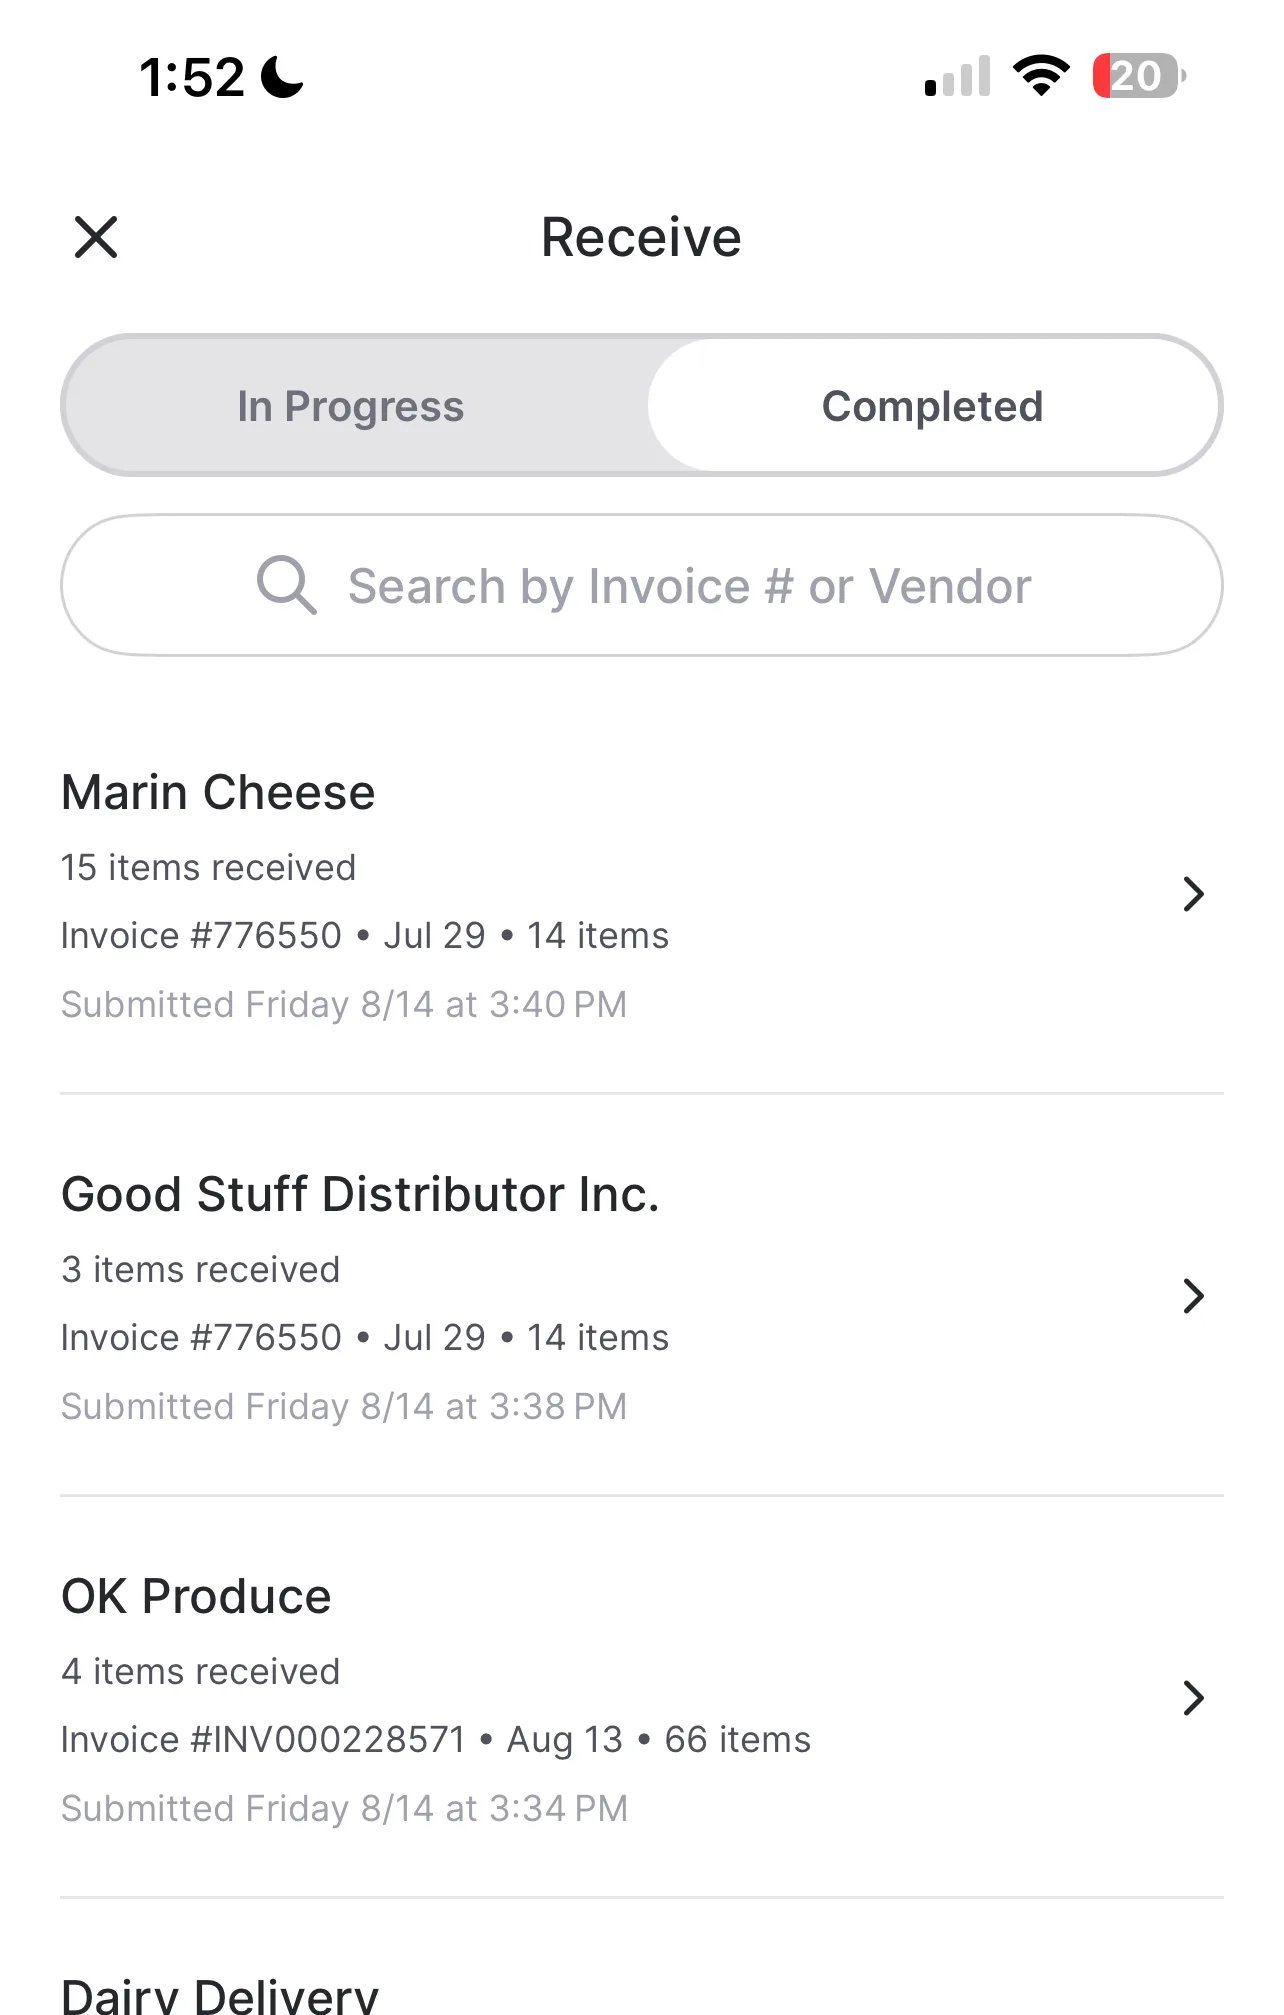
- To start fresh, tap Receive Products.
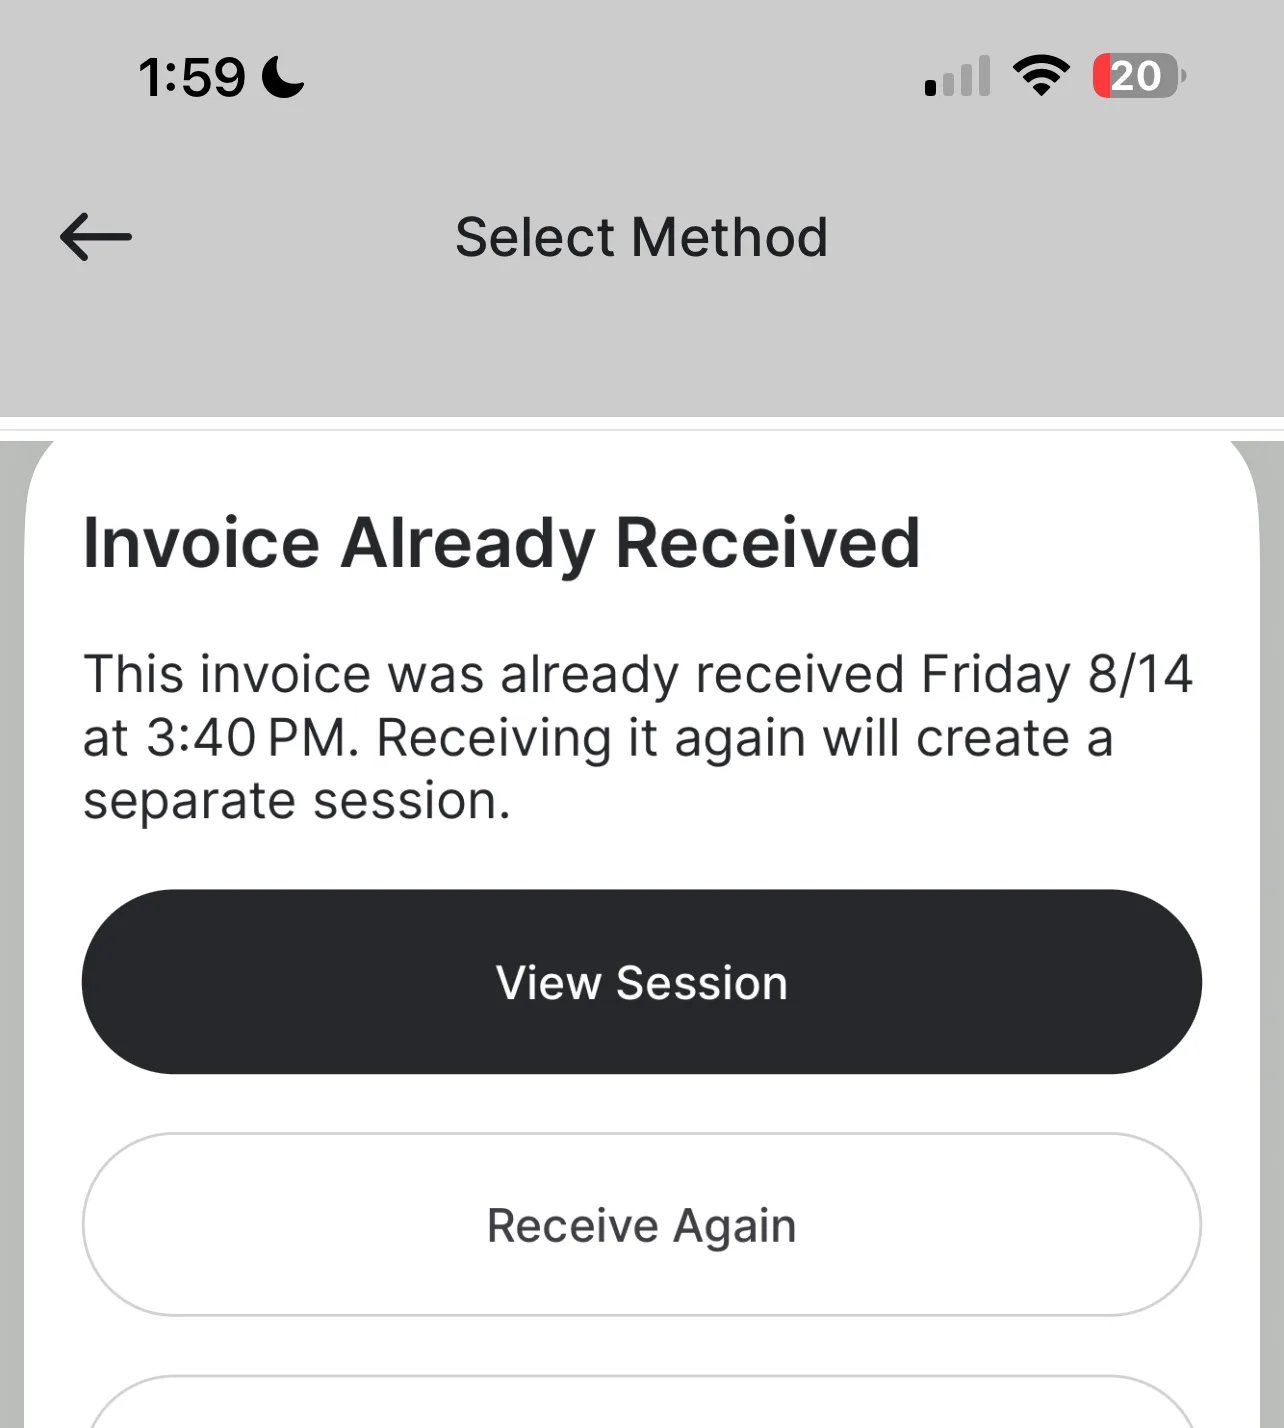
If an invoice was already received, starting a new session against it prompts you to either continue the existing session or start a separate one.
Choose Your Vendor and Invoice
Select the vendor you’re receiving from, then bring in the invoice:-
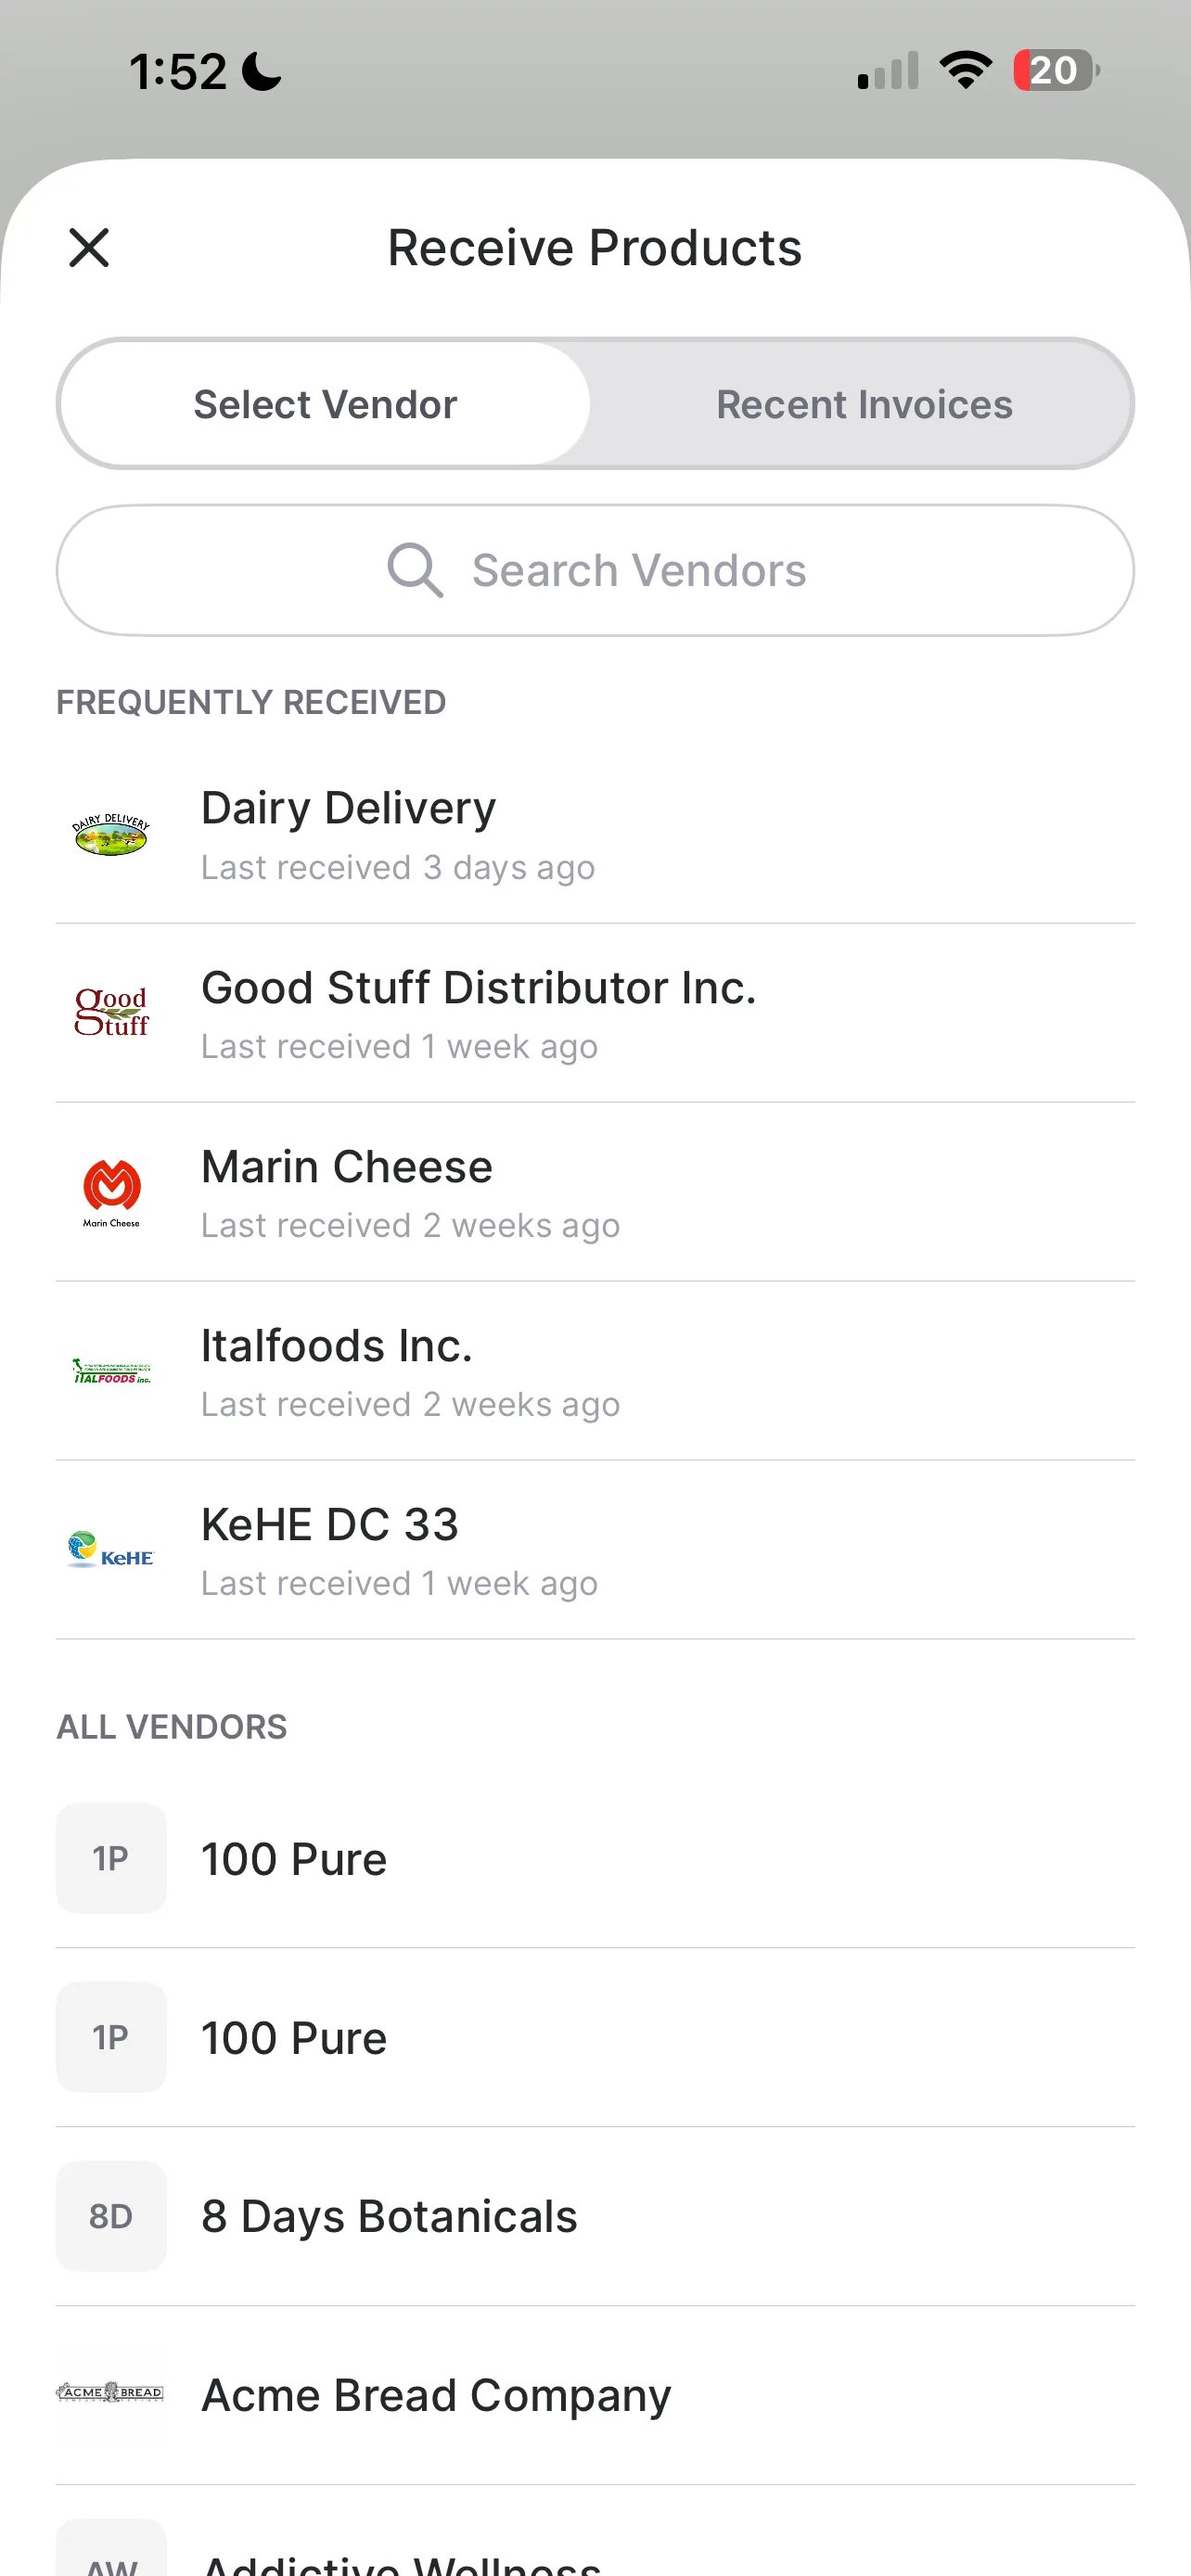
Select vendor: Search for the vendor you’re receiving products for. Your most frequently received vendors show up first.
-
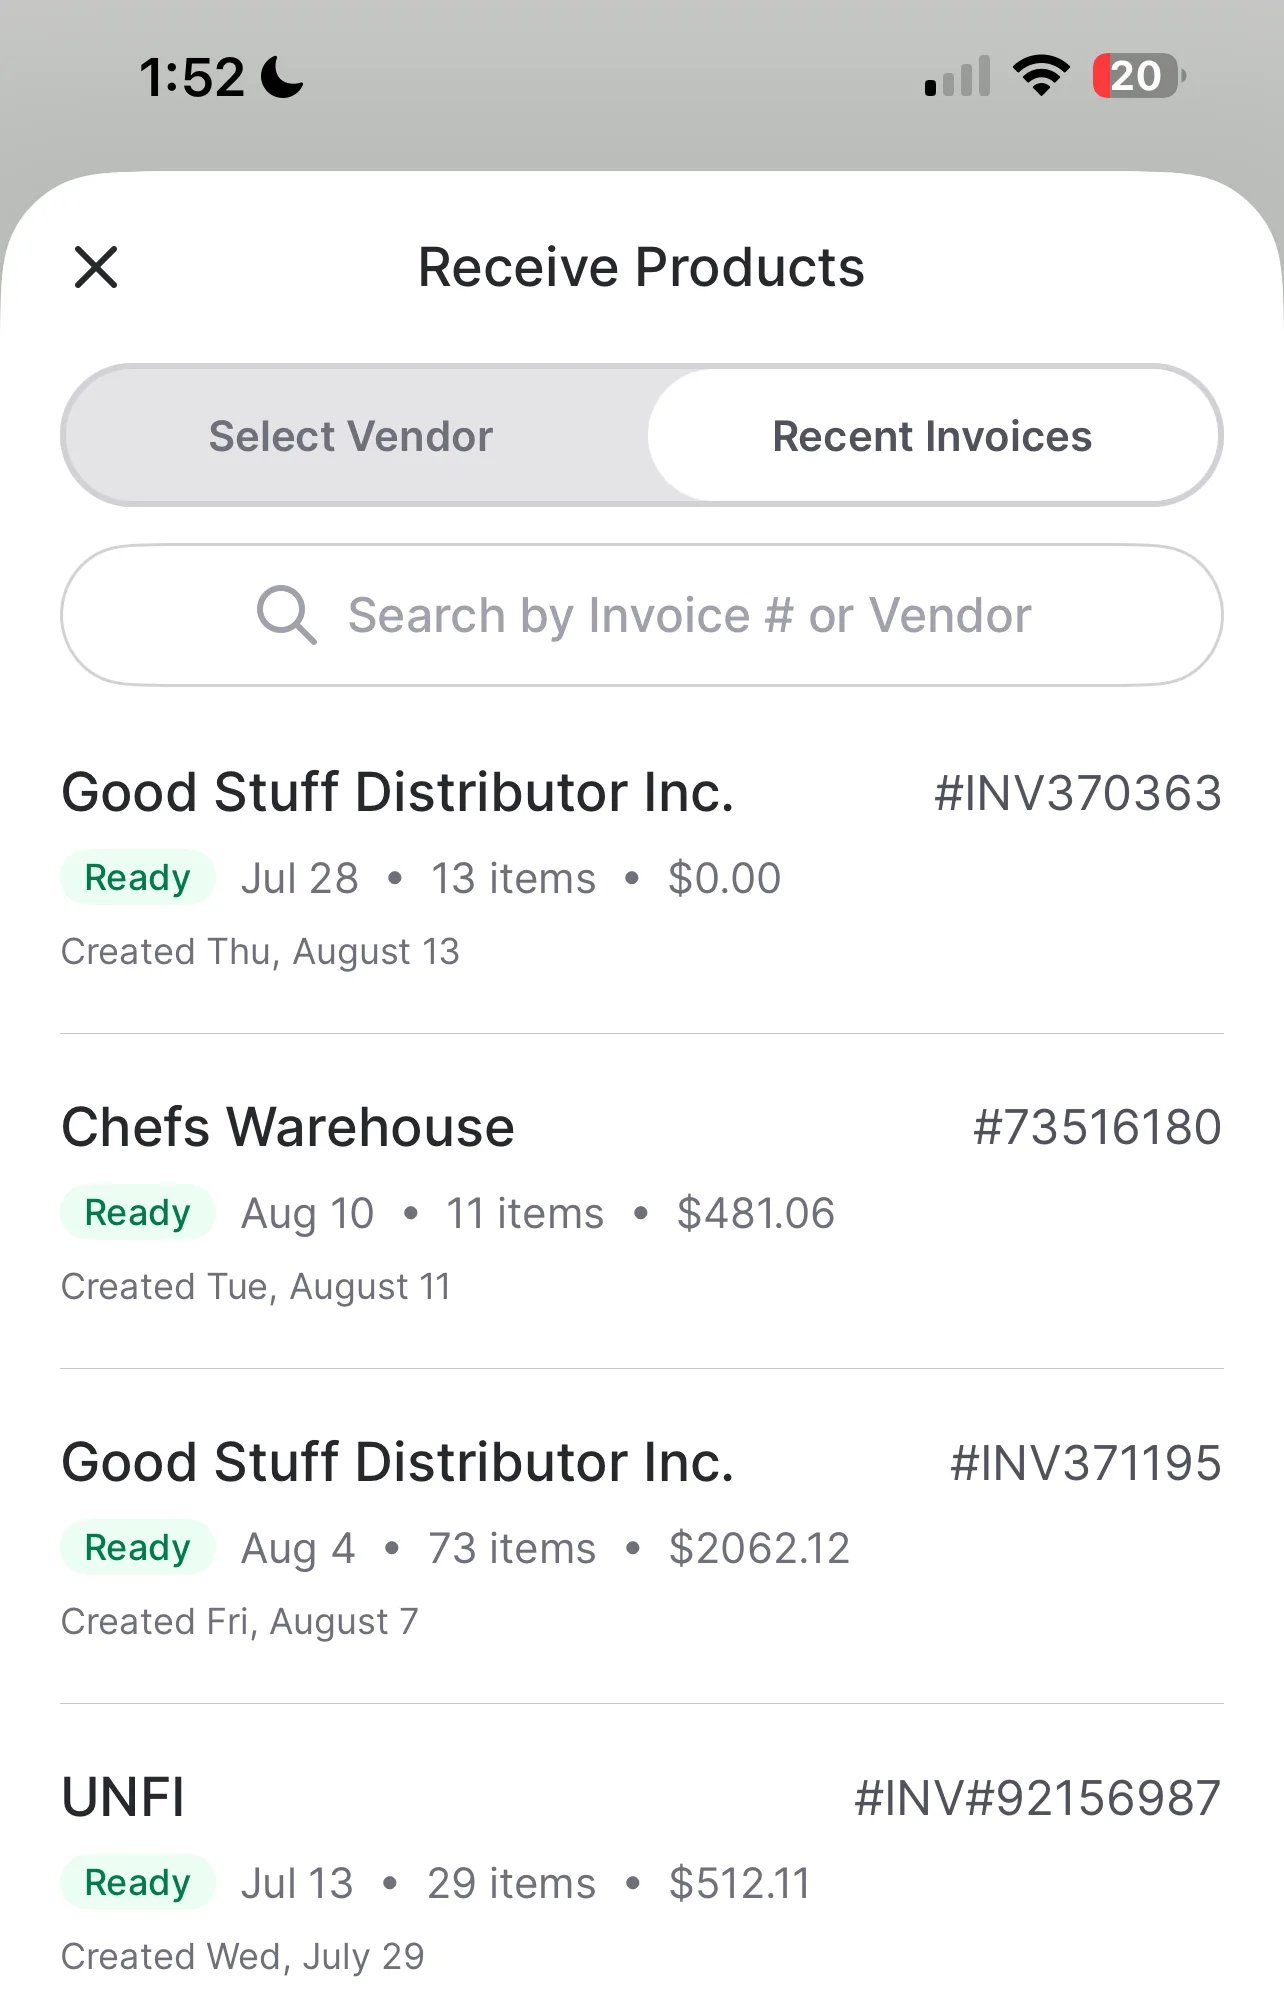
Recent invoices: If a vendor’s invoices are set up to forward into Vori automatically, they’ll already be queued up here, ready to receive against. If you upload an invoice yourself before the delivery arrives, it’ll show up here too. This is especially useful for stores using invoice forwarding rules — see Configure an Invoice Email Inbox for Automatic Cost Change Updates to set it up.
Scan the Invoice
Once you’ve selected a vendor, choose how you want to bring in the invoice: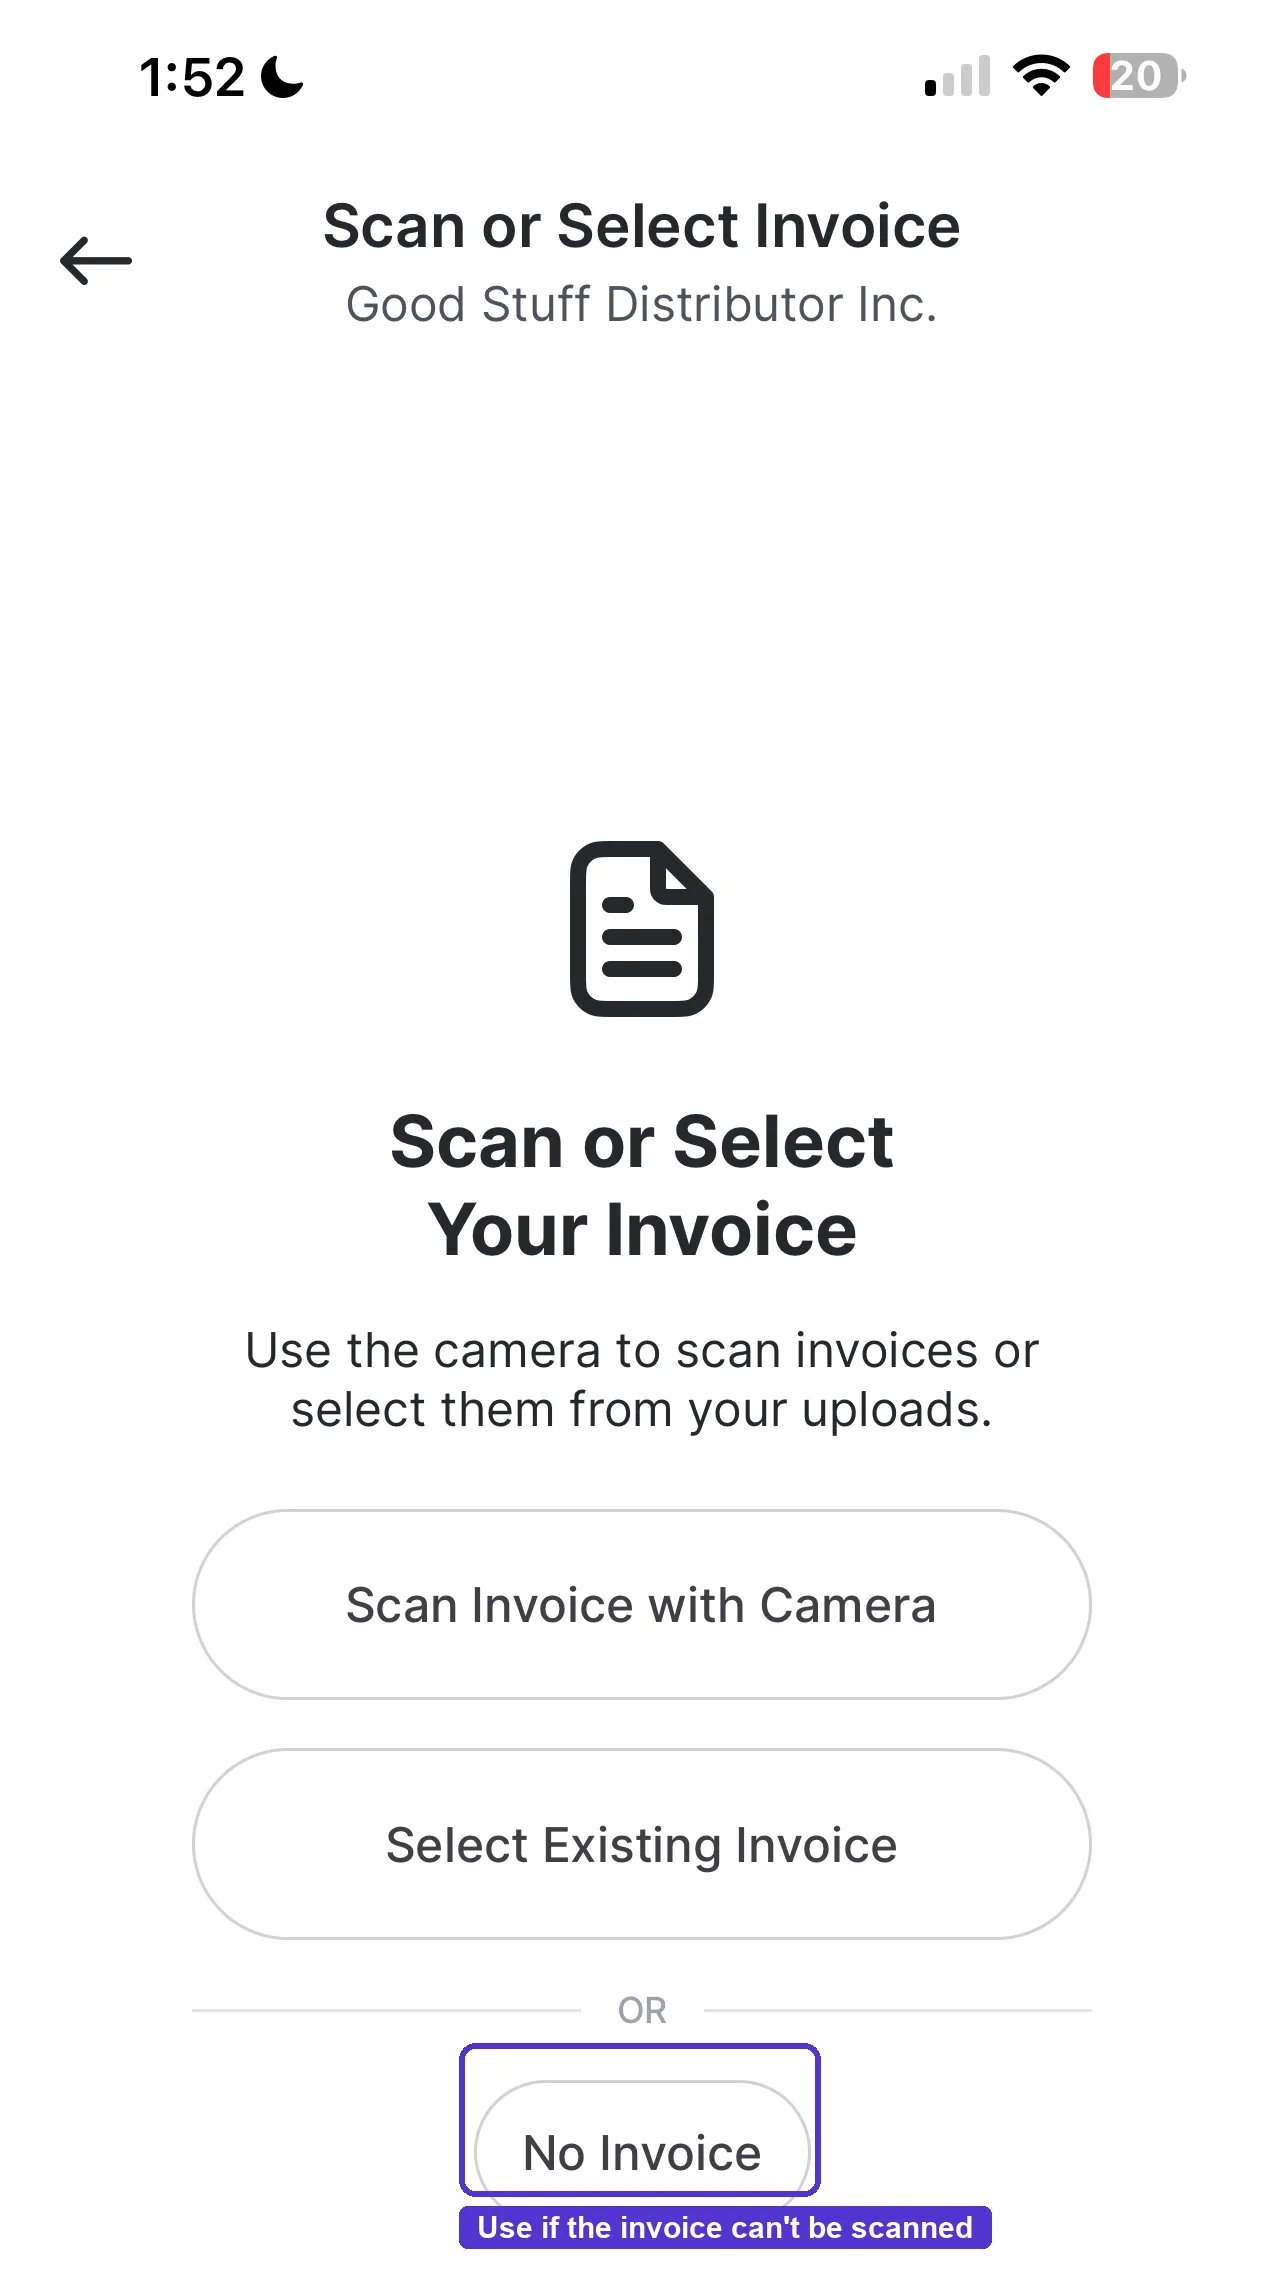
-
Scan Invoice with Camera: Scan the paper invoice directly from the delivery.
If your iPhone is attached to a Linea scanner, remove it from the sled first — the sled covers the camera and blocks the scan.
- Tap Scan Invoice with Camera.
- Scan the first page, then tap Add Page for any additional pages.
- Tap Continue once you’ve captured the full invoice.
-
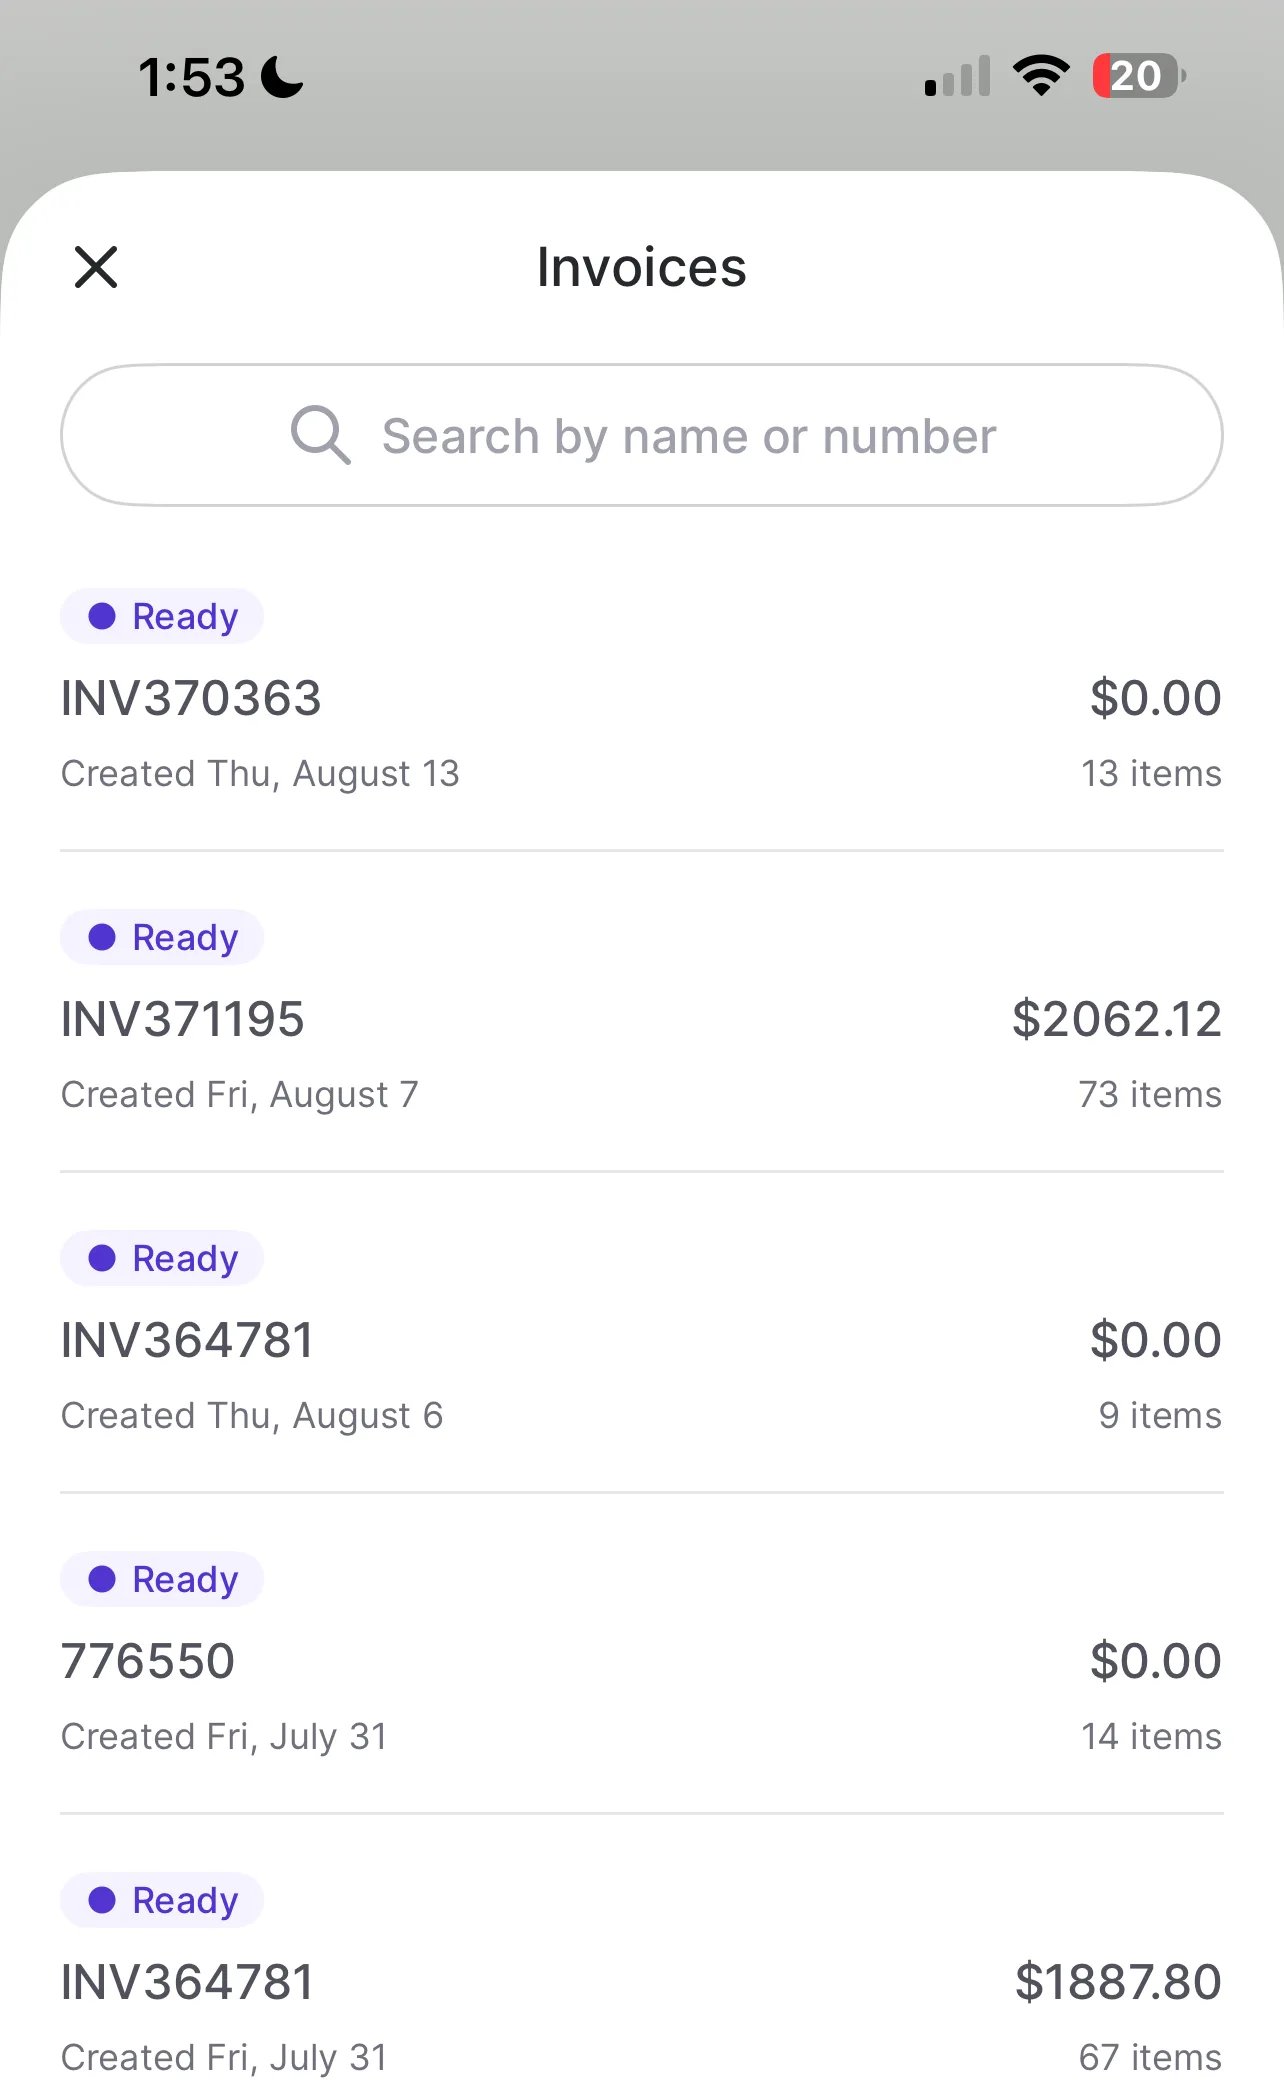
Select Existing Invoice: Choose from invoices already queued up for that vendor.
- No Invoice: Start a receiving session without an invoice attached. This is a good option if a paper invoice is handwritten or otherwise too poor quality to get a clean scan.
Choose How You Want to Receive
Before you start scanning items, choose one of two methods: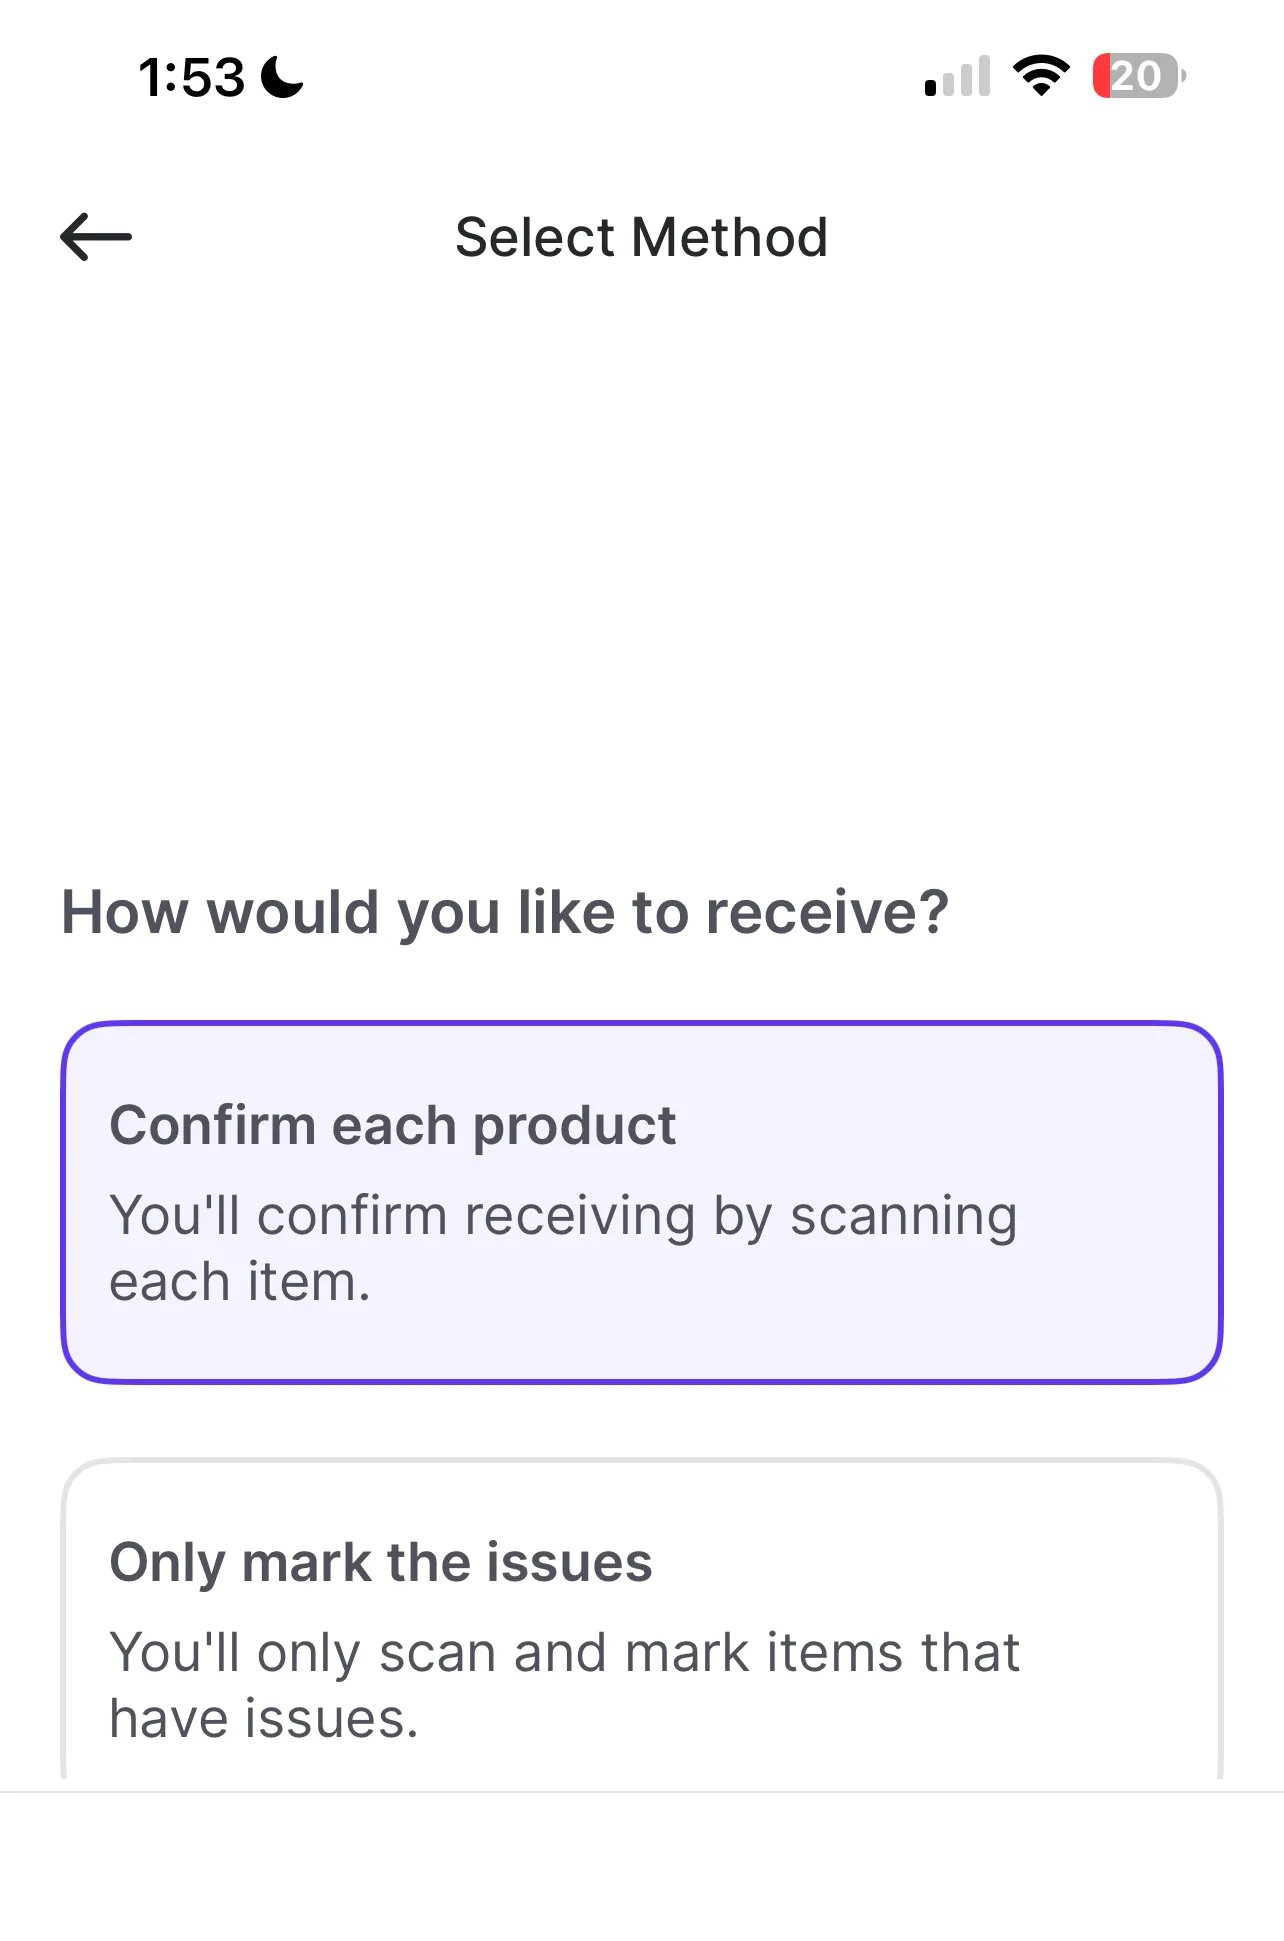
- Confirm each product: Vori assumes nothing has arrived until you scan or mark each item.
- Mark only issues: Vori assumes everything on the invoice arrived as expected. You only flag the items that came in short, damaged, or expired.
Mark Items as Received
If you chose Confirm each product, you’ll see every item on the invoice marked as not yet received until you scan or tap it.-
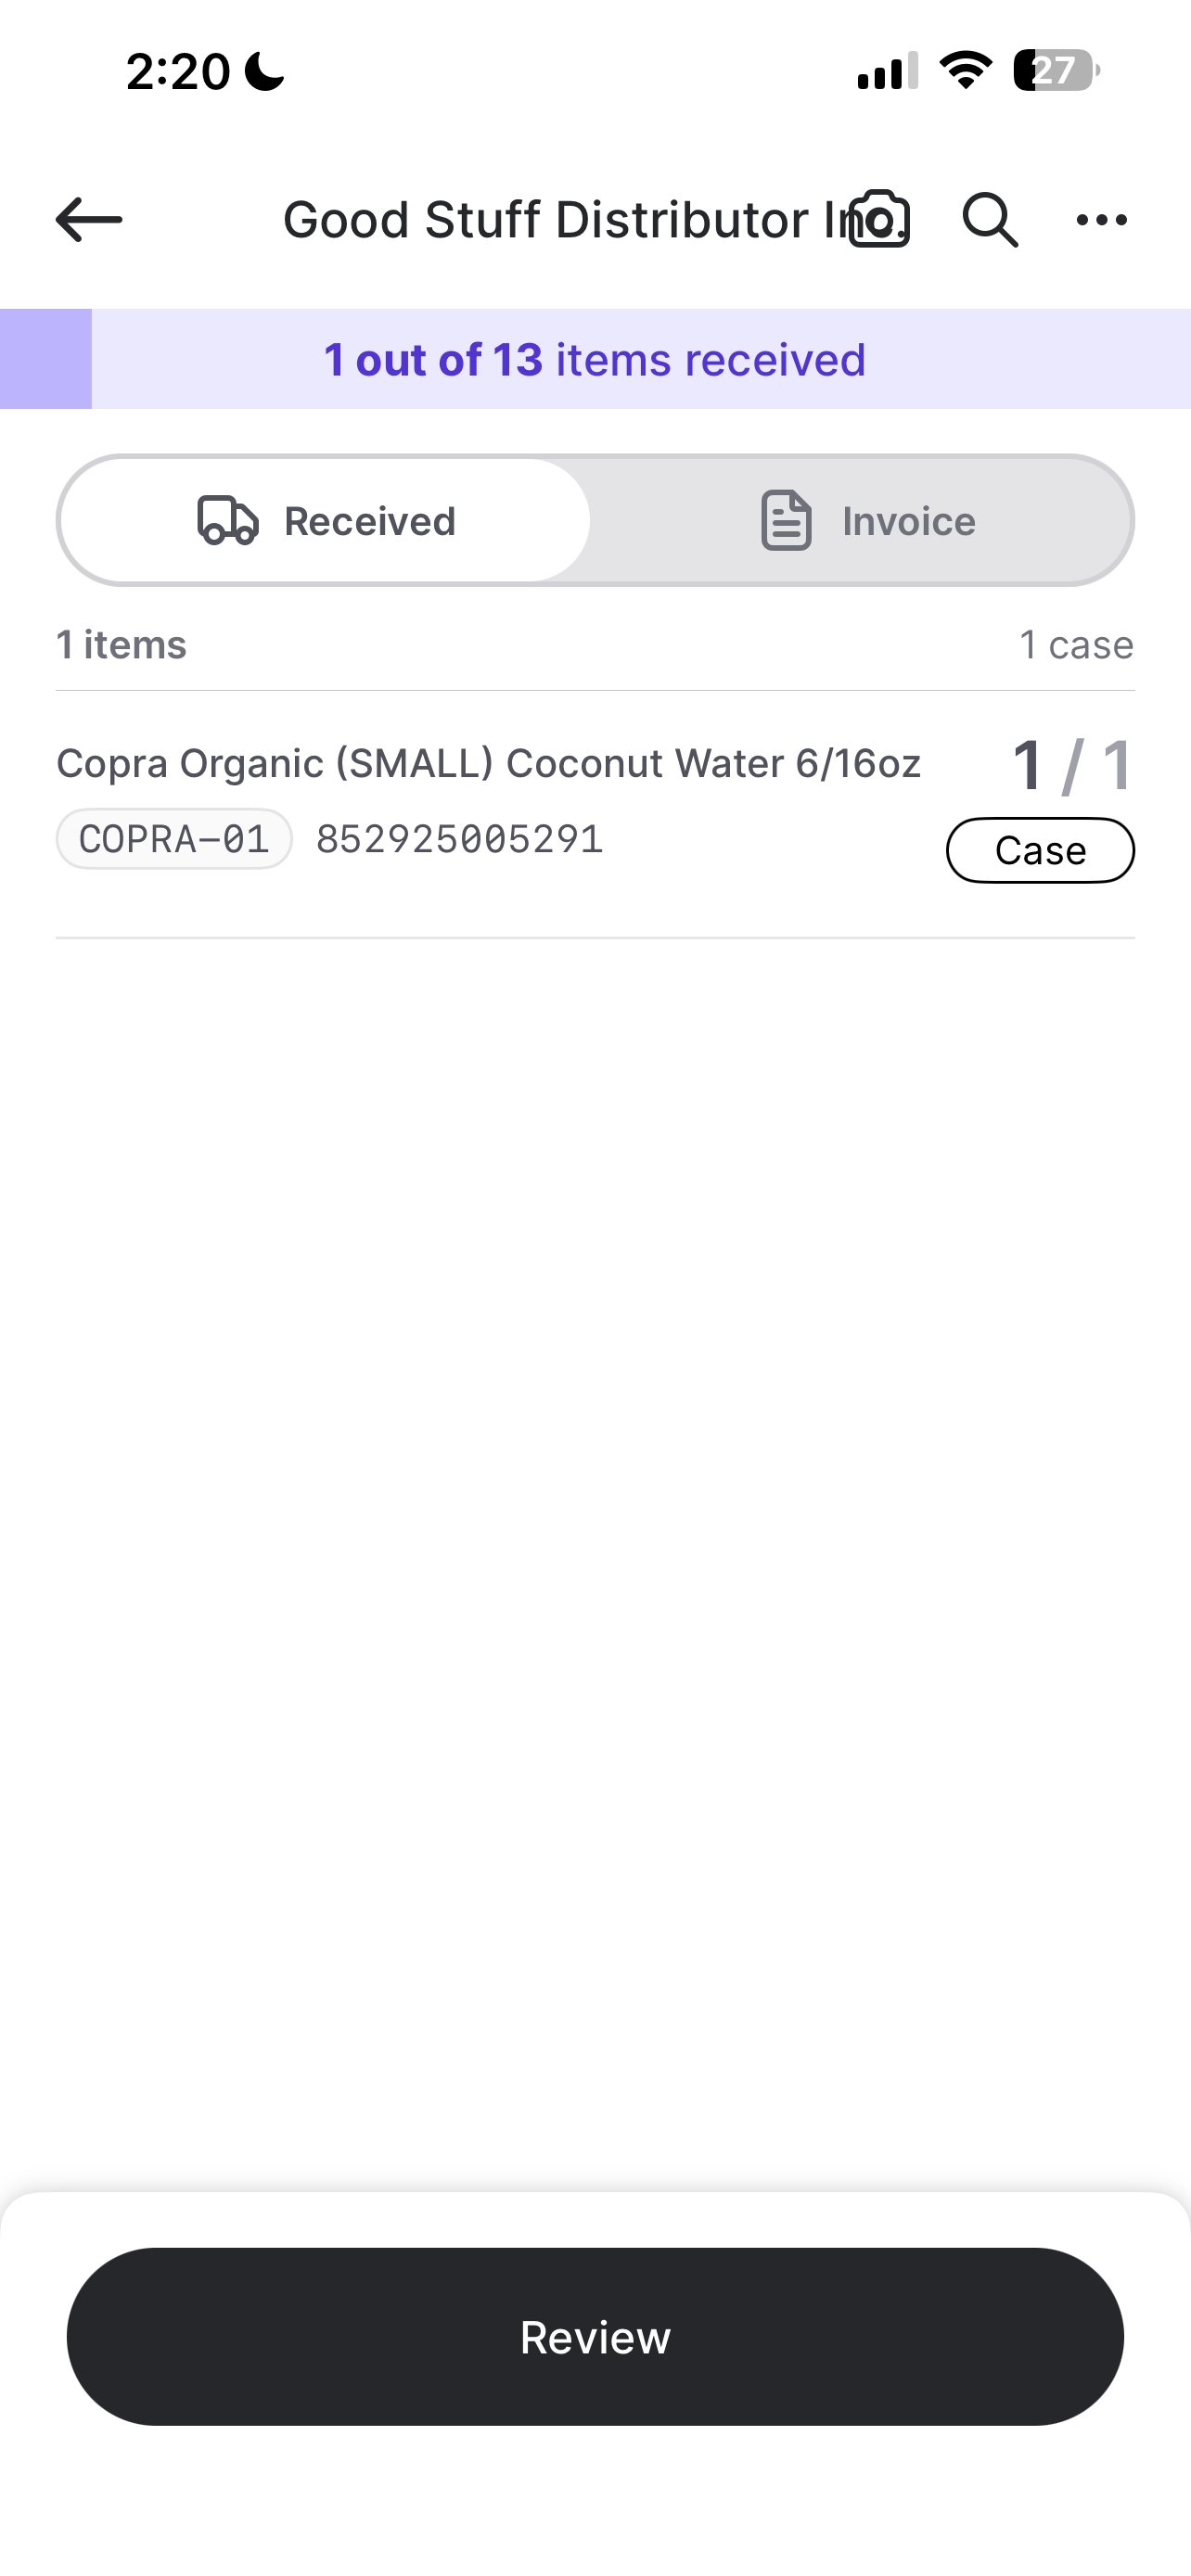
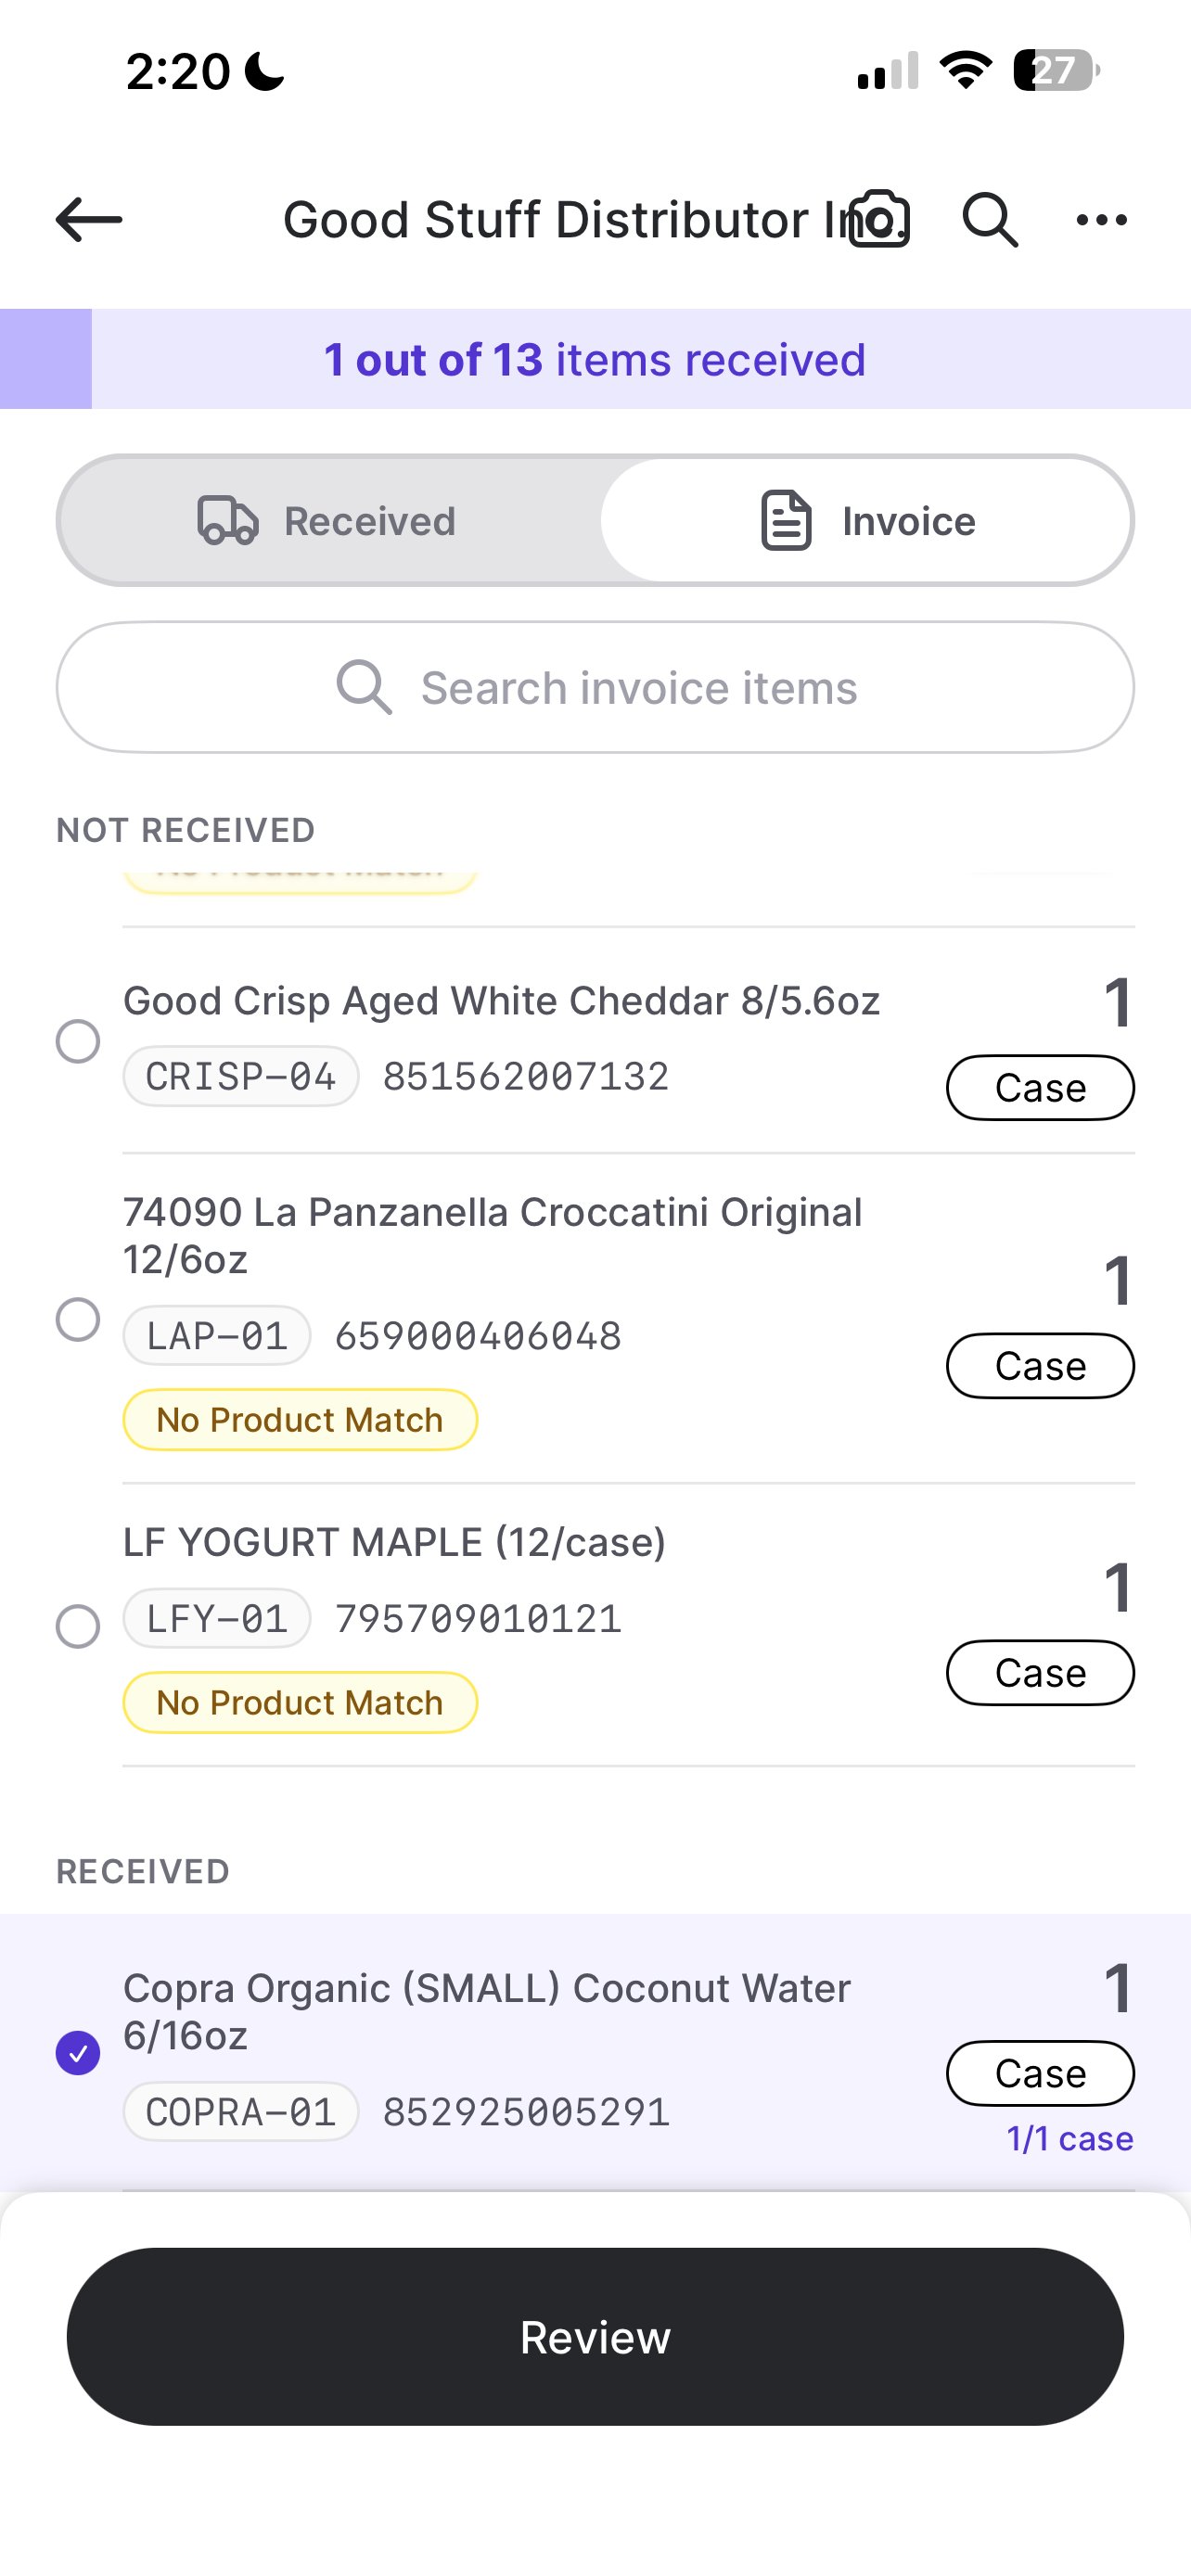
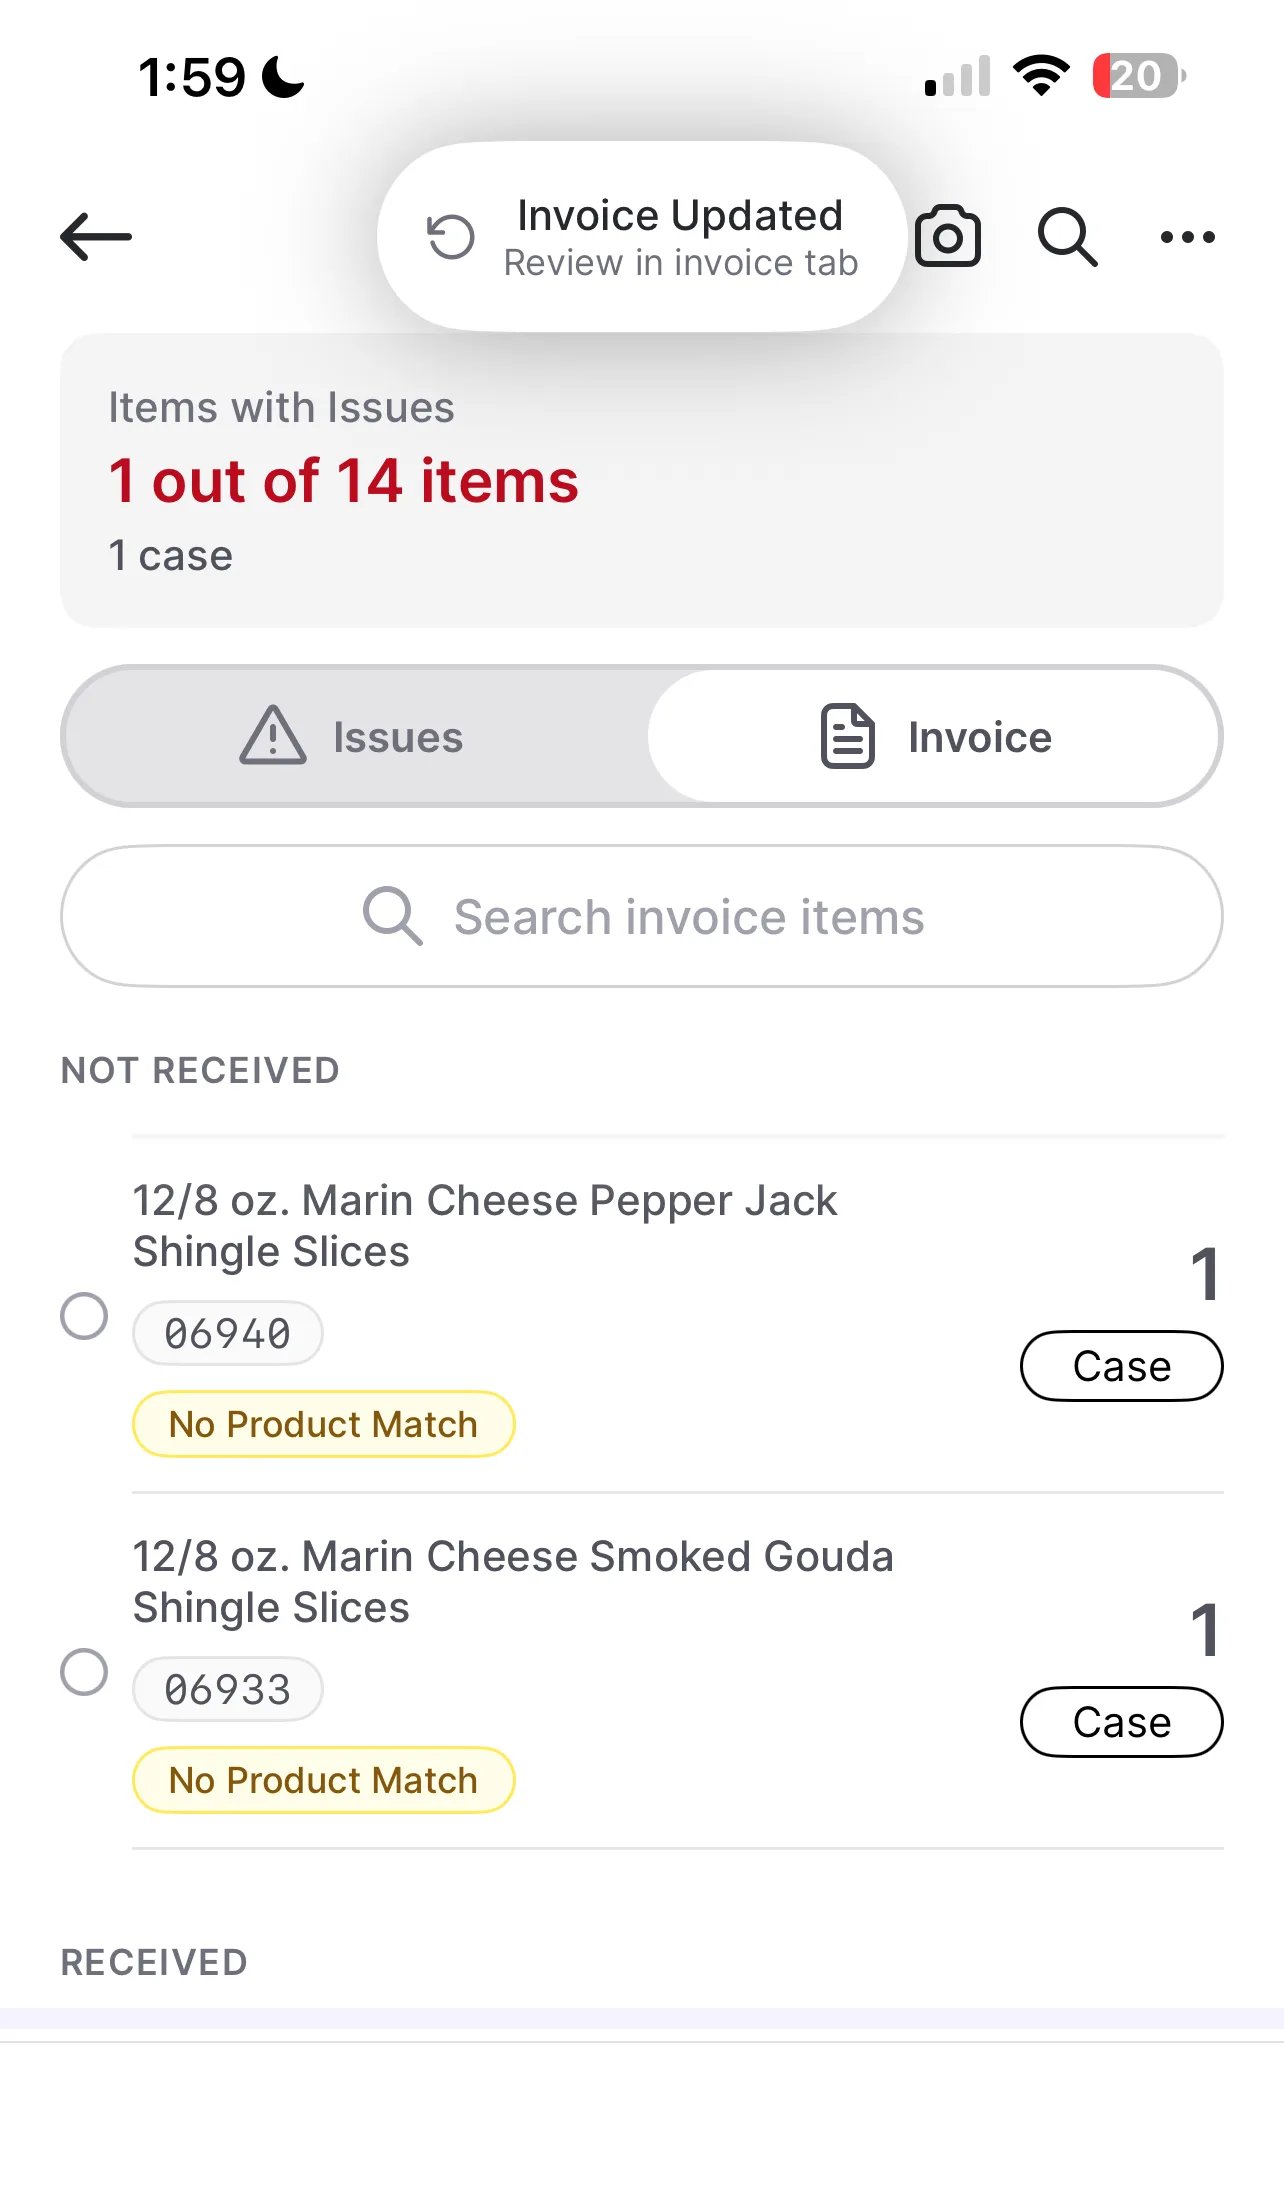
Scan or tap an item to bring up its details, or toggle to the Invoice tab to view every item on the invoice at once. The Received tab shows only what you’ve already checked in and your overall progress; the Invoice tab groups the full list into Not Received and Received sections, so you can see what’s still outstanding at a glance.
-
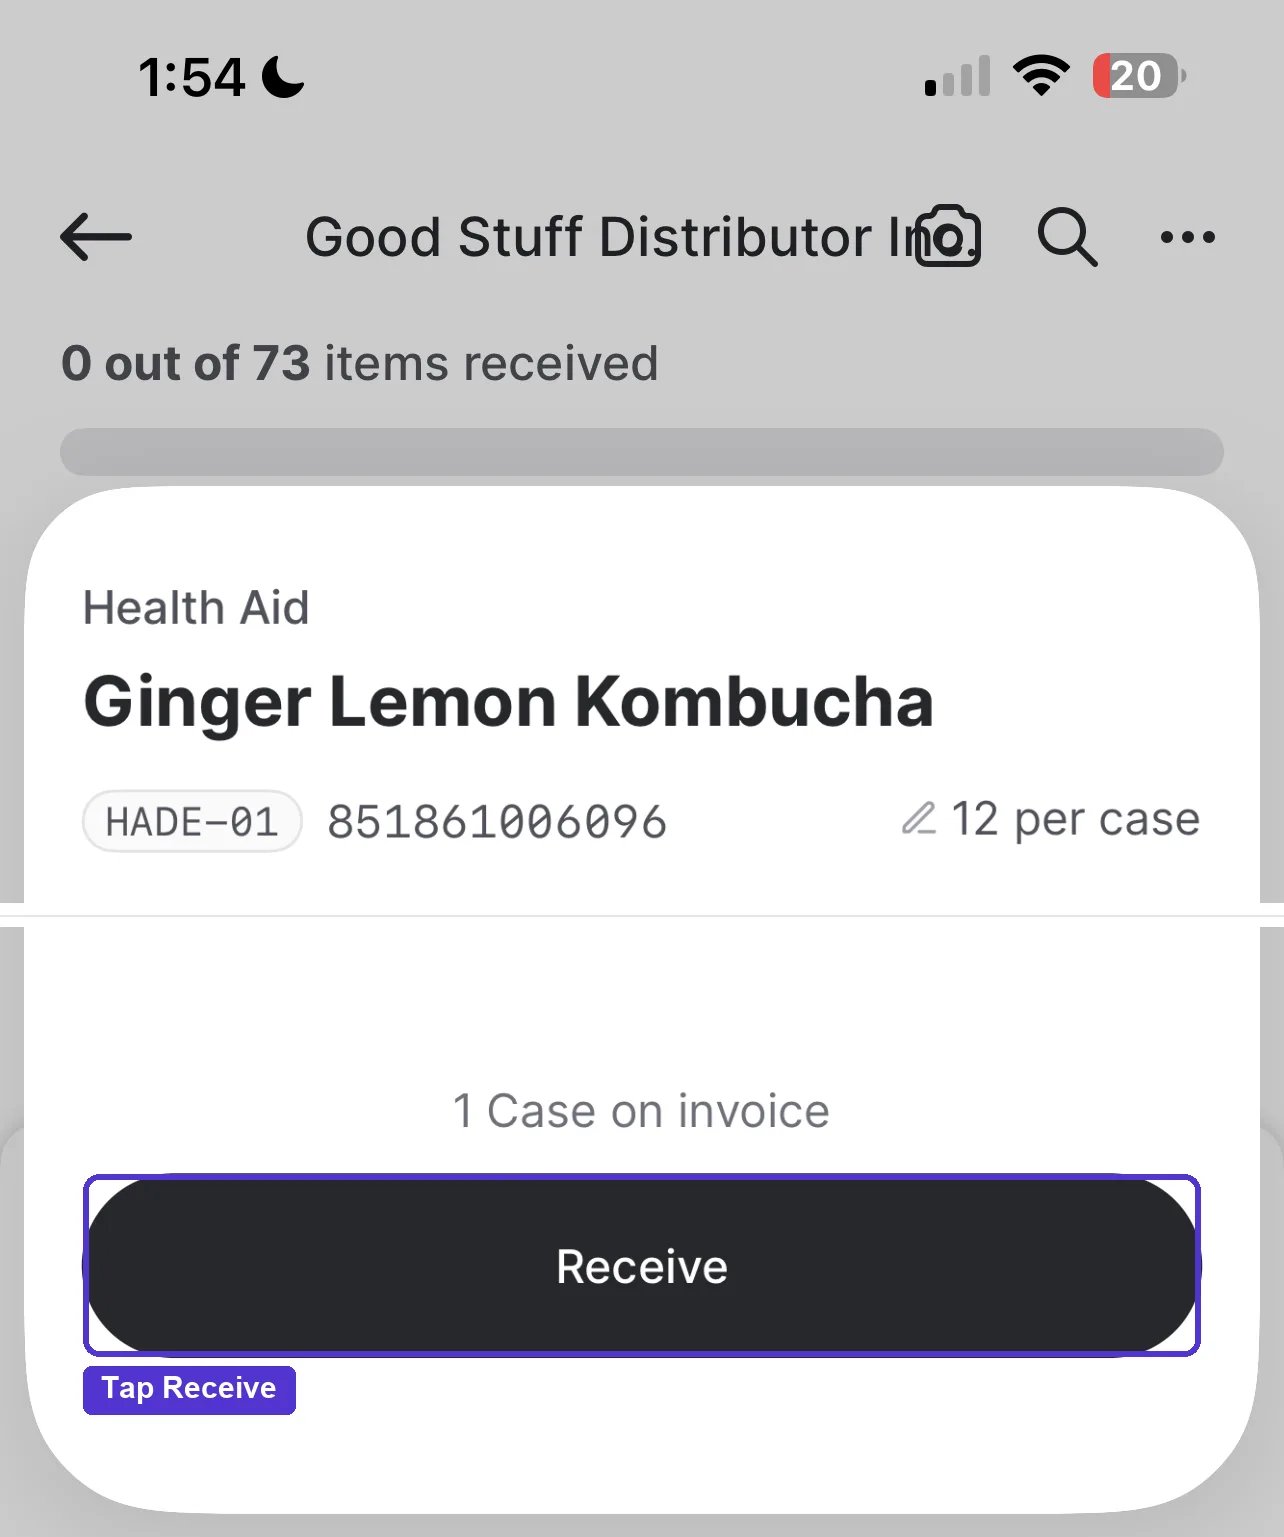
Tap Receive at the bottom of an item’s page to mark it received, or to note an issue with it first.
-
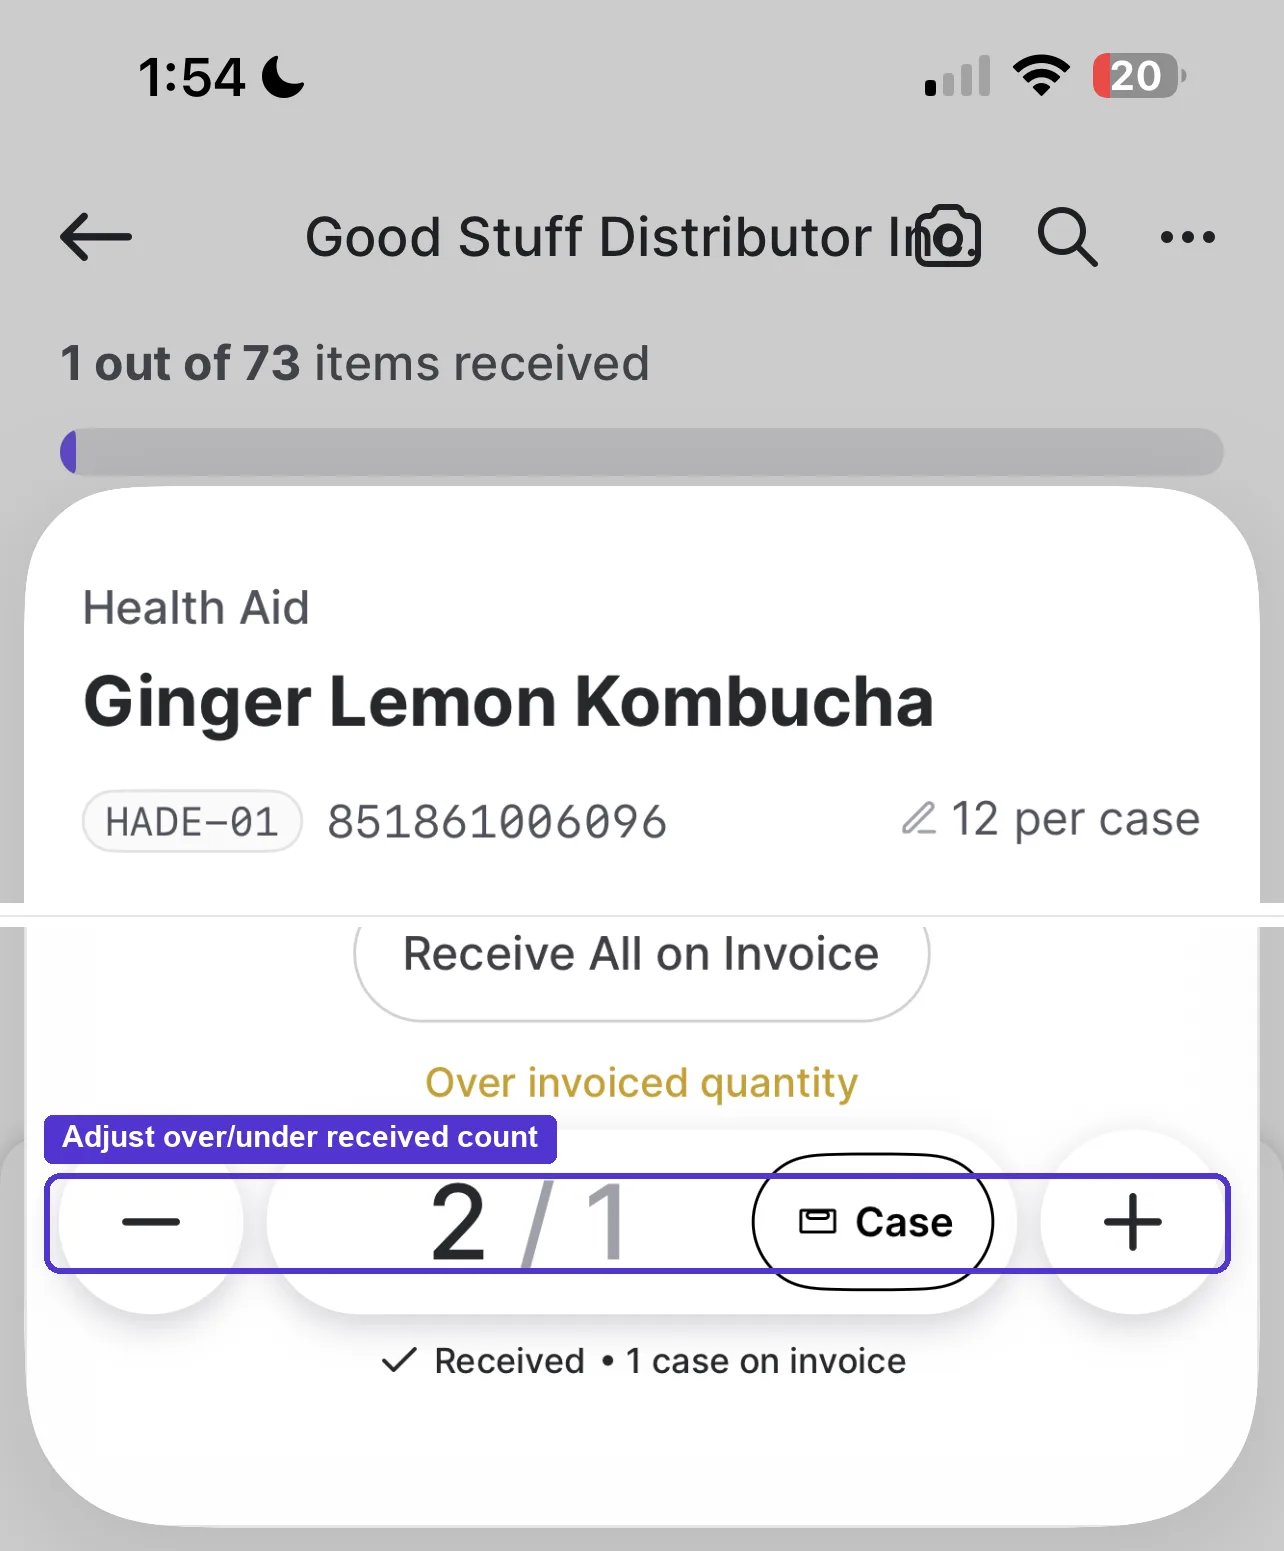
If the quantity on the invoice doesn’t match what’s printed on the delivery, tap Edit to update the quantity and unit of measure.
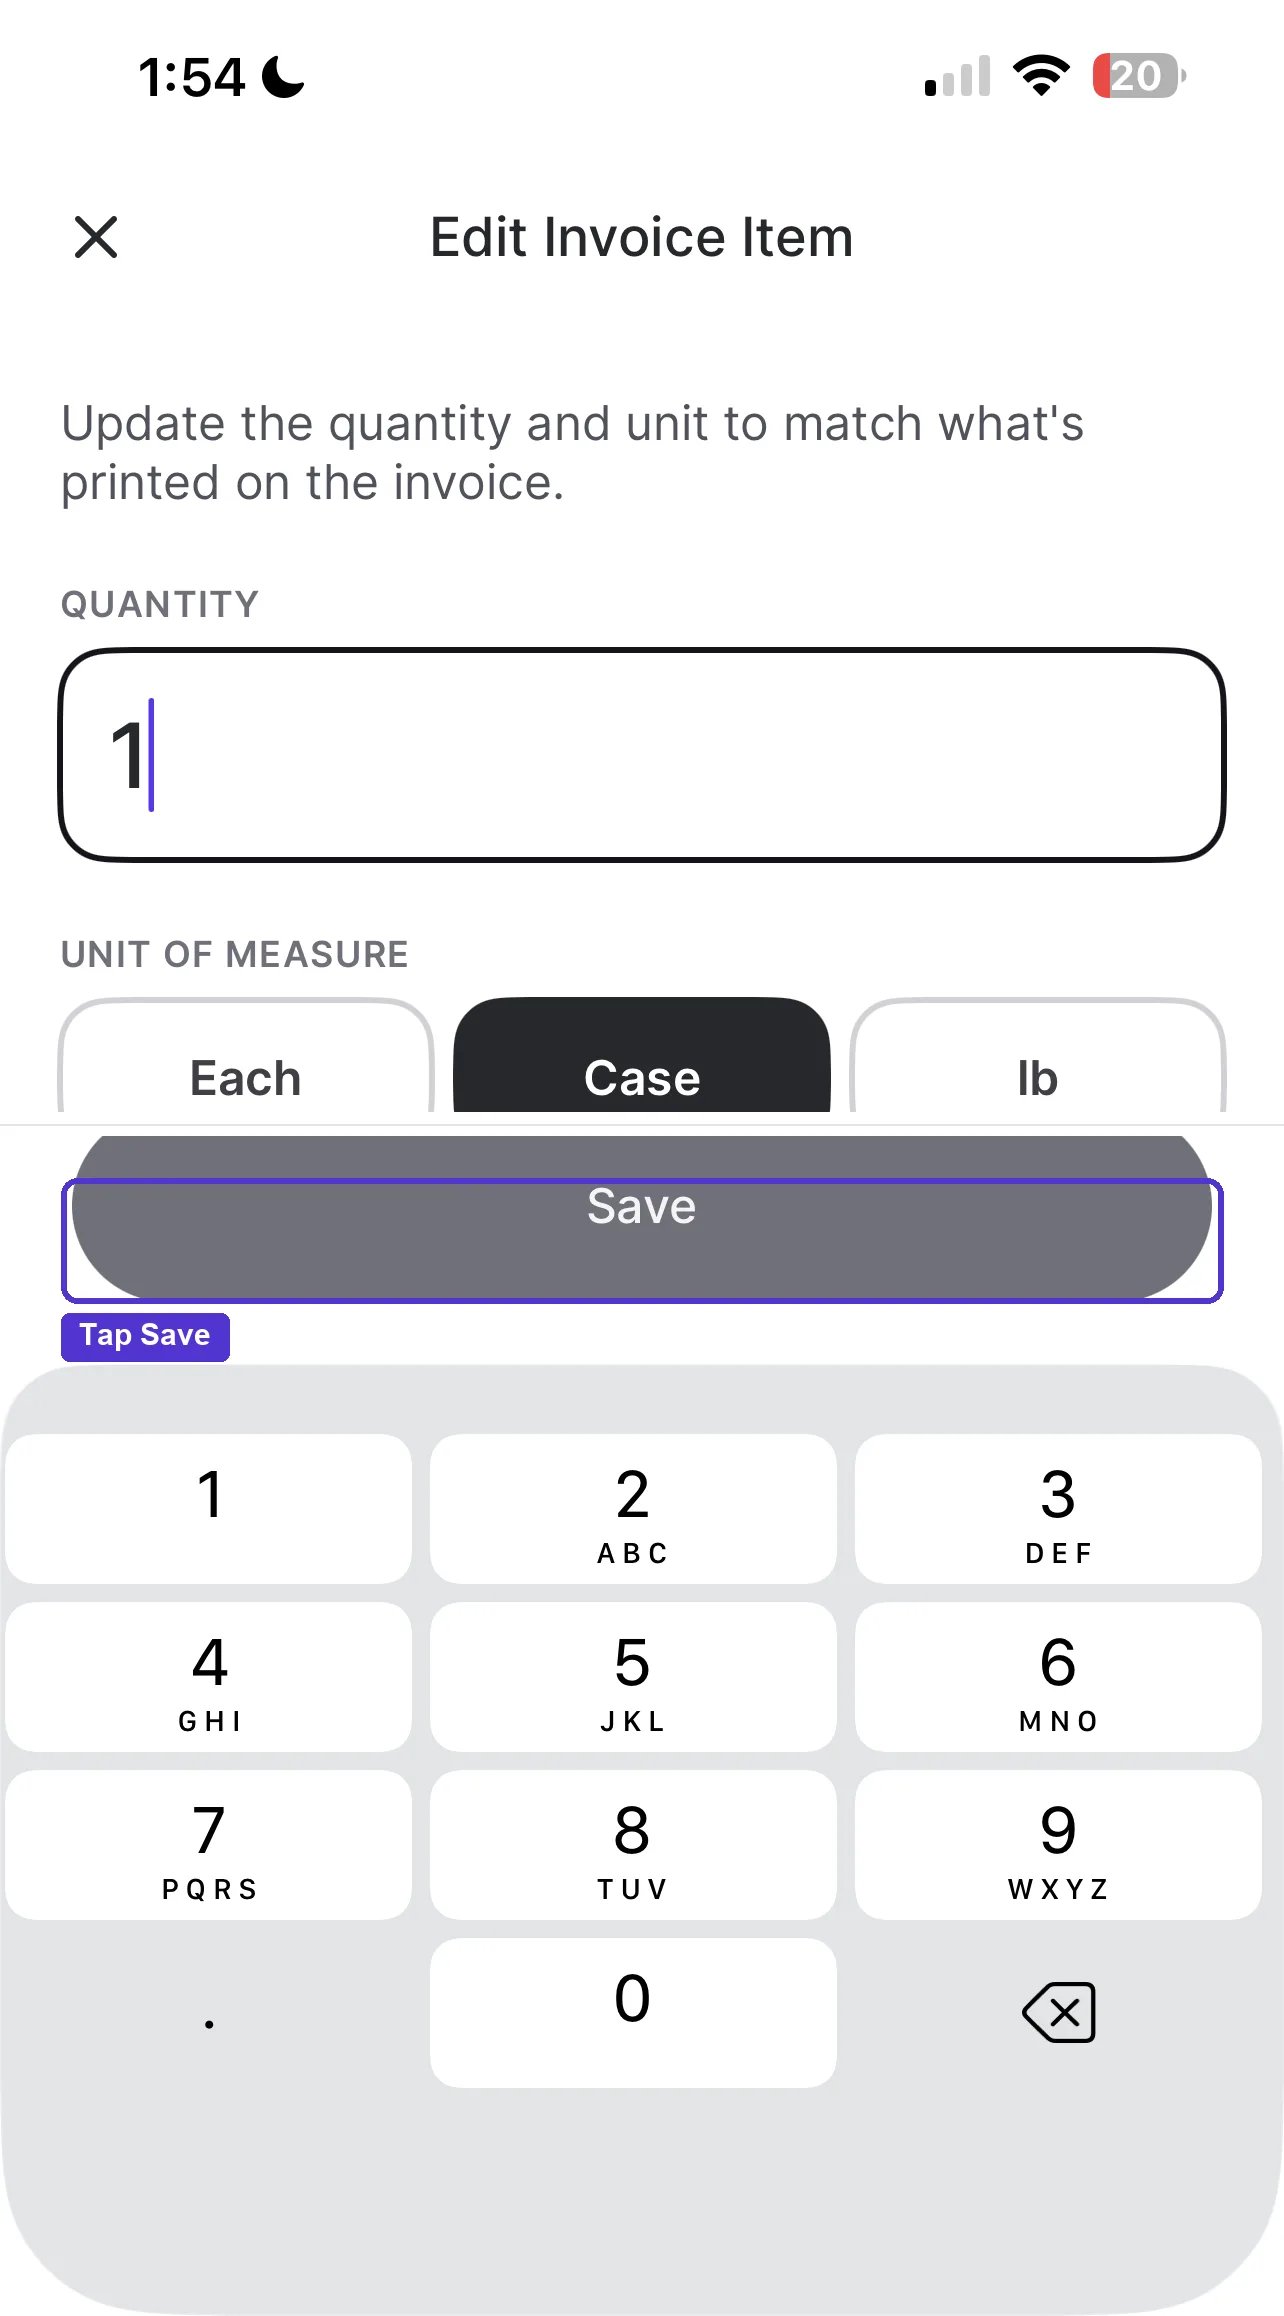
-
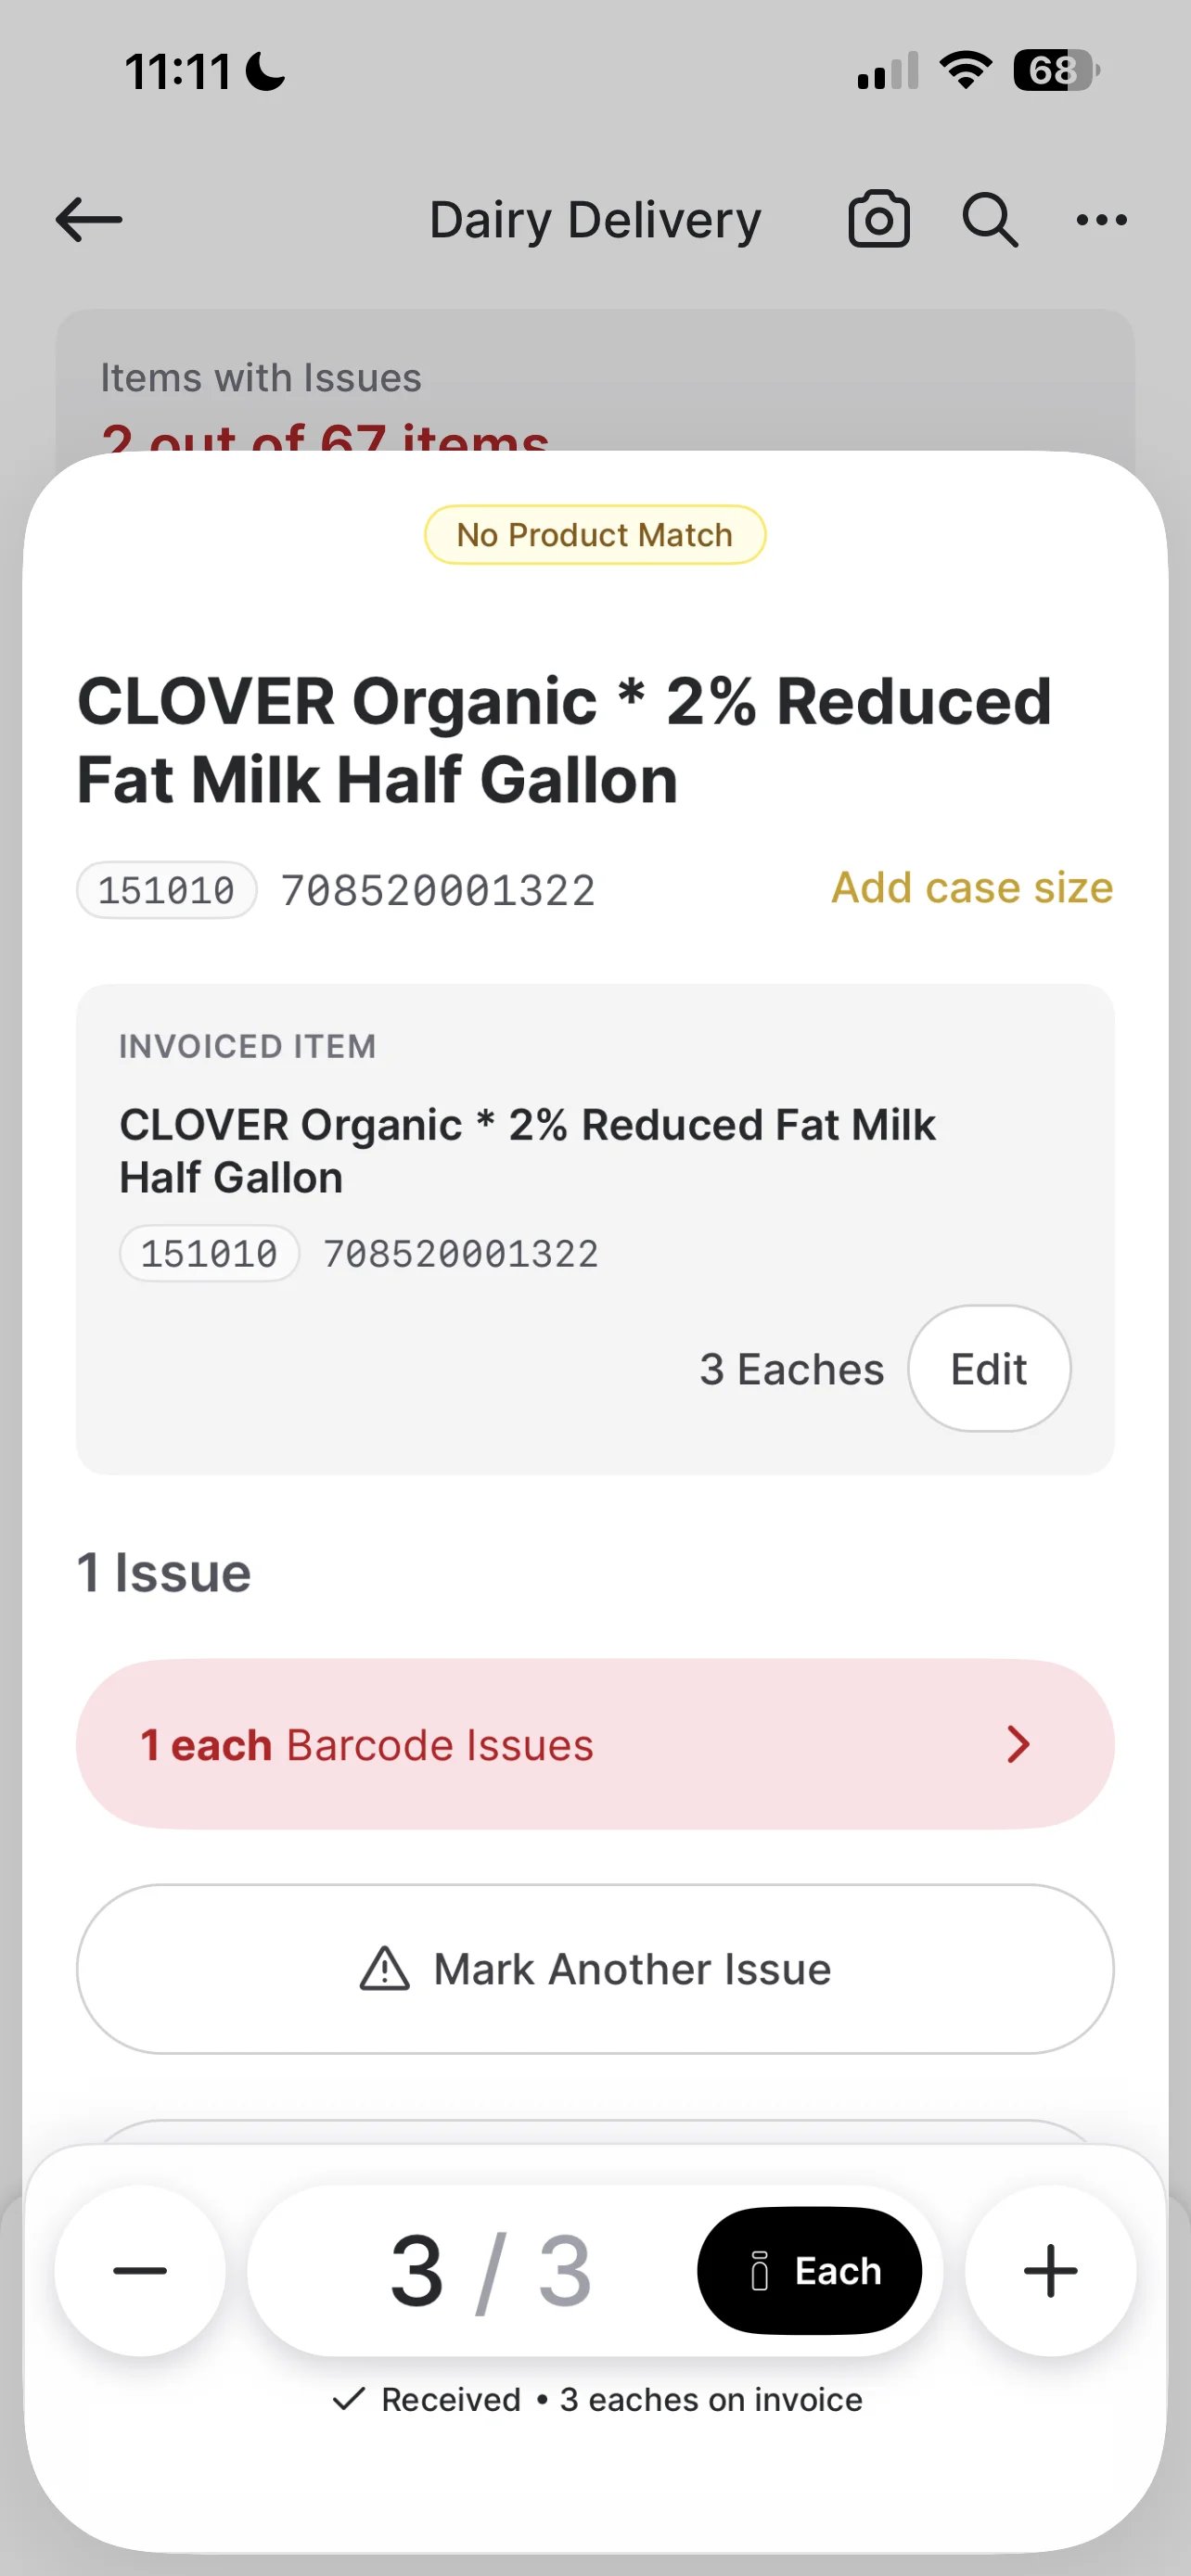
If an item isn’t in your catalog yet, it shows as No Product Match. Tap Add Case Size to tell Vori how many units are in a case, so it knows how much to add to inventory.
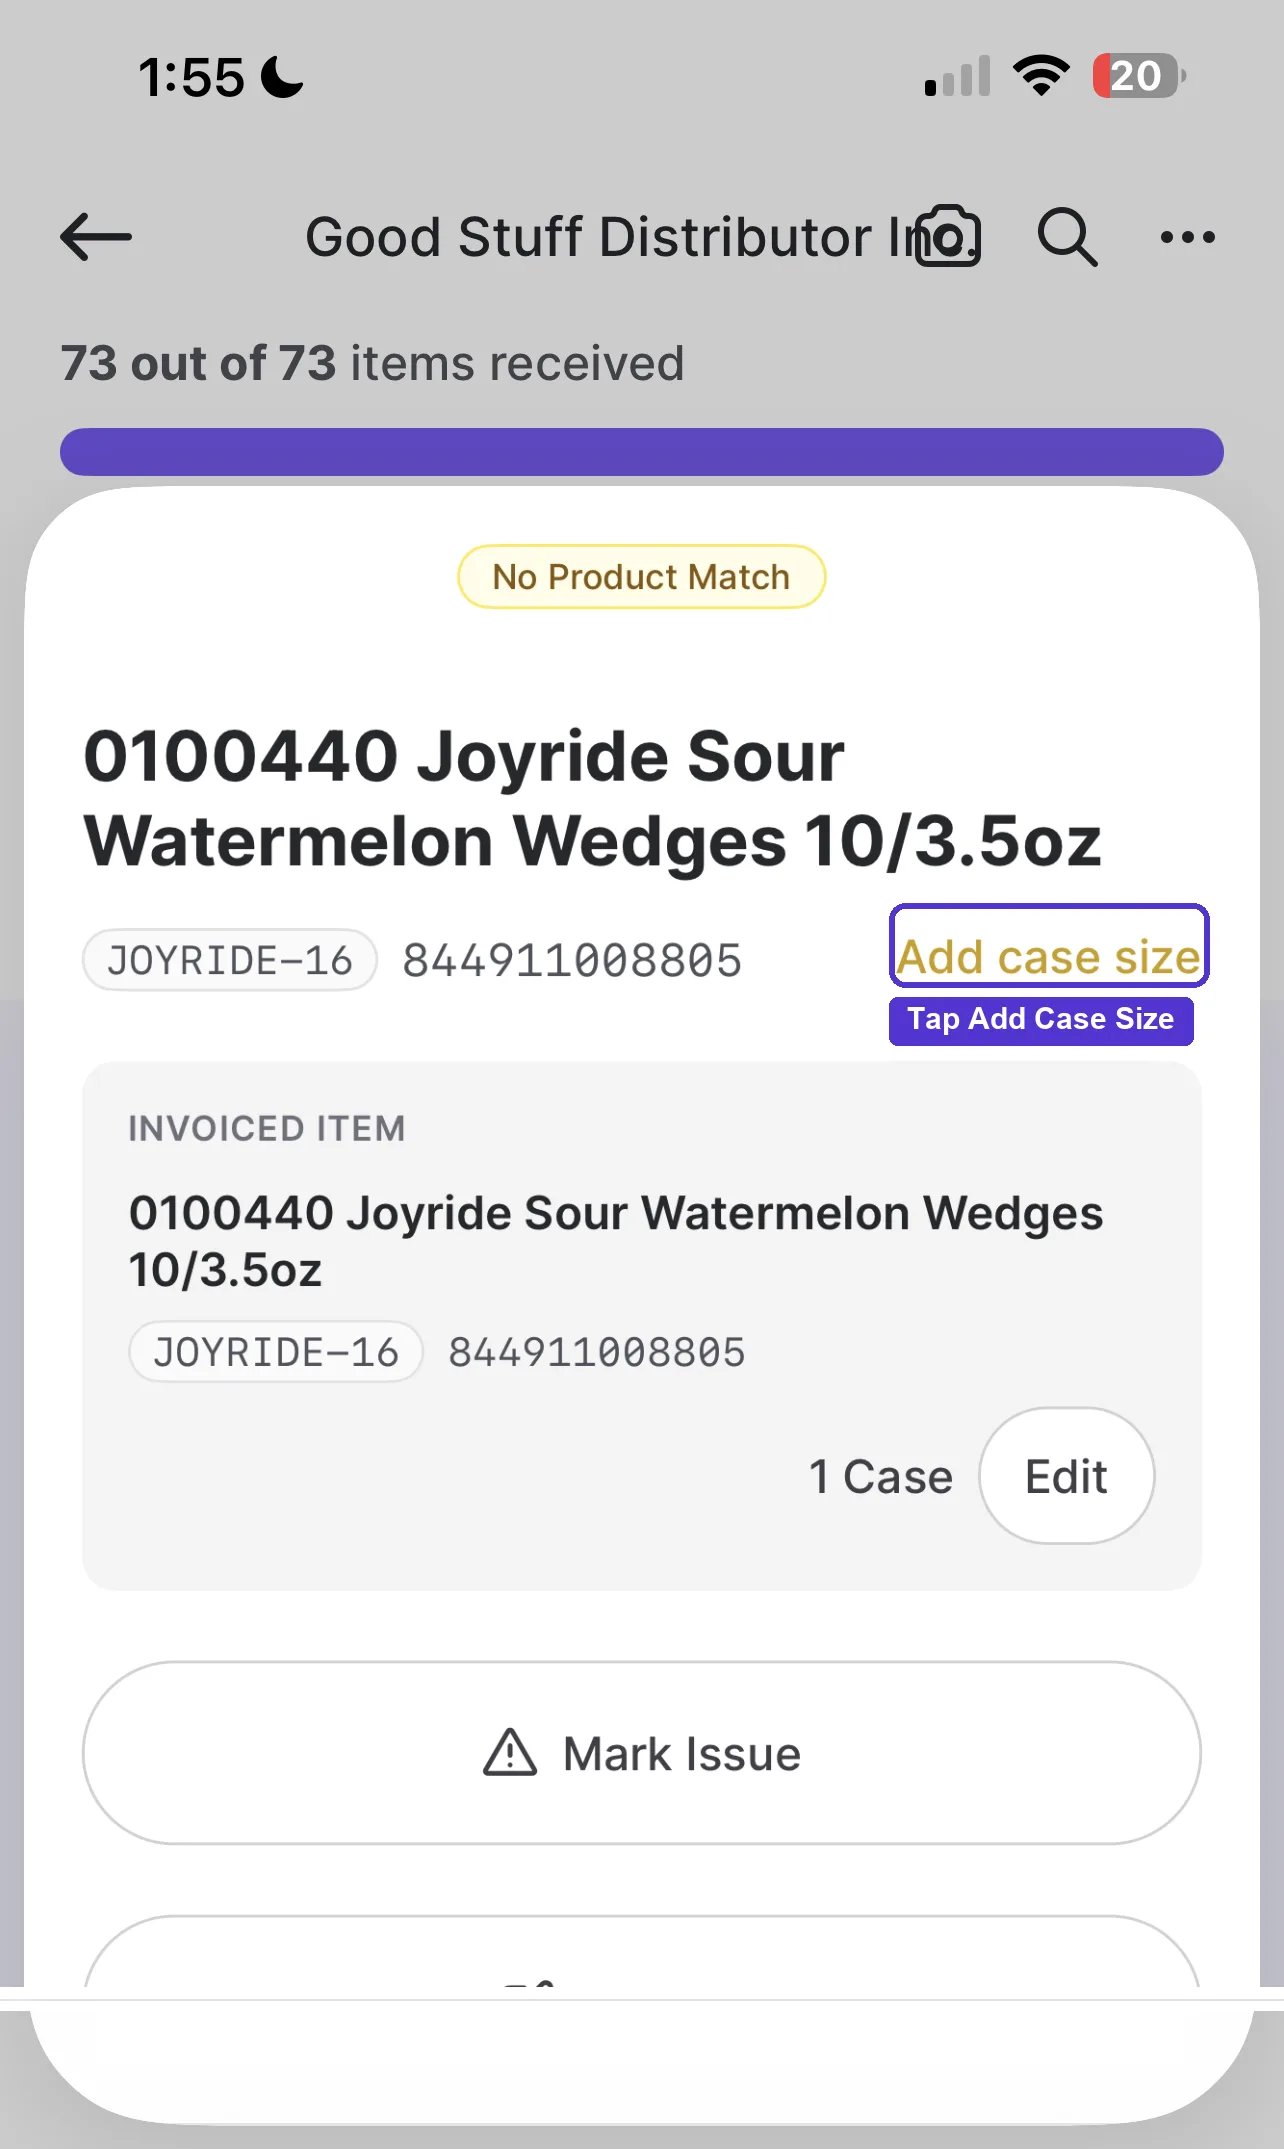
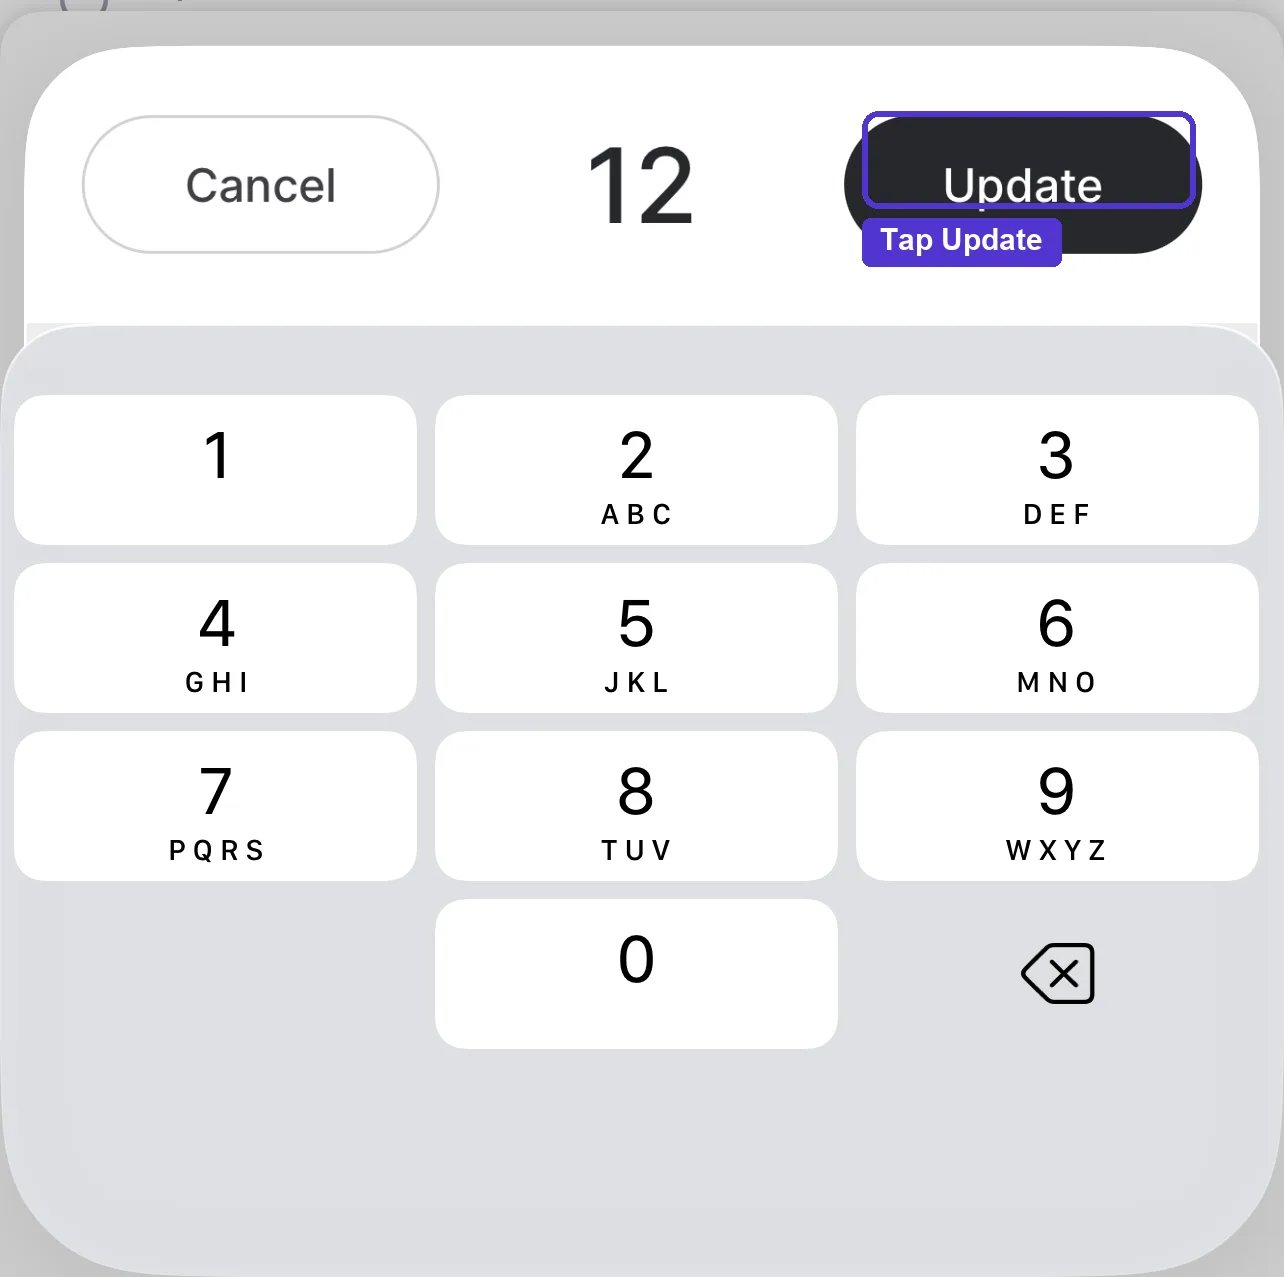
- If you receive something that isn’t on the invoice, it shows as Item Not On Invoice. You can still mark it received and add a note if you want to flag it for the vendor.
Flag an Issue
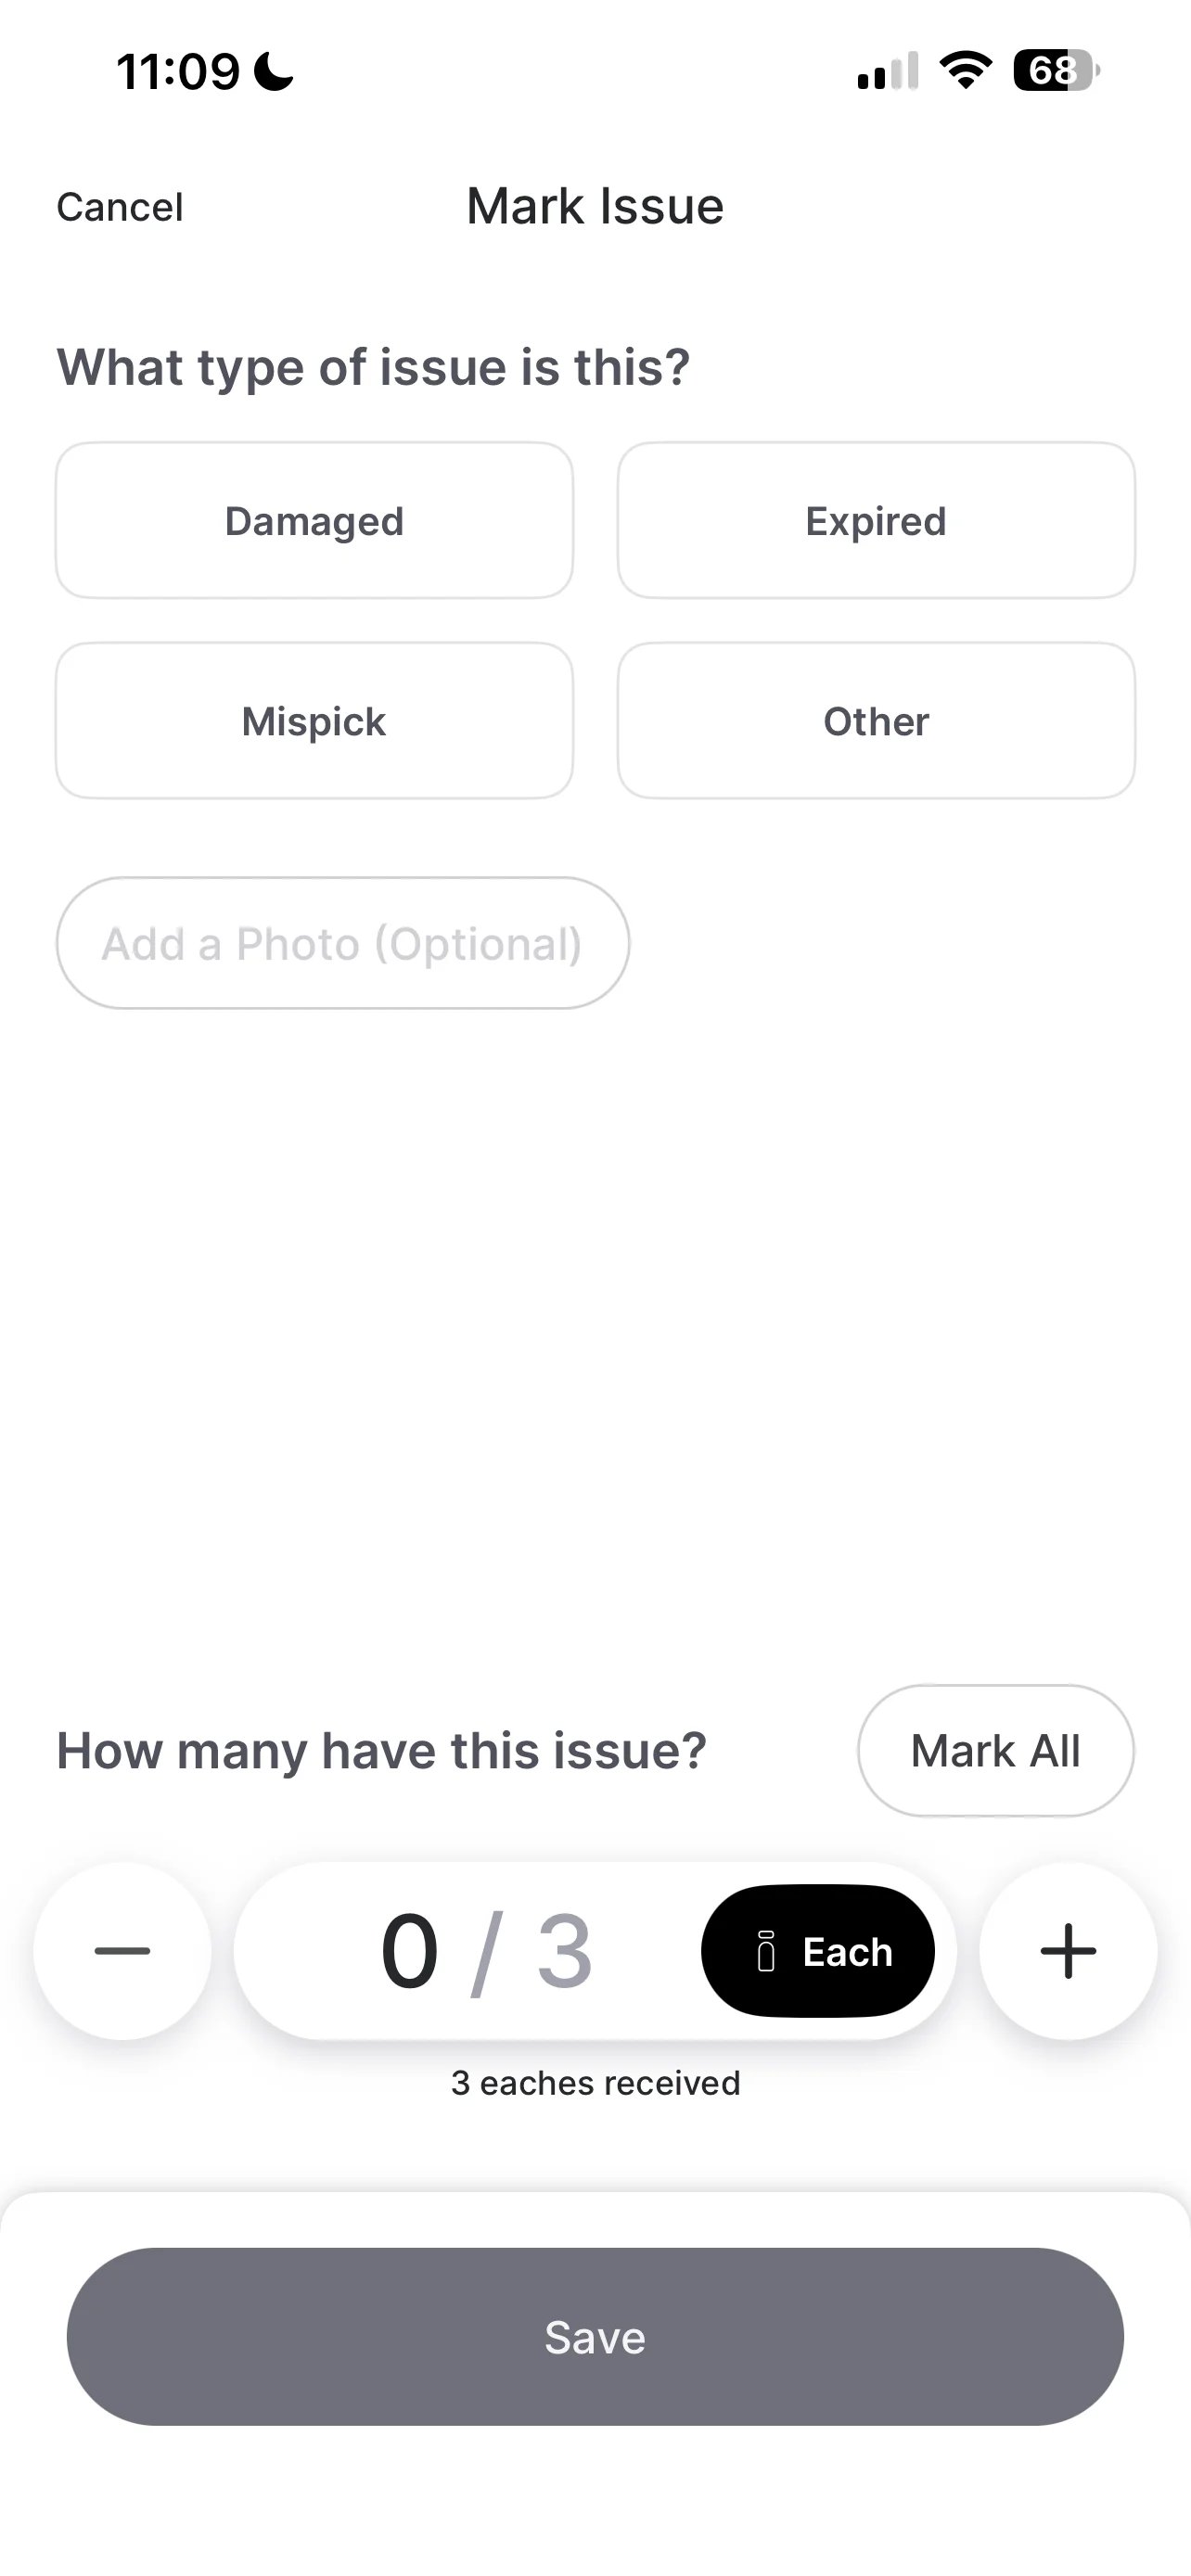
When an item didn’t arrive as expected:- Tap the item, then tap Mark an Issue.
-
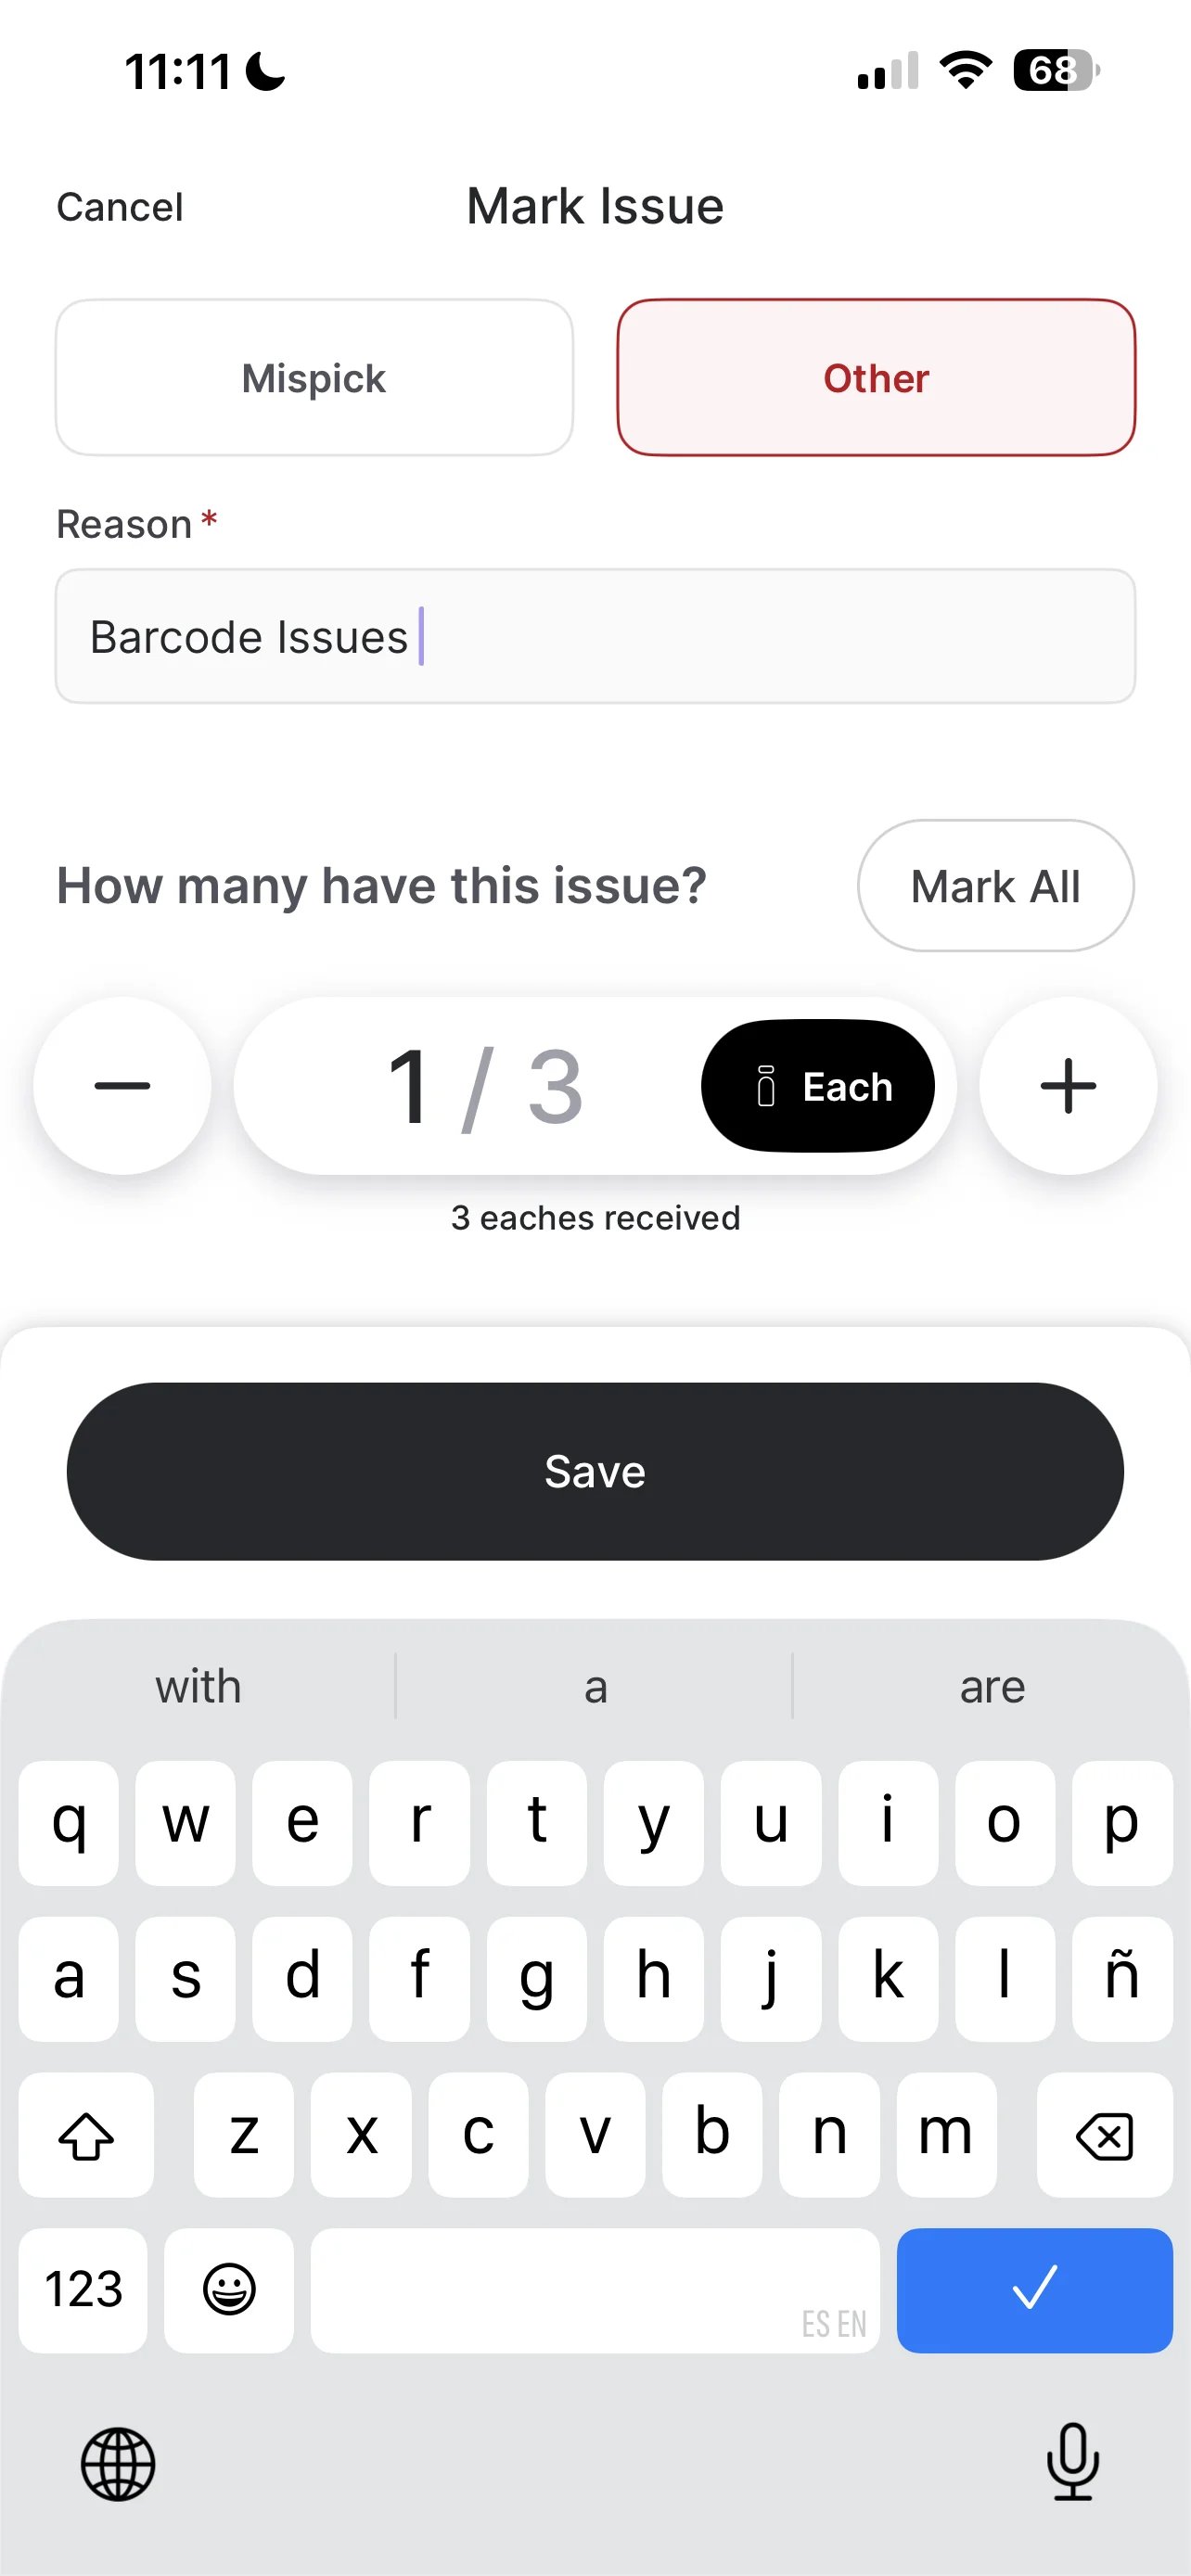
Choose the issue type: Damaged, Expired, Mispick, or Other.
If you choose Other, enter a Reason to describe the issue.
-
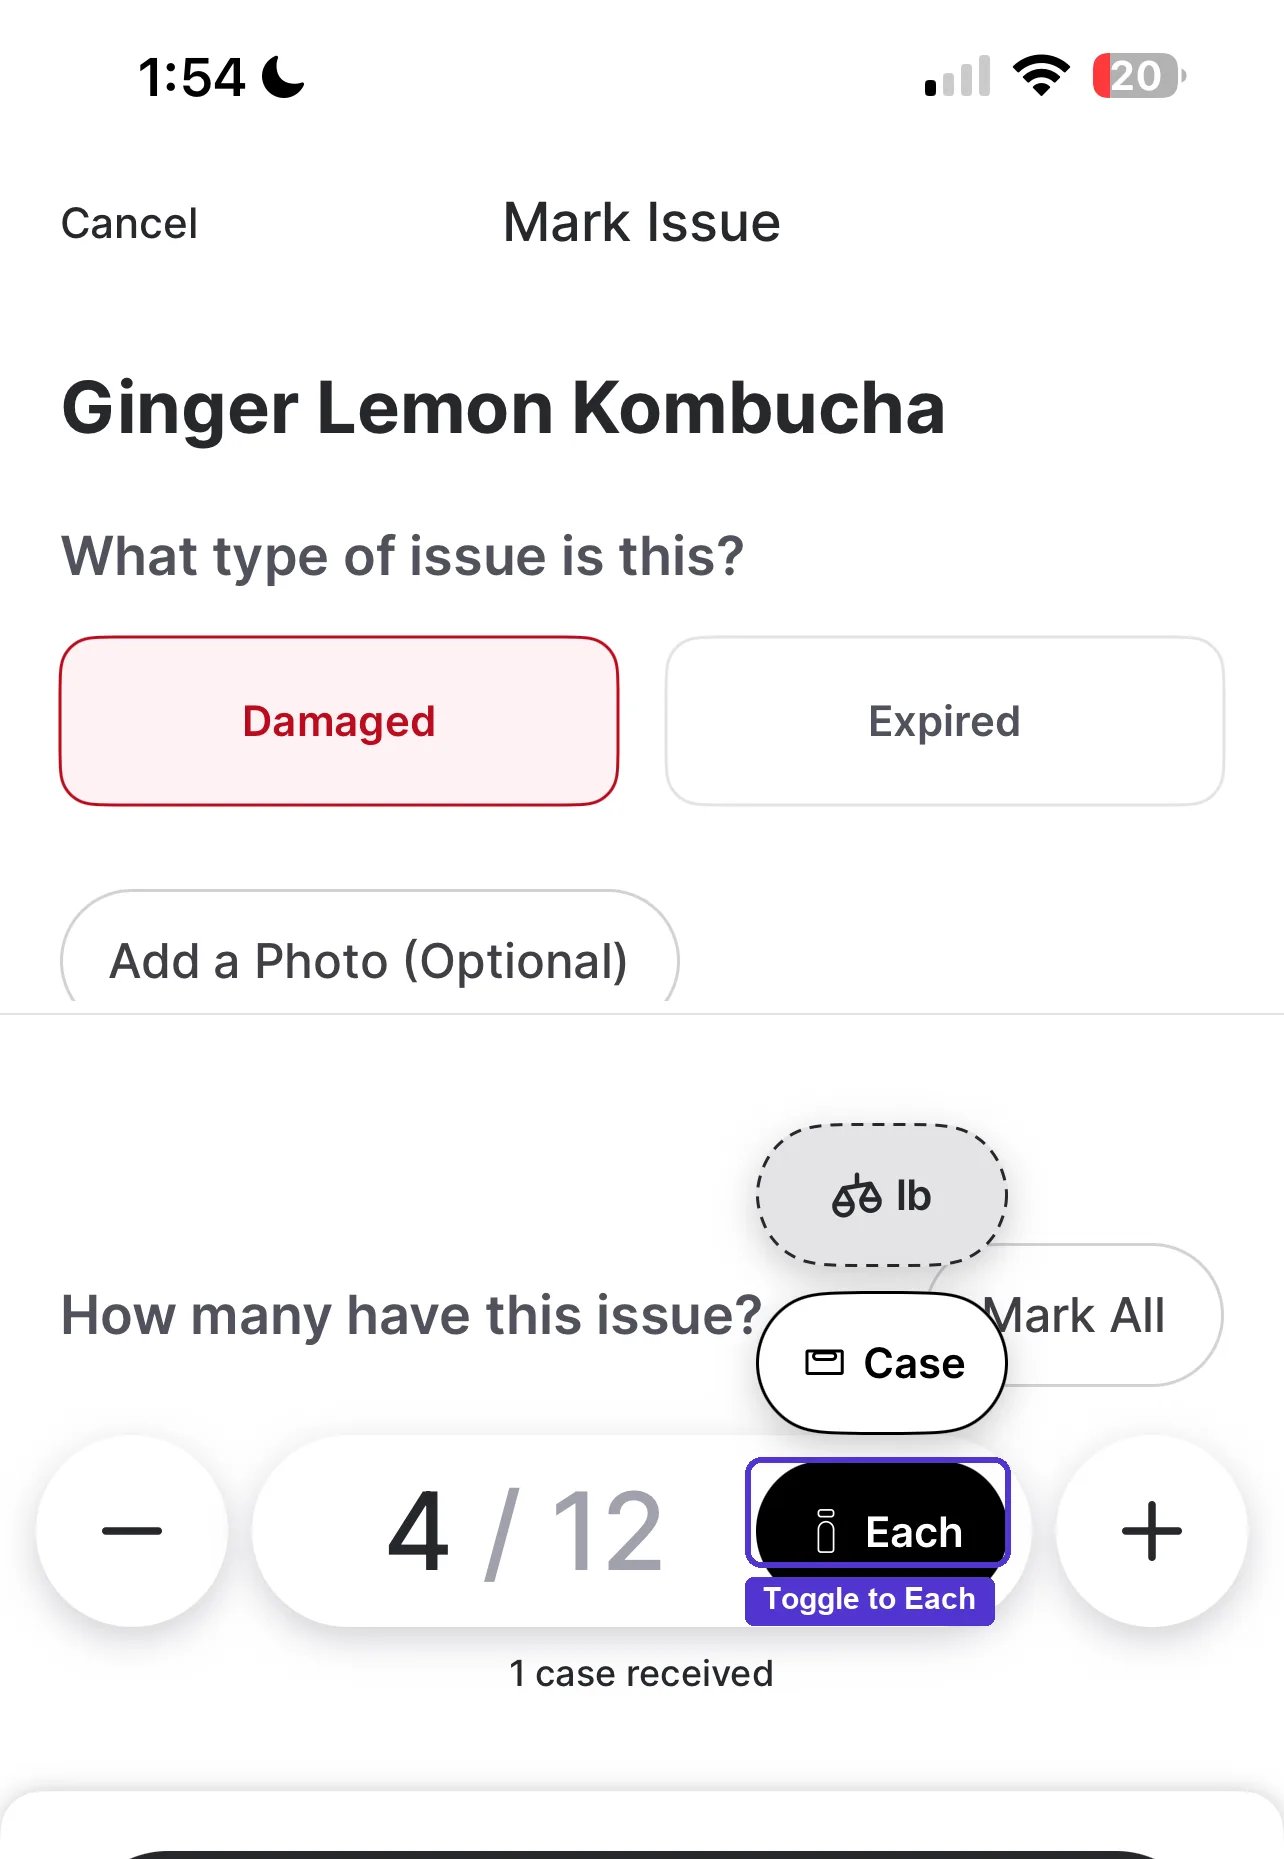
If only part of a case is affected, toggle from Case to Each and enter how many units.
- Take a photo of the issue.
- Add a note if it’s helpful.
- Tap Save.
Review and Submit
What you see next depends on which method you chose.Mark Only Issues
-
Tap Review to see every item that’s been flagged, organized by issue type. Toggle to the Invoice tab to see the full invoice at any point.
-
Continue to the summary screen, which shows your total items invoiced and any issues found.
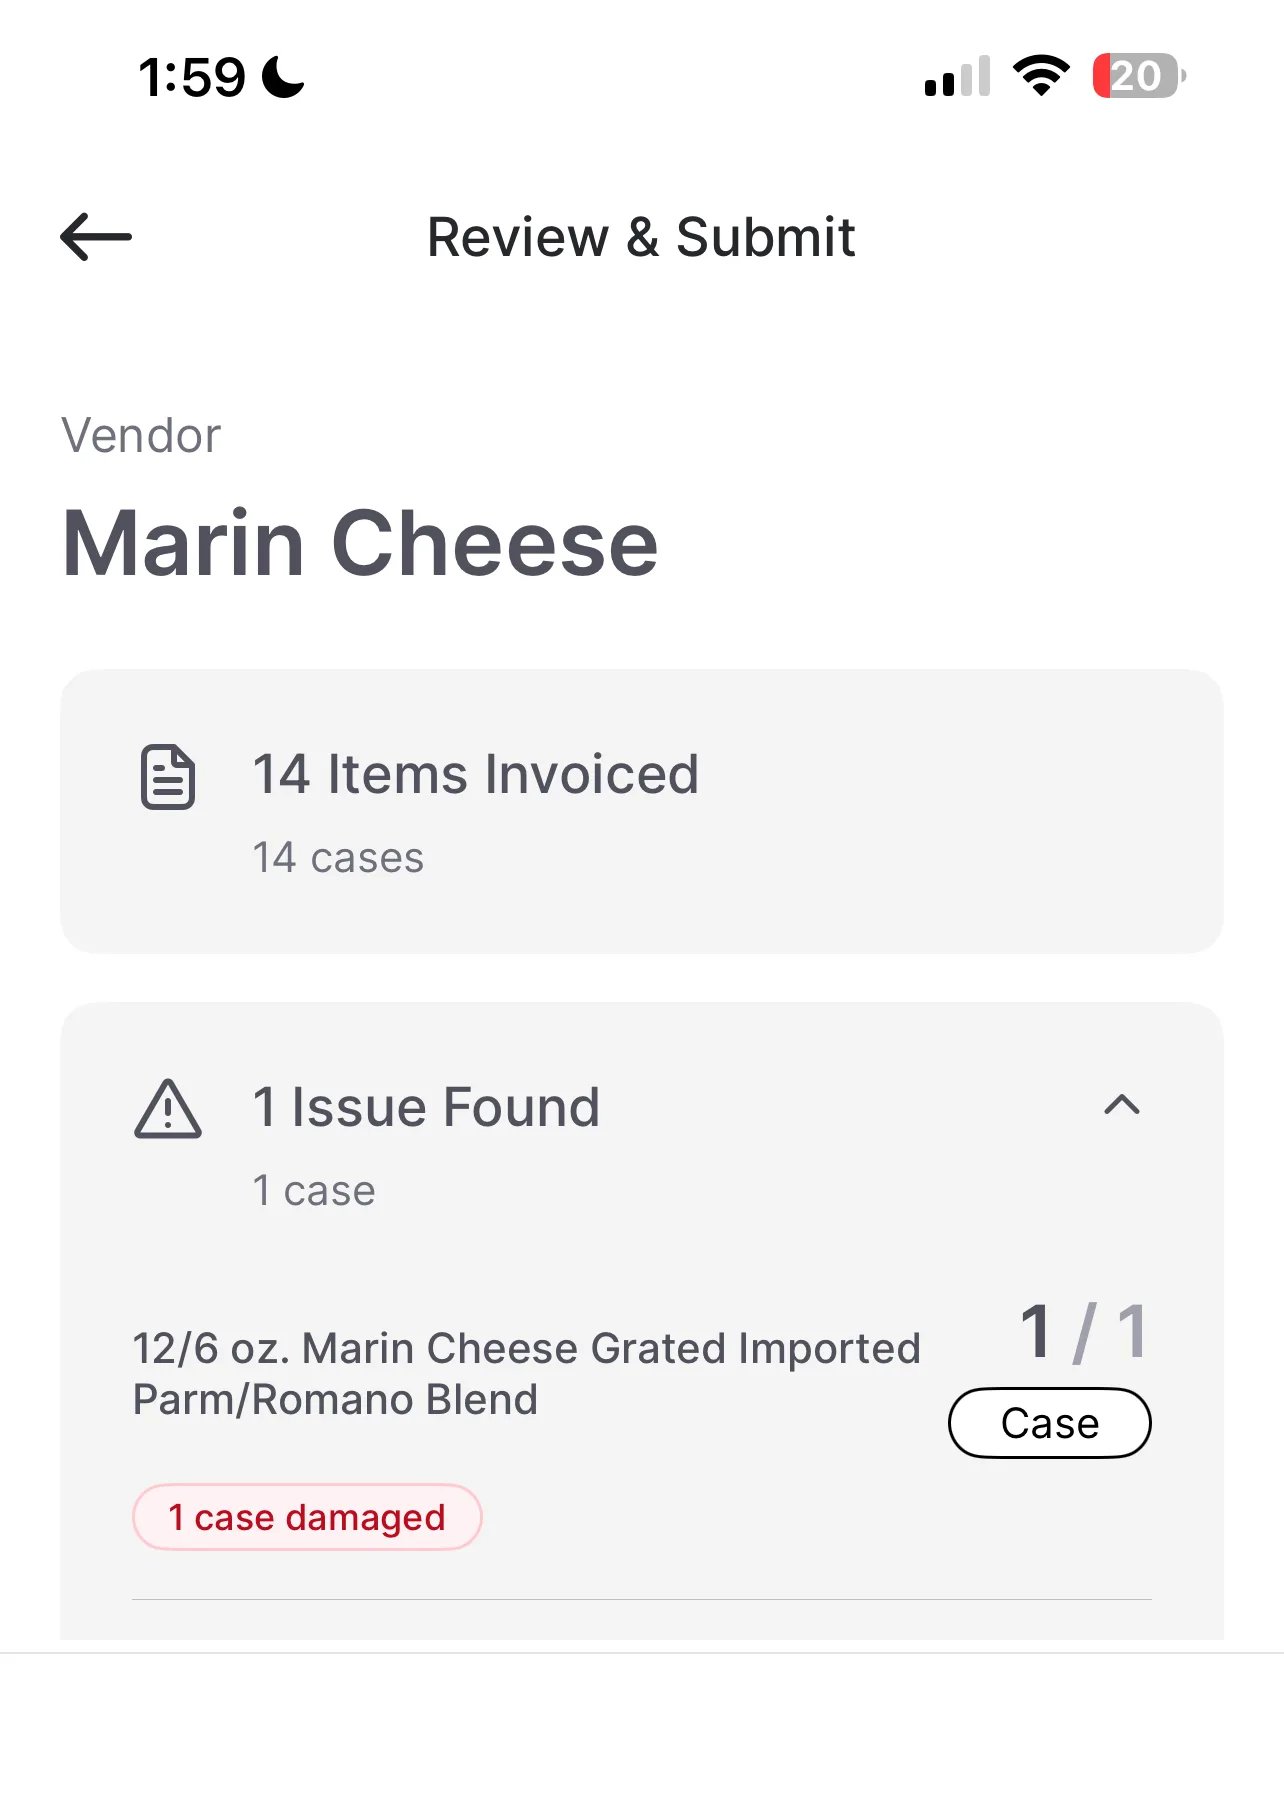
- Tap Submit to complete the session.
Confirm Each Product
- Tap Review to see your session totals — total line items, cases, and eaches — along with a summary of any flagged issues.
- On the first review screen, filter by issue type (Damage, Expired, Shortage, Not Scanned) and make any final edits.
- Tap Continue to see the final summary. This screen is read-only — go back to the previous screen if you need to change anything.
- Tap Submit to complete the session.