Step 1: Validate Vendor Information
Your Store Vendor Catalog serves as the foundation for all orders. You must ensure that every vendor you intend to order from is set up correctly in the system.
Minimum Requirements
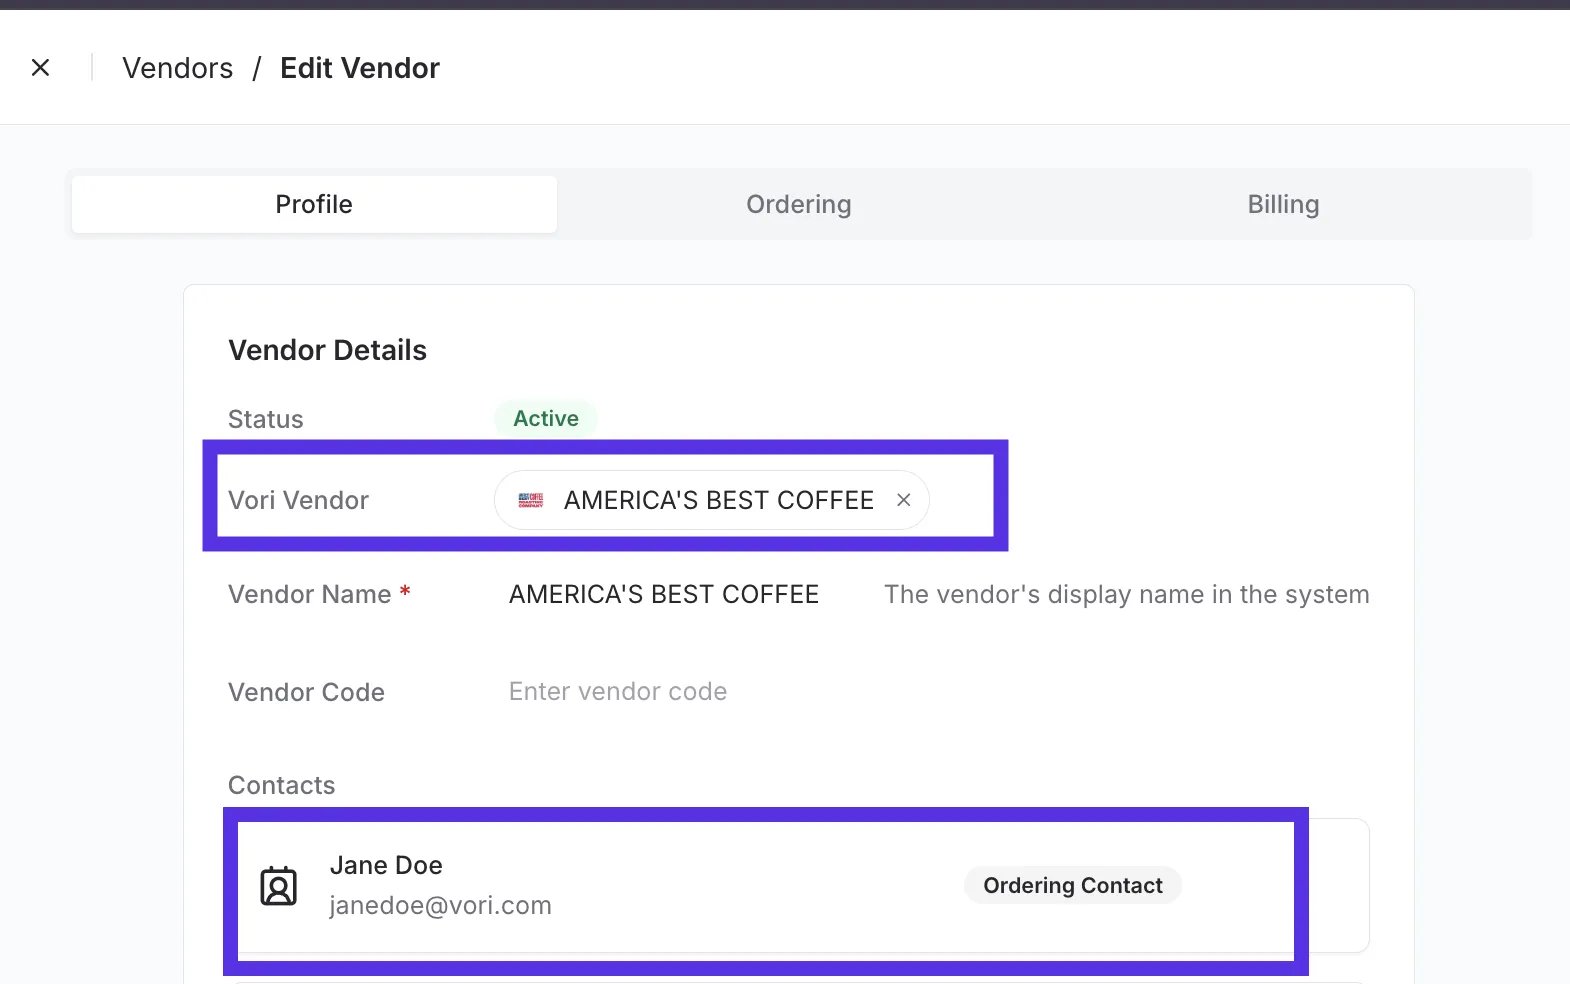
- Link to a Vori Global Vendor: Every Store Vendor must be mapped to a Vori Global Vendor. If your vendor can’t be found in the Vori Global dropdown, contact Vori Support to create the global connection.
-
Vendor Contact Email: You must have at least one valid email address listed in the Contacts section. This is where the purchase orders (POs) are sent for non-EDI vendors.
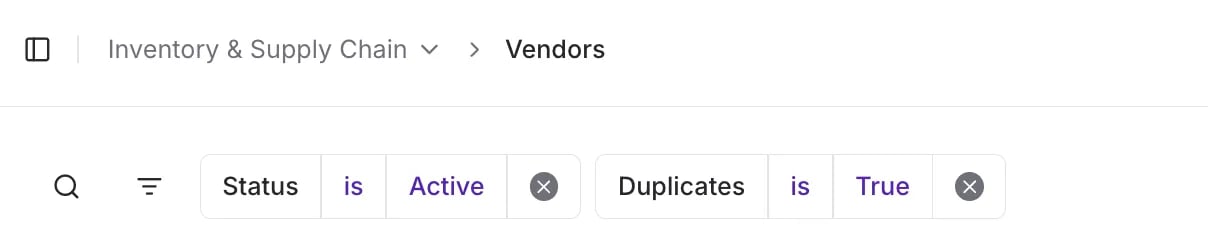
- Eliminate Duplicates: Ensure there is only one Store Vendor record per actual vendor. Duplicate vendor profiles (often caused by initial data imports) must be merged before you start ordering.
Highly Recommended (Nice-to-Haves)
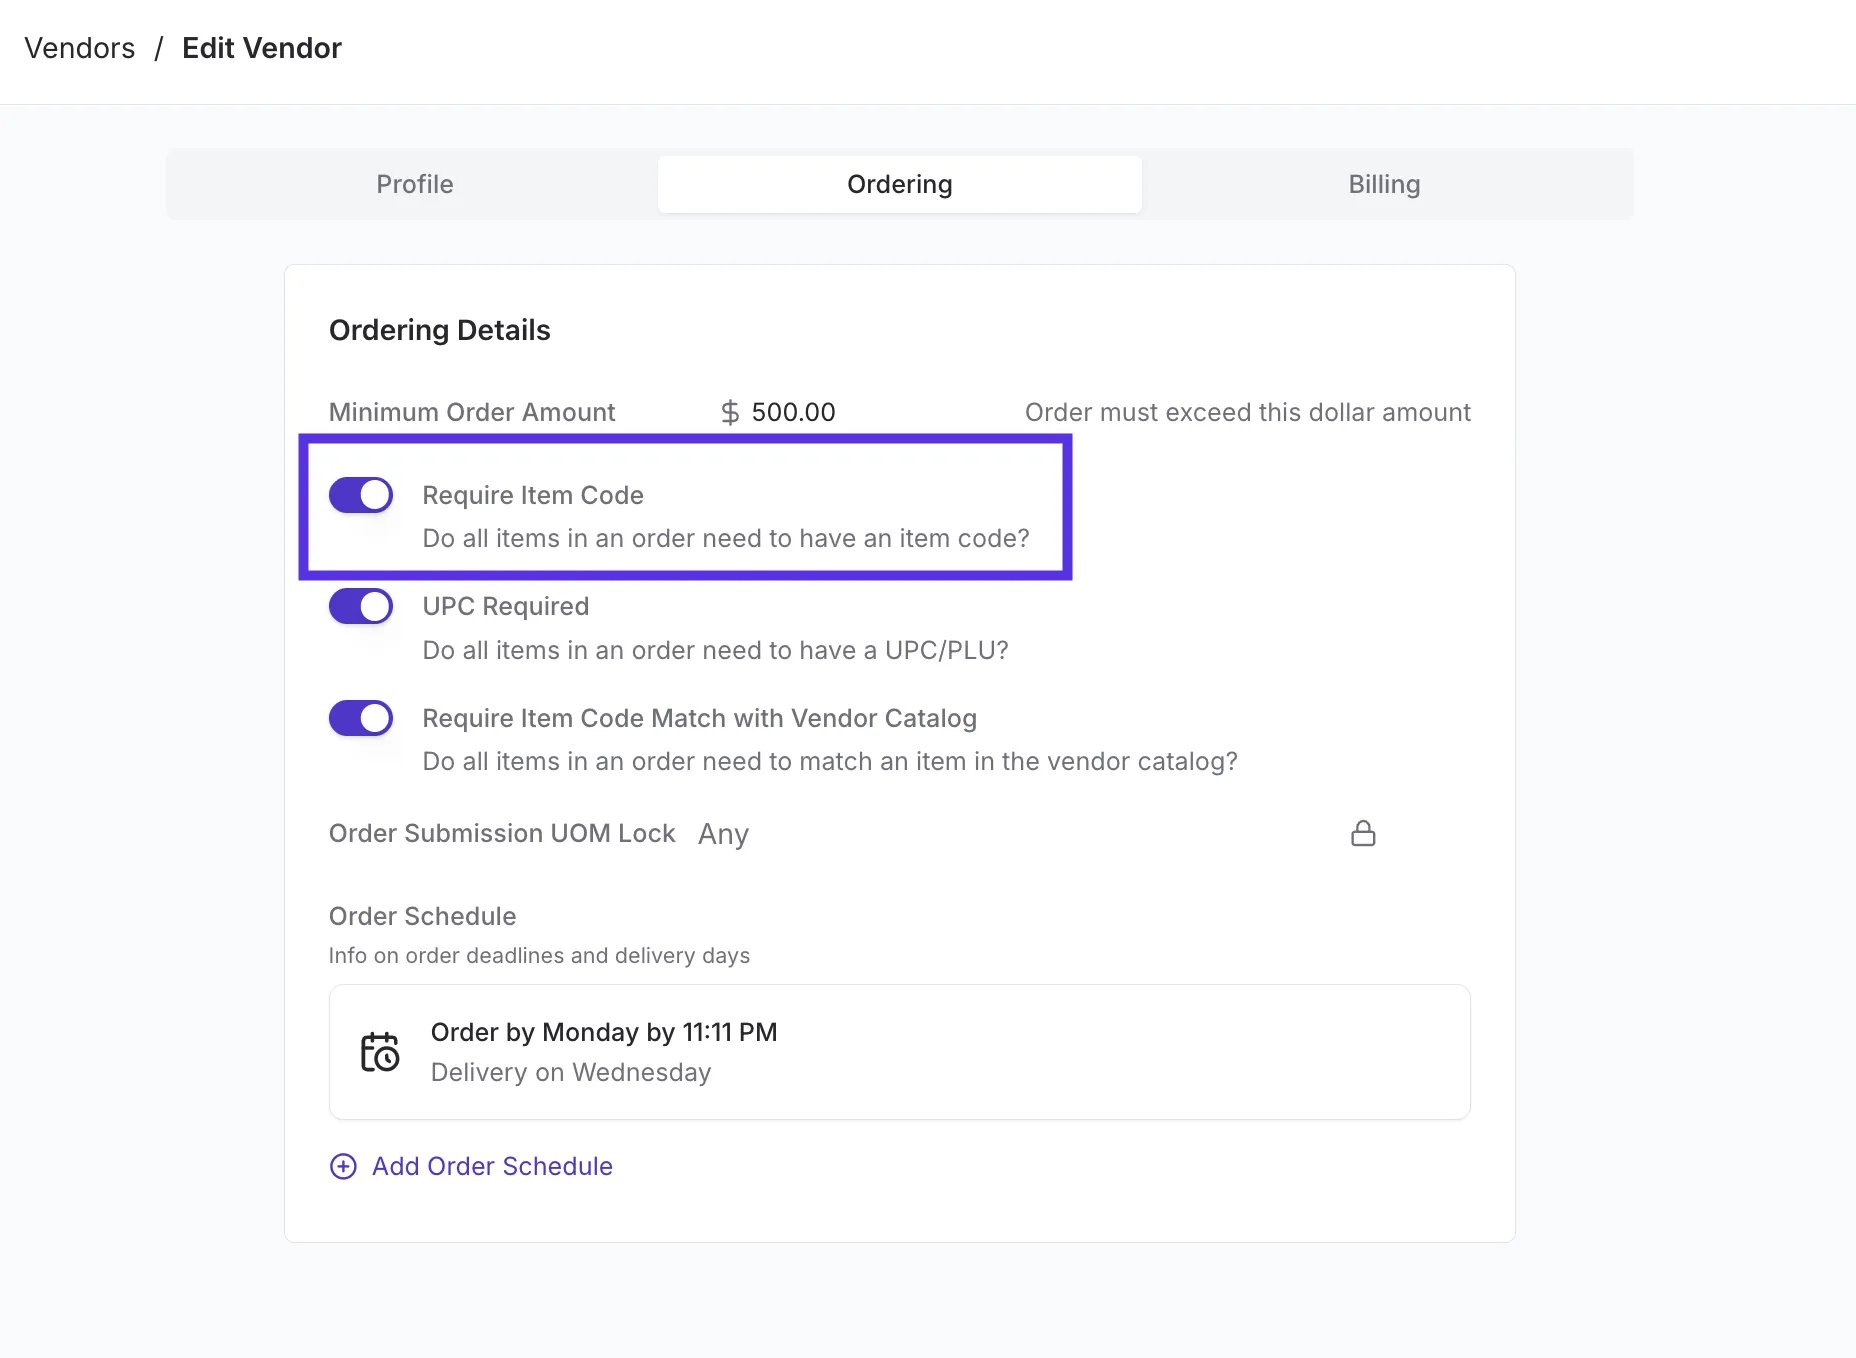
Adding these details helps you manage logistics better:- Order deadlines
- Delivery schedules
- Order minimums
- Vendor Code
Step 2: Upload Vendor Catalogs
Vendor catalogs are critical for filling in data gaps and enabling you to find new items.Why Upload a Catalog?
-
Augment Data: Uploading a catalog fills in missing information (like Item Codes or Descriptions) on your existing Store Vendor Products.
- Note: This does not overwrite your existing product data; it only fills in the blanks.
- Enable Discovery: It provides a separate source for ordering items that do not yet exist in your store’s product list.
How to Upload
- Source the Catalog: Download the catalog from Vori (if available) or request a current catalog file directly from your vendor representative.
-
Upload: Navigate to the Vendor Products tab and upload the file.

Step 3: Clean Up Store Vendor Products
For an item to be ordered, it must exist as a Store Vendor Product. If the product data is incomplete, the order may fail to transmit.Vendor Product Standards
Each product must meet the following criteria:- Must Exist: You cannot order an item if it is not listed as a Store Vendor Product.
- Unique: The product must be unique per item.
-
Required Data:
- UPC
- Description
- Item Code: This is required by 95% of vendors.
Best Practices
For the most accurate reporting and margin management, ideally include:- Cost
- Case Size
- Brand
Run a Vendor Campaign
Before you launch ordering, reach out to every vendor to confirm they can accept email purchase orders (POs), and let them know Vori will start sending POs on the store’s behalf. If a vendor isn’t eligible for EDI, they’ll receive their PO as an email instead. ✏️ Note: Not every vendor is eligible to order through Vori.- Vendors that require a sales rep to place orders (for example, Coca-Cola and Frito-Lay) can’t be ordered through Vori.
- Vendors that use their own ordering portal, such as some beverage and alcohol distributors, typically won’t accept email POs either.
EDI and UNFI Specifics
Some vendors require specific setups to handle automated data transfers (EDI).EDI-Capable Vendors
Electronic Data Interchange (EDI) creates a two-way loop for orders and invoices. If you use any of the vendors listed below, you must provide your Account ID and select a department to Vori Support to enable EDI:- KeHE
- Provide your distribution center (DC) number to Vori Support.
- Confirm whether your store orders by case or each.
- Rock Island
- SF Naturals
- Good Stuff
- Alta Dena
For EDI vendors, you may enter your own email in the vendor contact field to receive a copy of the PO, as the order itself is transmitted digitally.