Departments organize your products into parent and sub-departments so your catalog, reporting, and Point of Sale (POS) flows stay tidy as your store grows. This guide walks through the four things you do on the Departments page: getting oriented, creating a parent department, adding a sub-department under it, and editing an existing department.
Before You Begin
- Log in to the Back Office as an Owner or Manager.
- Make sure your active store is selected in the top-left store switcher. Departments are store-specific, so you create and edit them within the store you’re currently viewing.
- Navigate to Products → Departments in the left-hand menu.
Attributes like taxes, EBT eligibility, and target margins now live in Product Rules, not on the department itself. The Departments page is just for organizing your products and controlling what counts in sales reporting.
Your Departments Page
The Departments page shows every parent department in your store, with sub-departments grouped underneath. Each row shows its parent, name, status, and whether it’s excluded from reporting.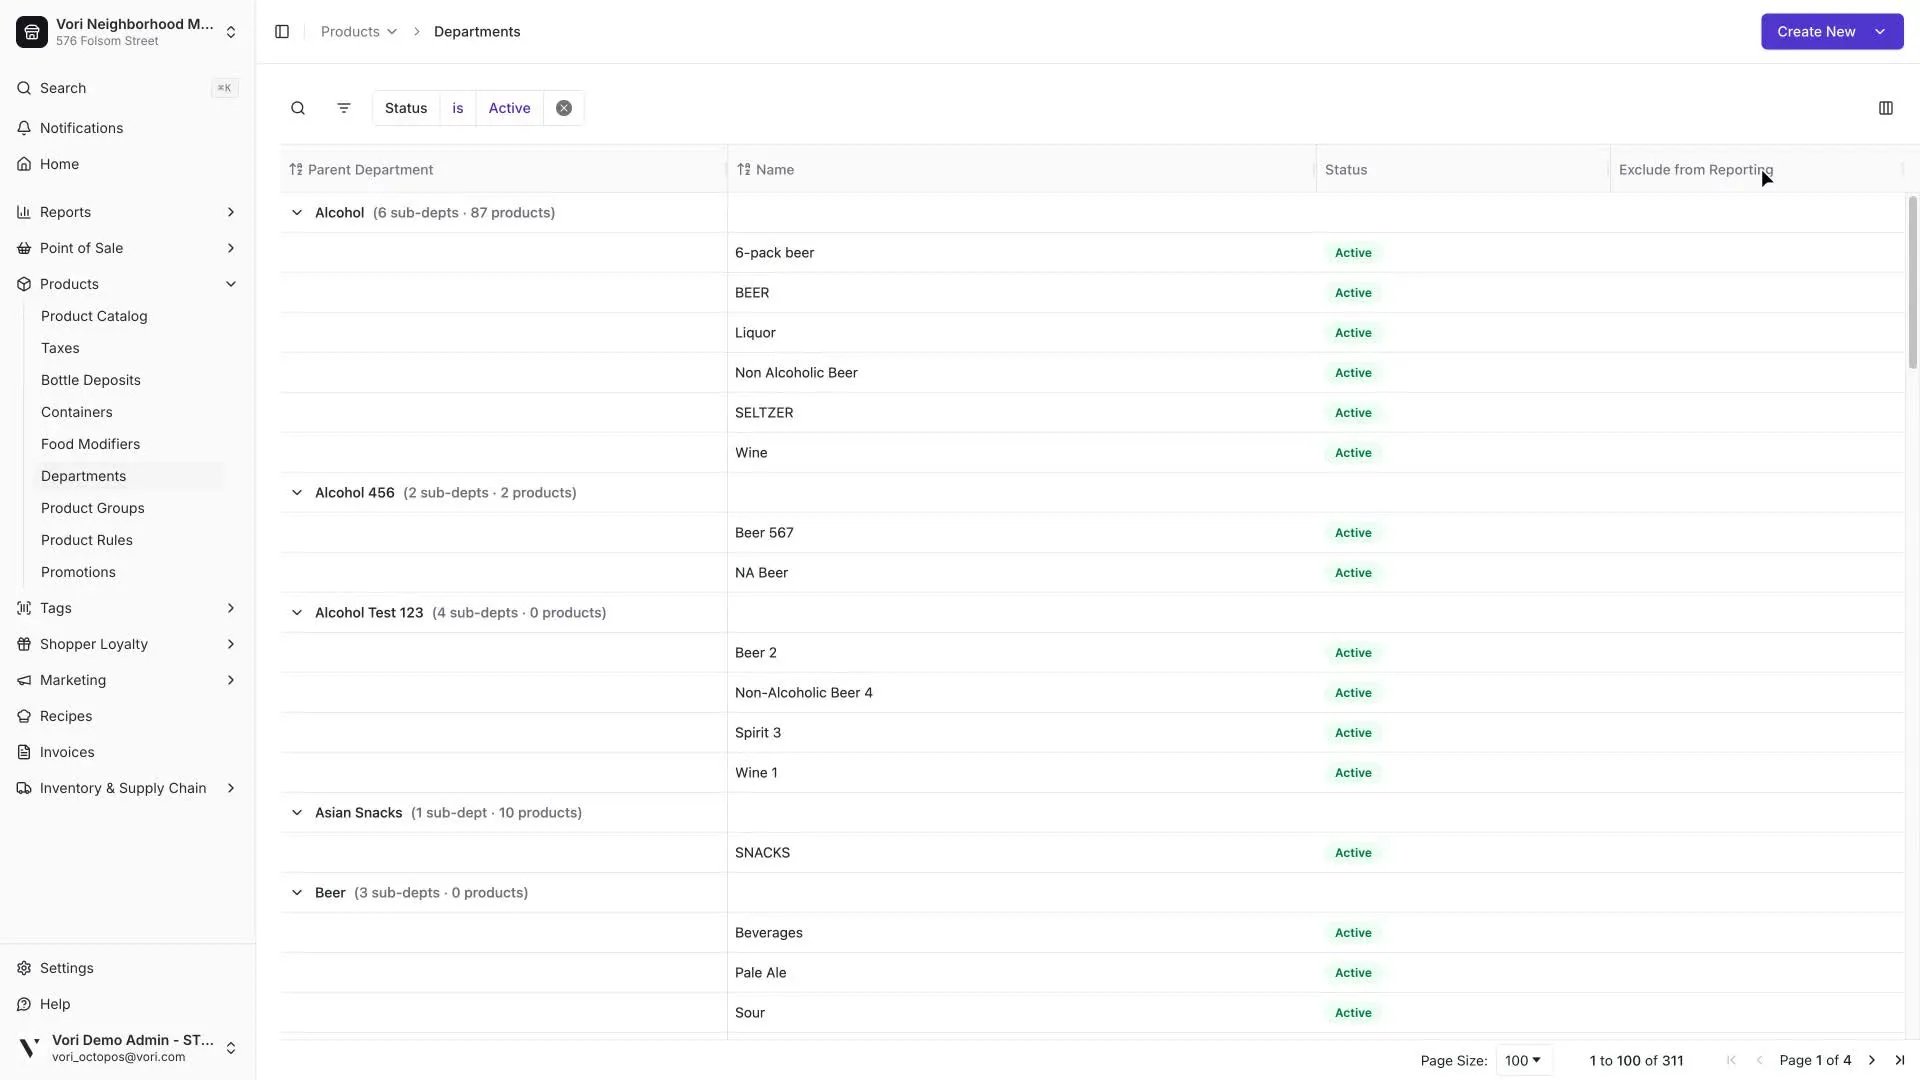
1
Search by name
Click the search icon in the toolbar and start typing. The grid filters as you type.
2
Filter by status
Use the Status pill to show only active or only inactive departments. Active is the default.
3
Expand or collapse parents
Click the chevron next to a parent name to show or hide its sub-departments.
Create a Parent Department
Parent departments are the top-level buckets that organize your catalog — think Produce, Dairy, Bakery. Create one whenever you need a new category that sub-departments can live under.1
Open the New Department form
Click Create New in the top-right corner, then choose Department.
2
Name the department
Enter the department name. This is what cashiers, reports, and the POS will show.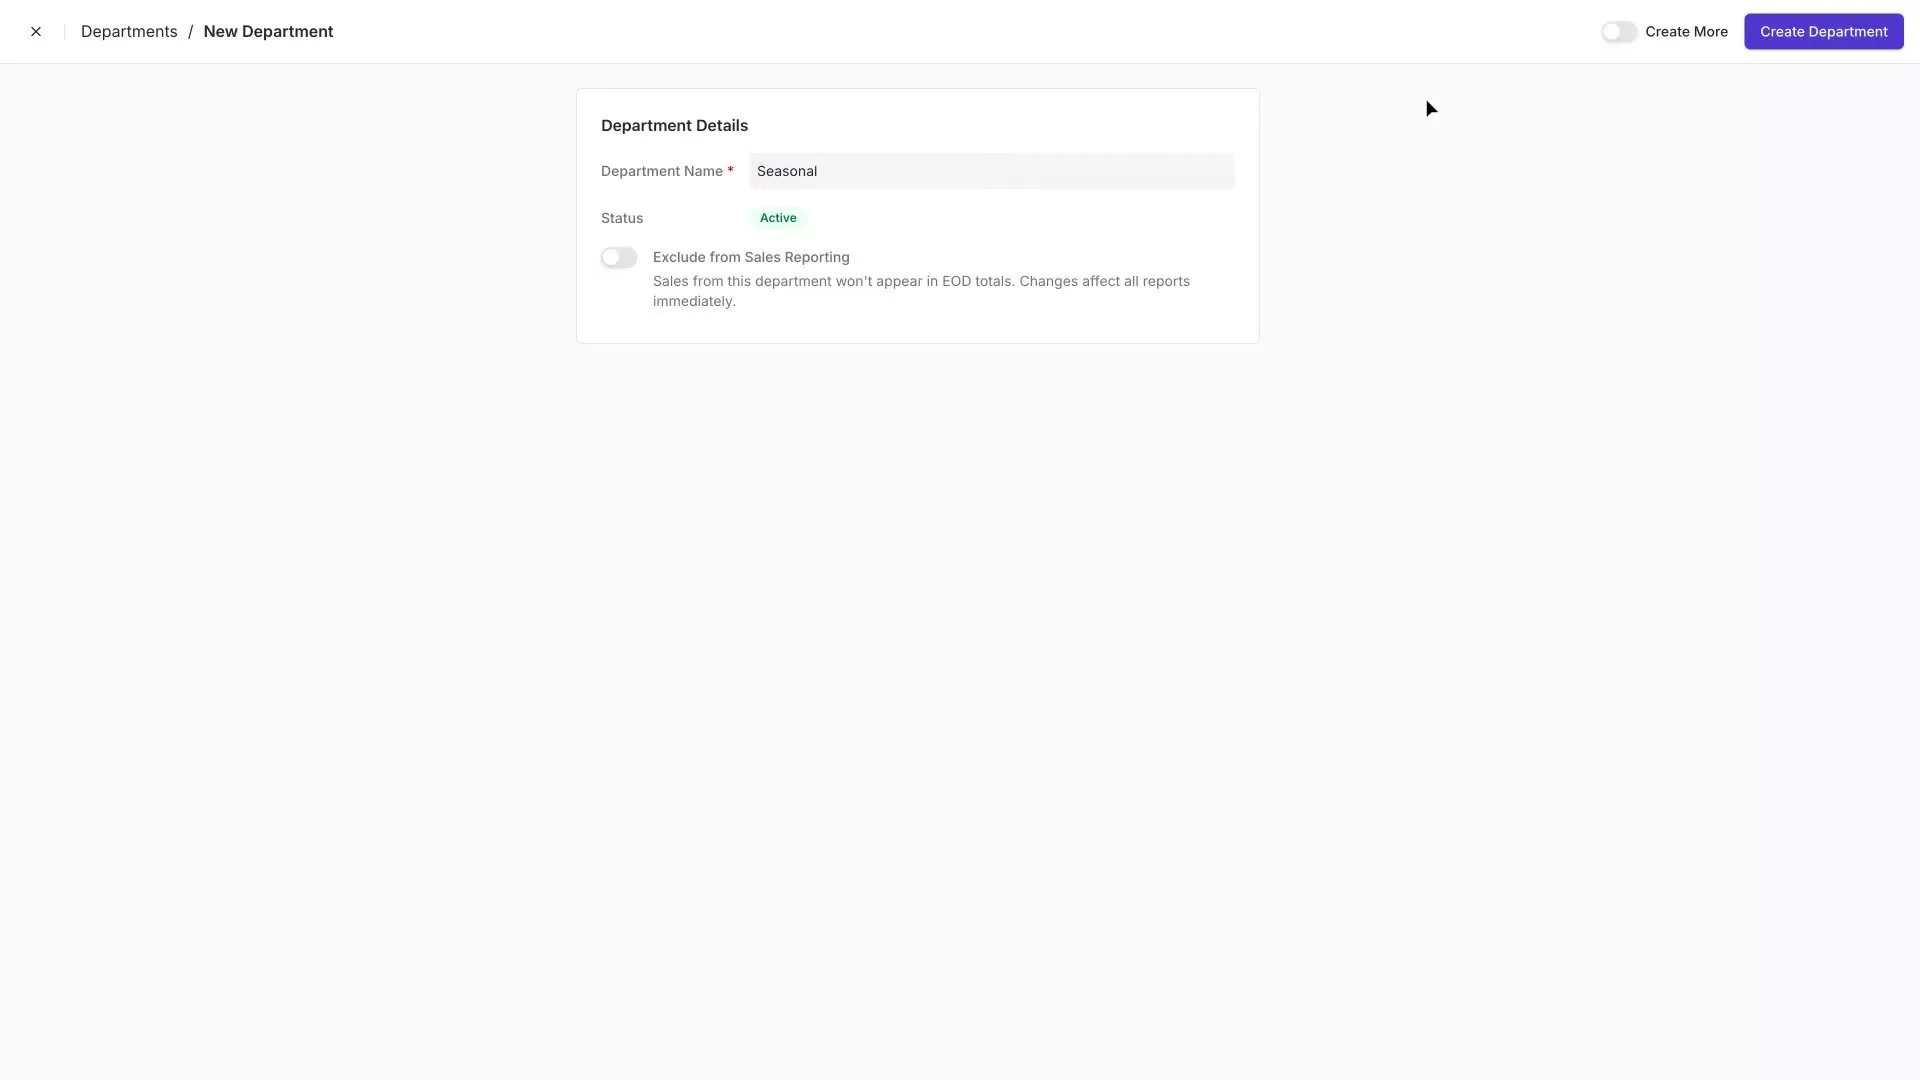
3
Decide whether to exclude from sales reporting
Leave Exclude from Sales Reporting off for most departments. Turn it on if this department shouldn’t count in your sales totals — see Exclude a Department from Sales Reporting for when to use it.
4
Create the department
Click Create Department. The new department appears in the grid immediately.
Create a Sub-Department
Sub-departments sit under a parent and add more detail to your catalog — for example, Summer Produce under Produce, or Yogurt under Dairy.1
Open the New Sub-Department form
Click Create New in the top-right corner, then choose Sub-Department.
2
Name the sub-department
Enter the sub-department name.
3
Pick the parent department
Click the Parent Department dropdown and select the parent this sub-department belongs under. You can type to narrow the list.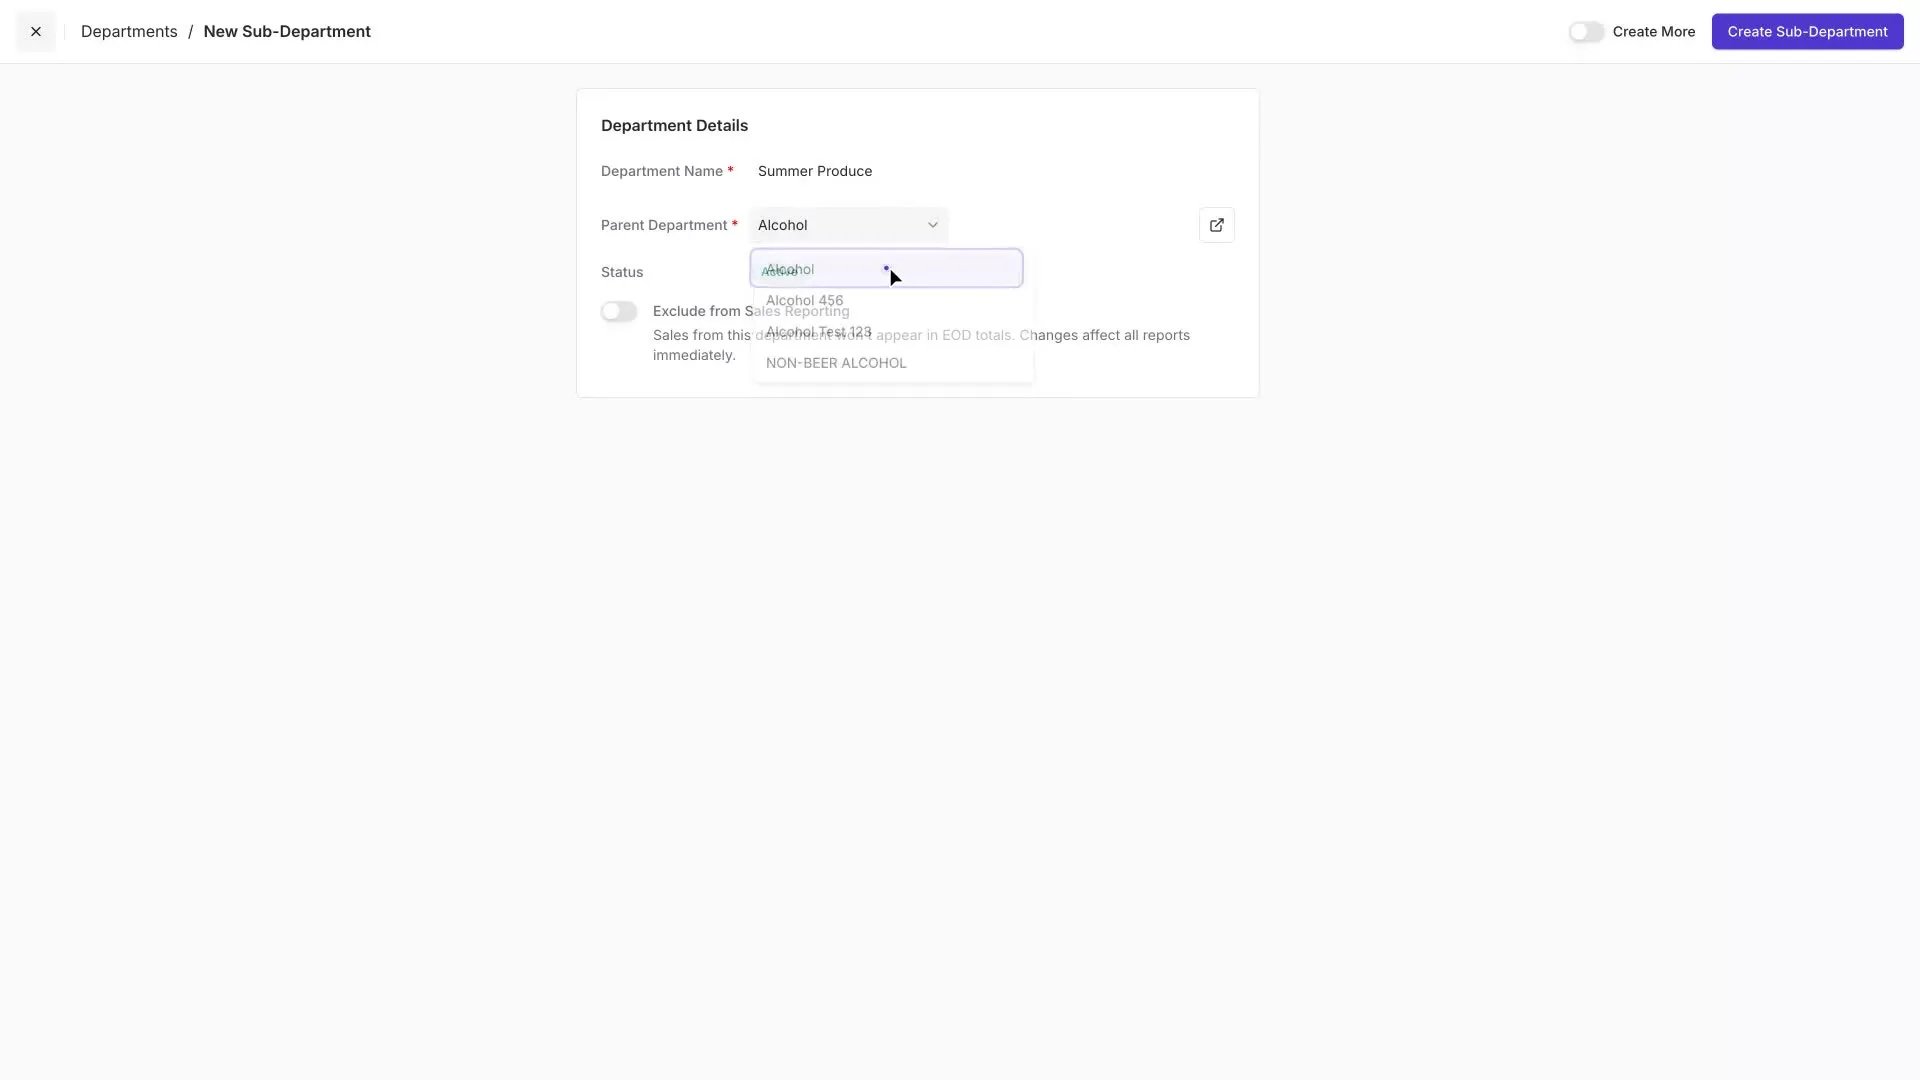
4
Save
Click Create Sub-Department. The sub-department appears in the grid, grouped under its parent.
Edit an Existing Department
Open any department to rename it, move it under a different parent, or change whether it counts in sales reporting. Changes save automatically as you make them.1
Open the department
In the grid, hover over the department row and click Open.
2
Rename the department
Click the department name field and type the new name. The change saves when you click outside the field.
3
Move it to a different parent
Click the Parent Department dropdown and pick a different parent. Type to narrow the list if you have many departments.
You can only change the parent on a sub-department that has no sub-departments of its own. If the dropdown is disabled, move any sub-departments out from under this department first.
4
Flip the Exclude from Sales Reporting toggle
Turn it on to keep this department out of your sales totals, or off to include it. Changes apply to all reports immediately.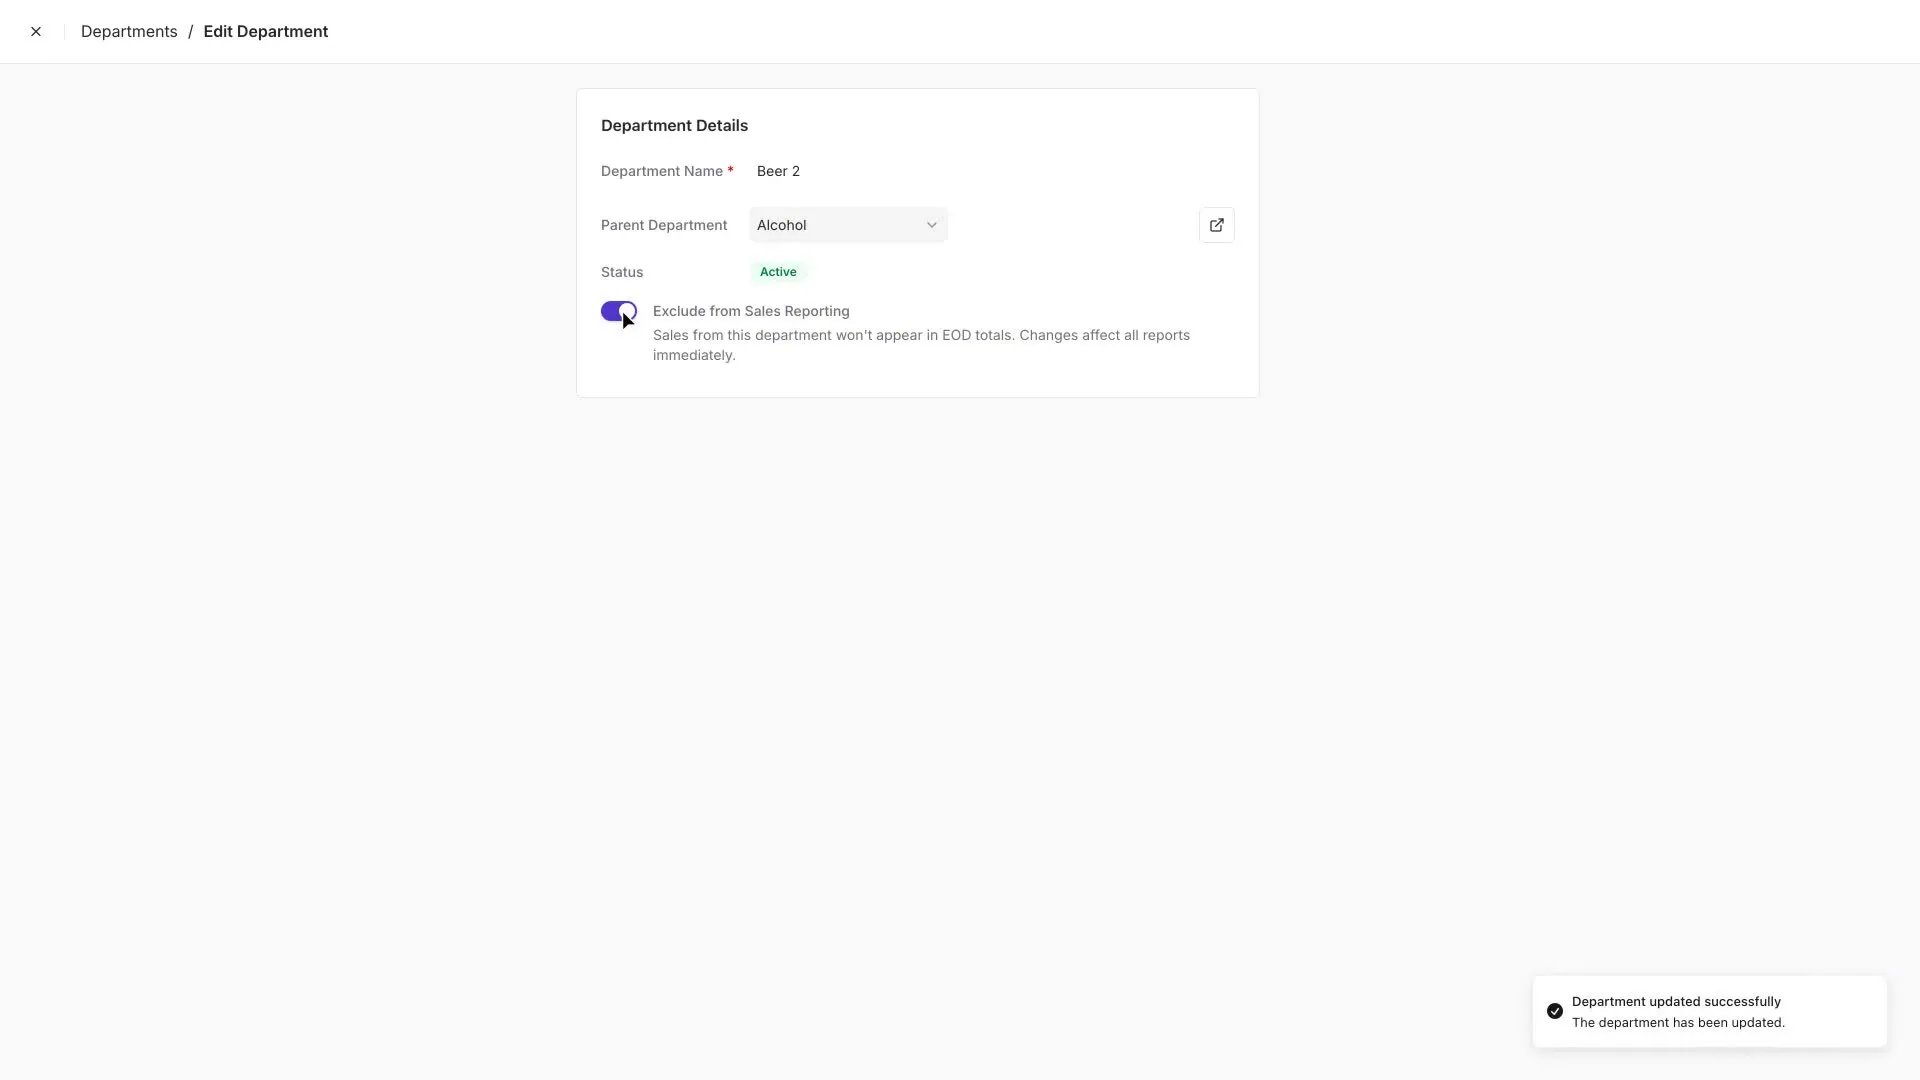
Exclude a Department from Sales Reporting
Some departments ring up like regular sales but don’t represent revenue you want counted — third-party gift cards are the classic example. When a customer pays 50 of grocery revenue. Turning on Exclude from Sales Reporting keeps those transactions out of your End-of-Day totals and sales reports, so your numbers reflect actual store revenue.Deactivate or Reactivate a Department
You can deactivate a department once it no longer has any active or inactive products in it. To reactivate, open the department, change its status back to Active, and your team can start using it again.If the status dropdown is disabled, there are still products tied to this department. Move those products to another department first.