

Downloadable CSV Template
To ensure your upload is successful on the first try, we recommend using our pre-formatted template. 📥 Download the Vori Order Guide Import Template ✏️ Note: Once you have filled out the template, ensure you save it as a .CSV (Comma Separated Values) file before uploading.Preparing Your Spreadsheet
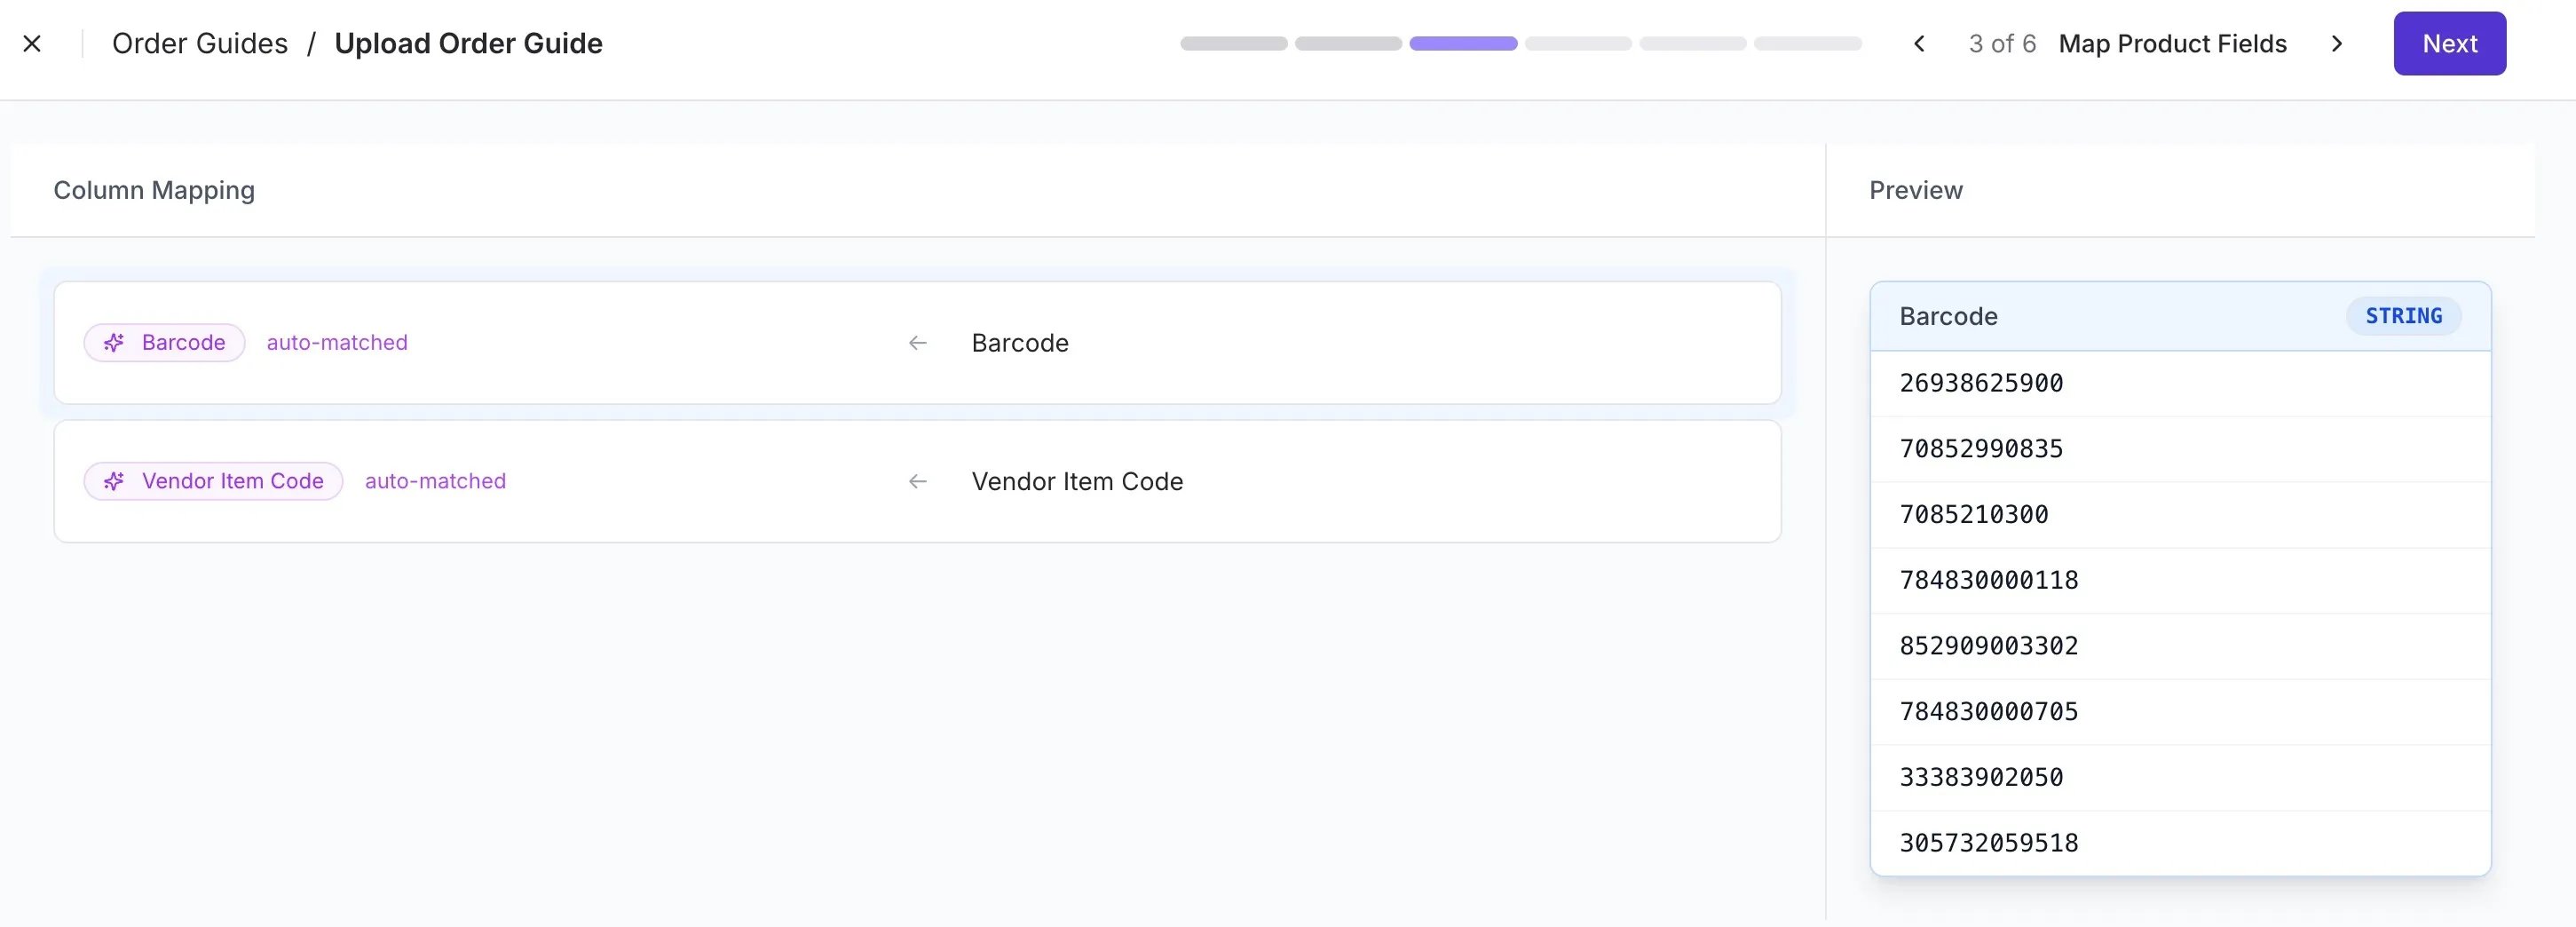
Ensure your file contains a Barcode column (required). The following columns are also supported but optional. Headers do not have to match exactly.How to Upload the CSV
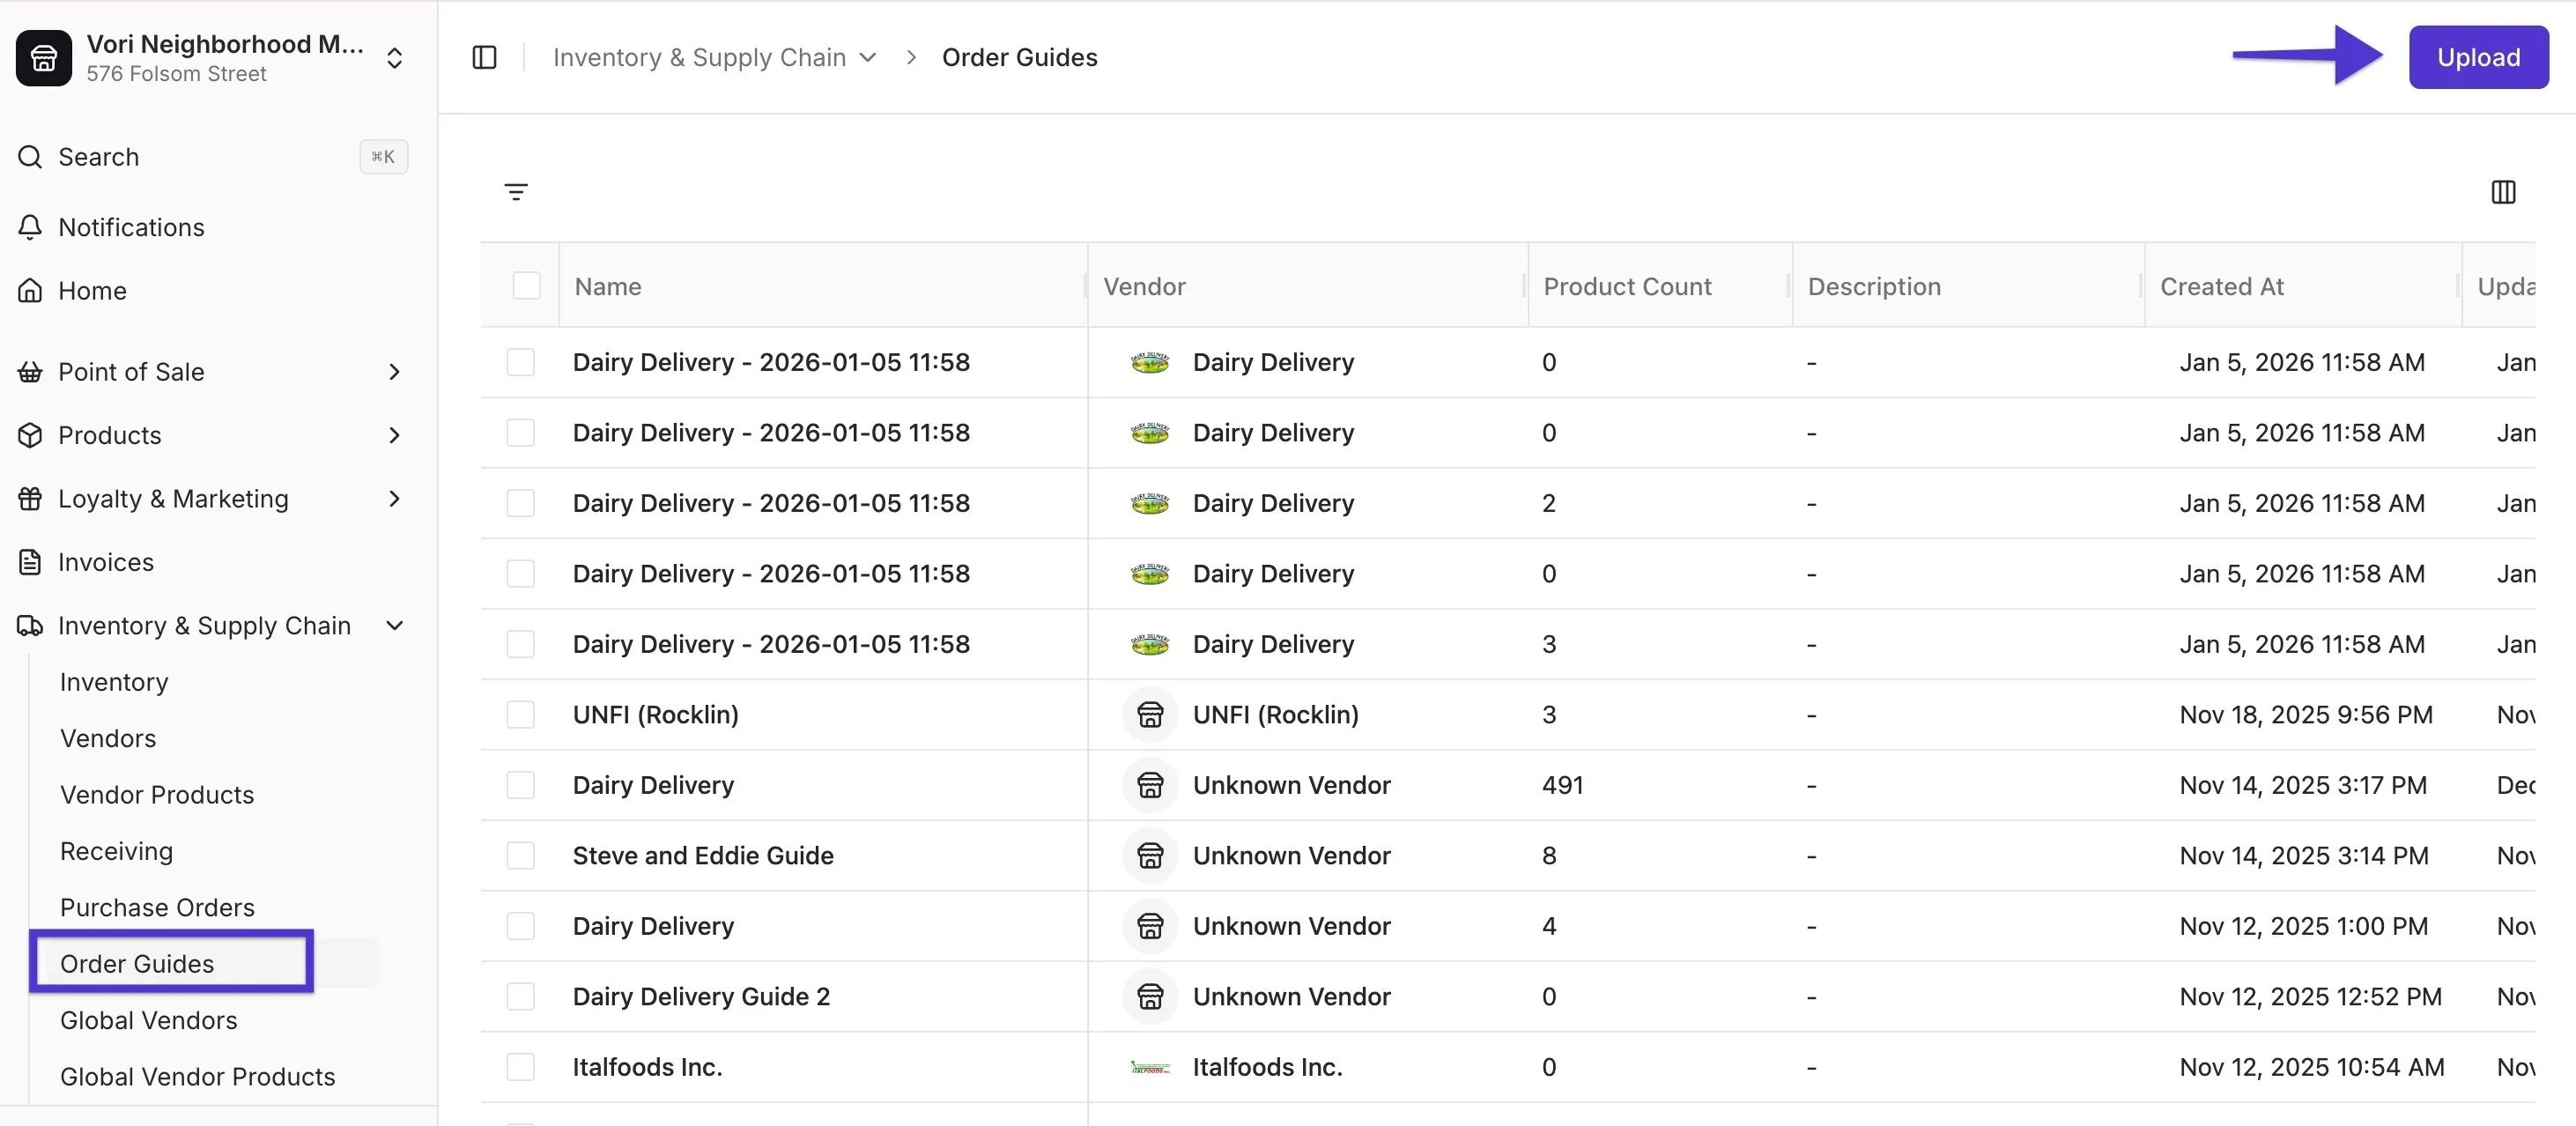
- Navigate to Inventory & Supply Chain > Order Guides.
-
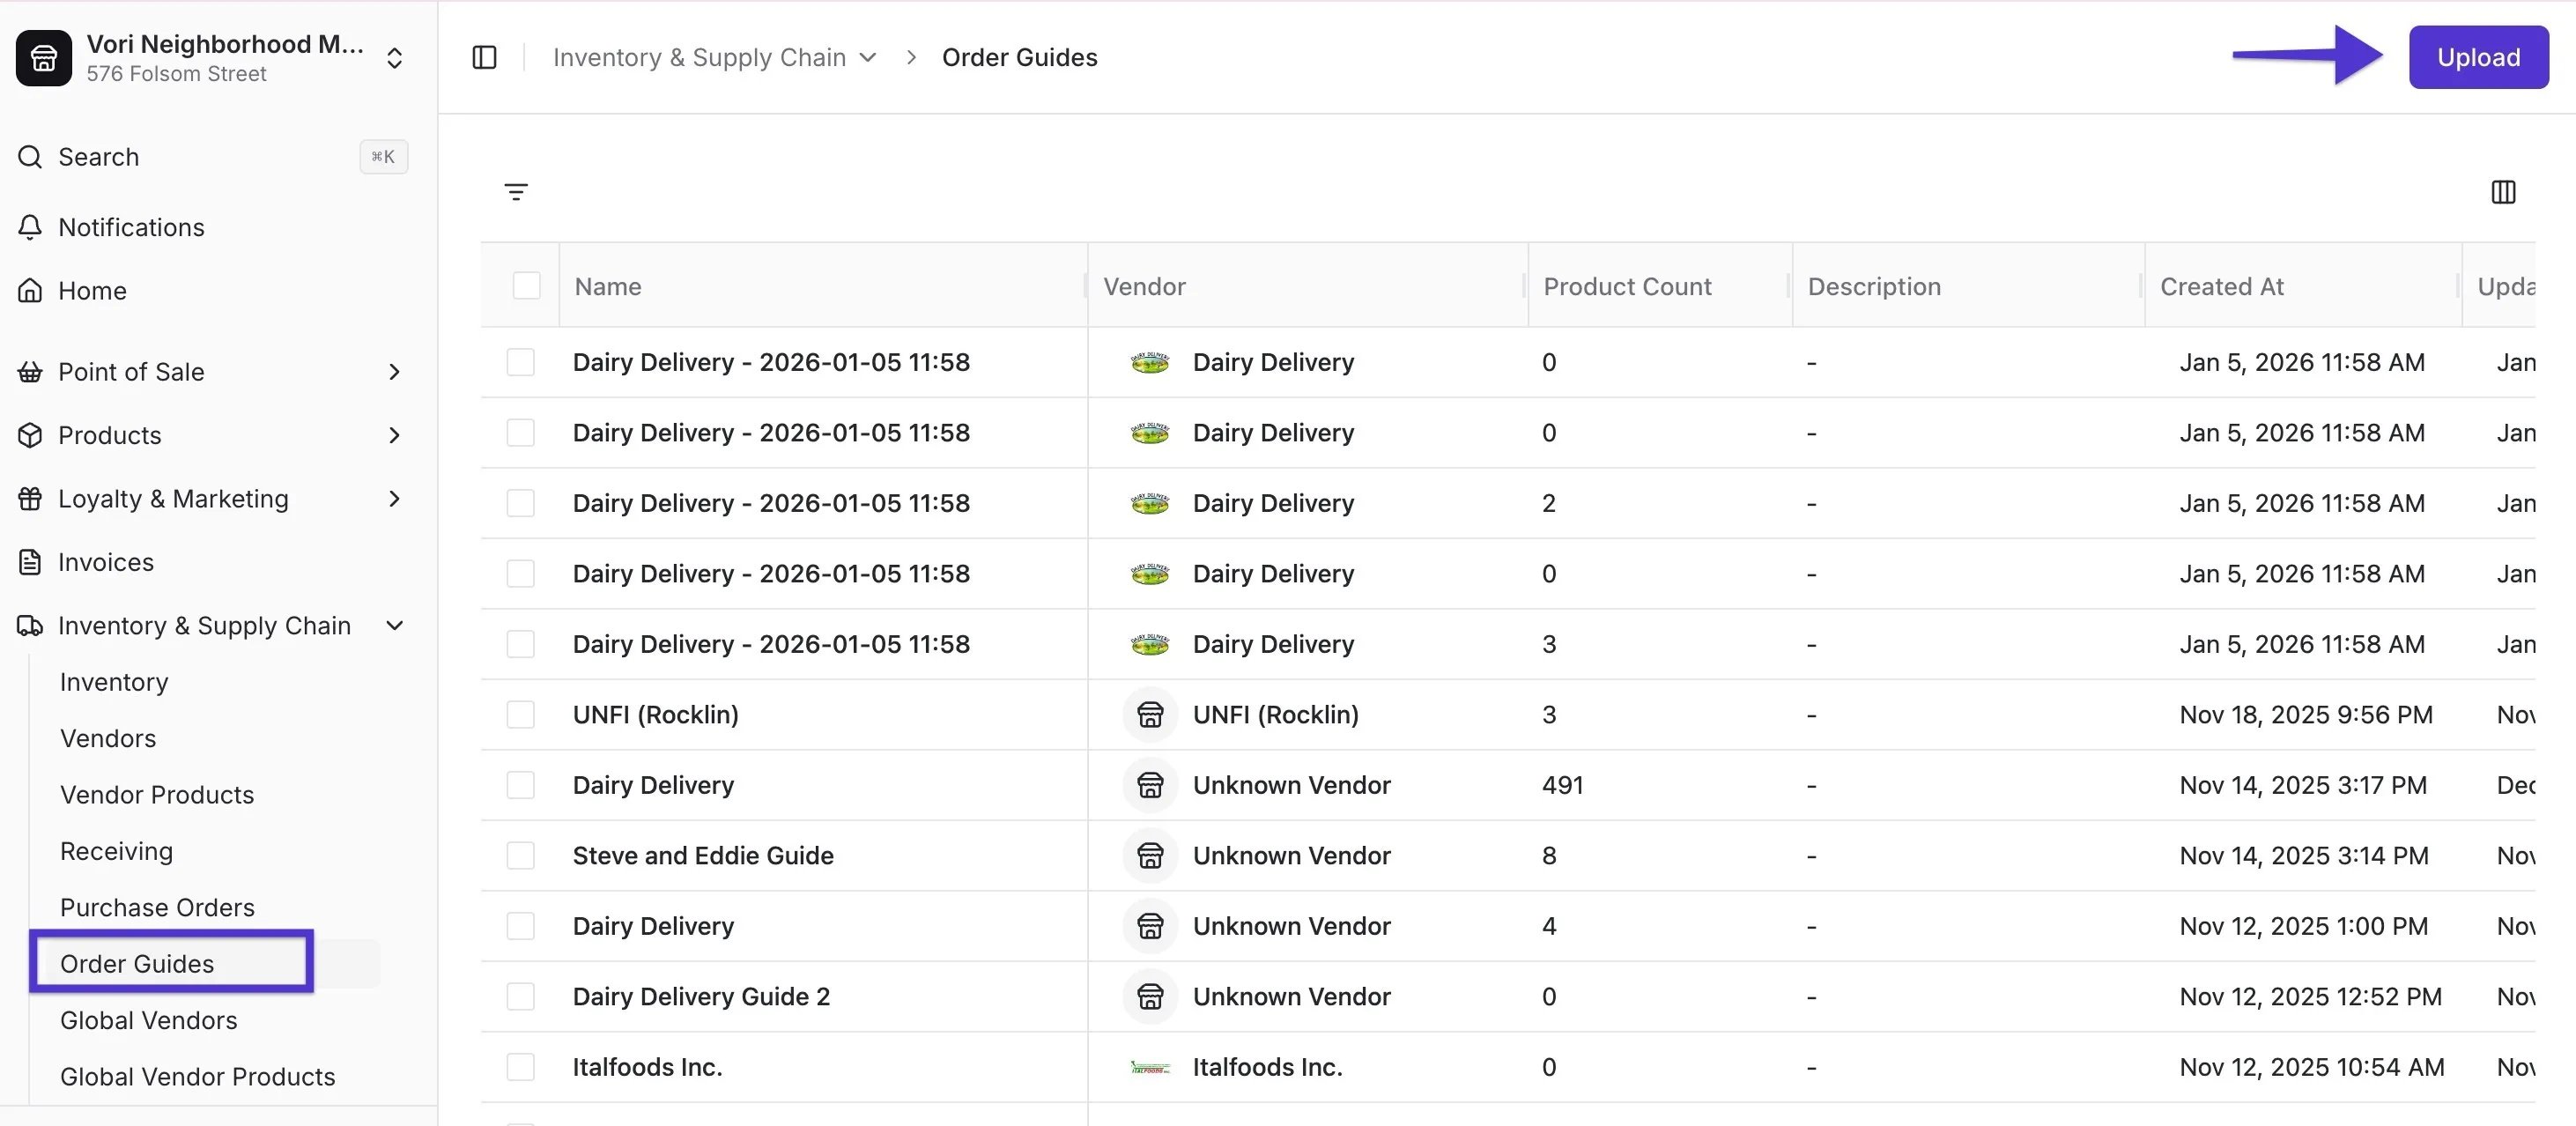
Click the Upload button in the top right-hand corner.
-
Select the Store Vendor from the dropdown menu and click Next.
- Upload your CSV file.
-
Map the Columns: Vori will attempt to auto-map your headers. If they don’t match, manually select the correct Vori field for each column. Click Next.
Reviewing and Committing Data
-
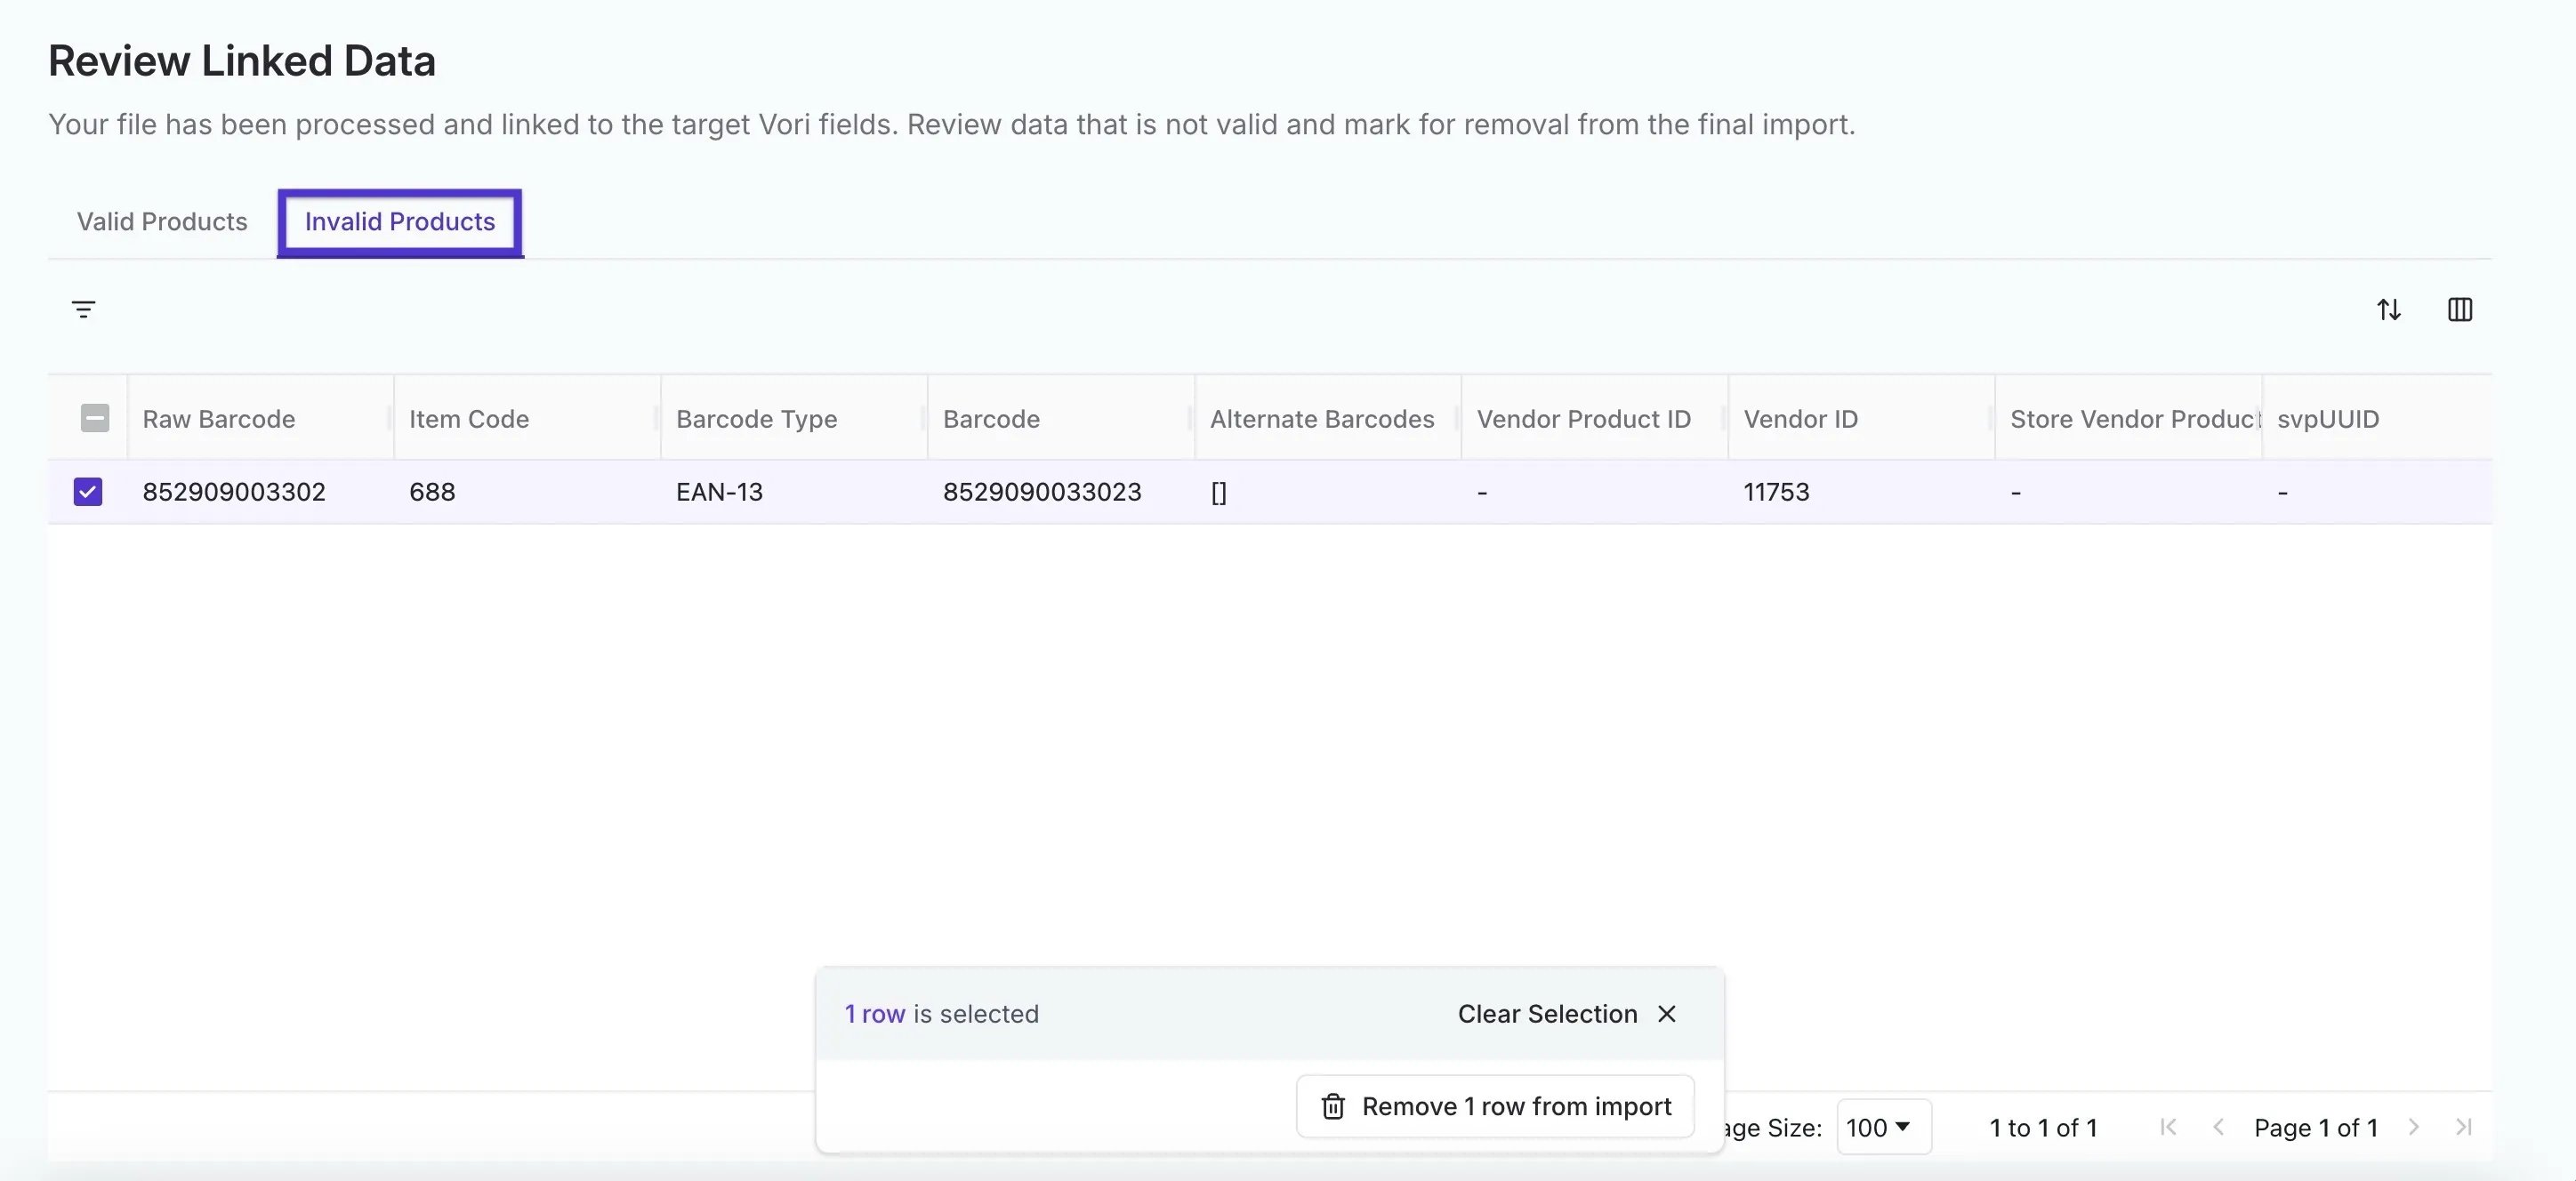
Review Linked Data: Vori will flag invalid lines if a barcode or item code is not found in your store’s product catalog.
- You can remove the invalid lines to proceed.
- Or, fix the data in your spreadsheet and re-upload.
-
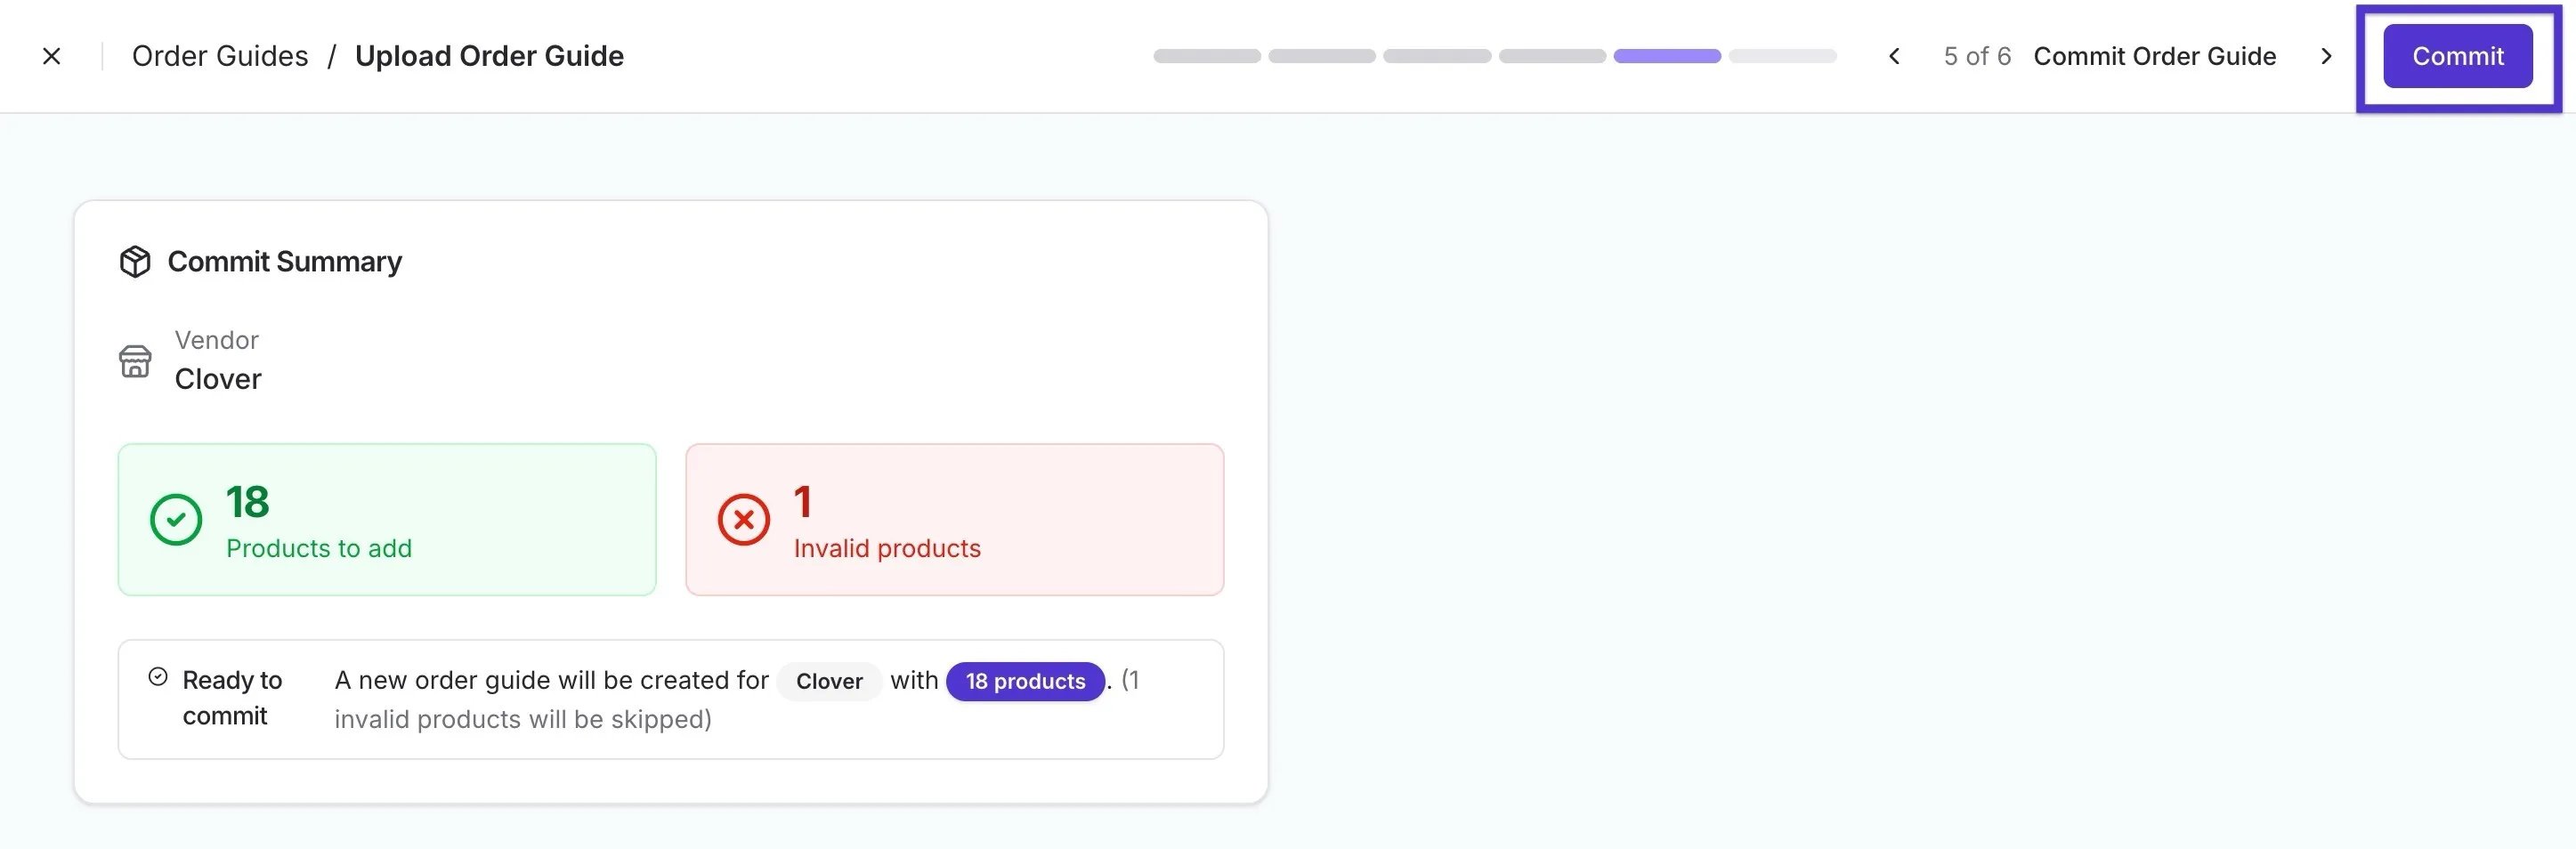
Commit Summary: Review the final count of items to be added.
-
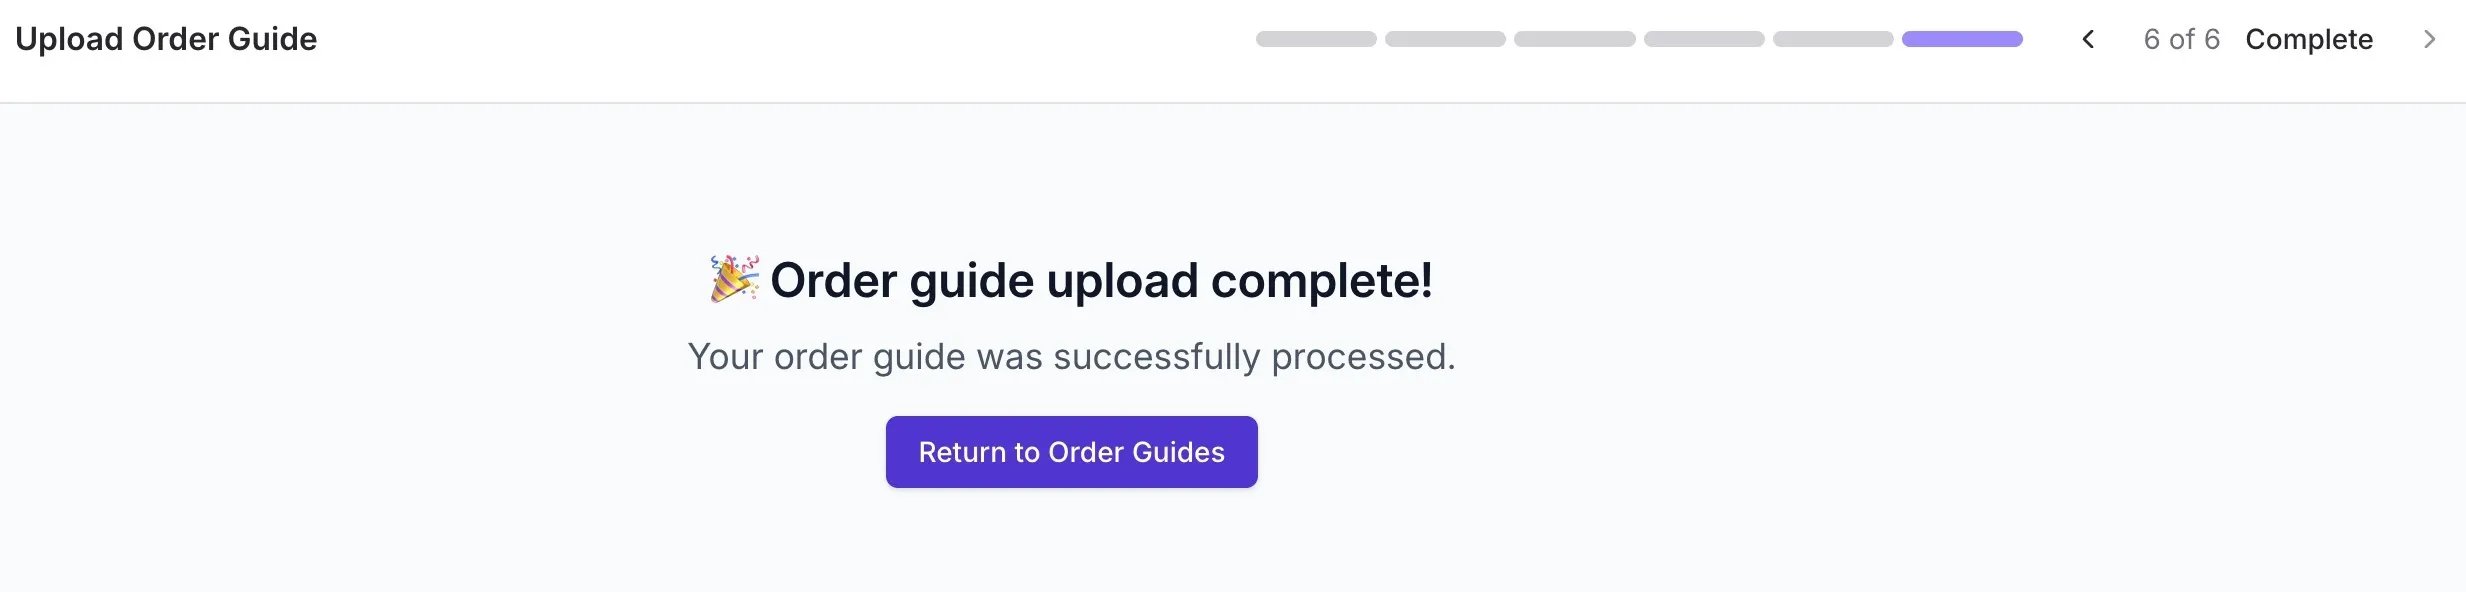
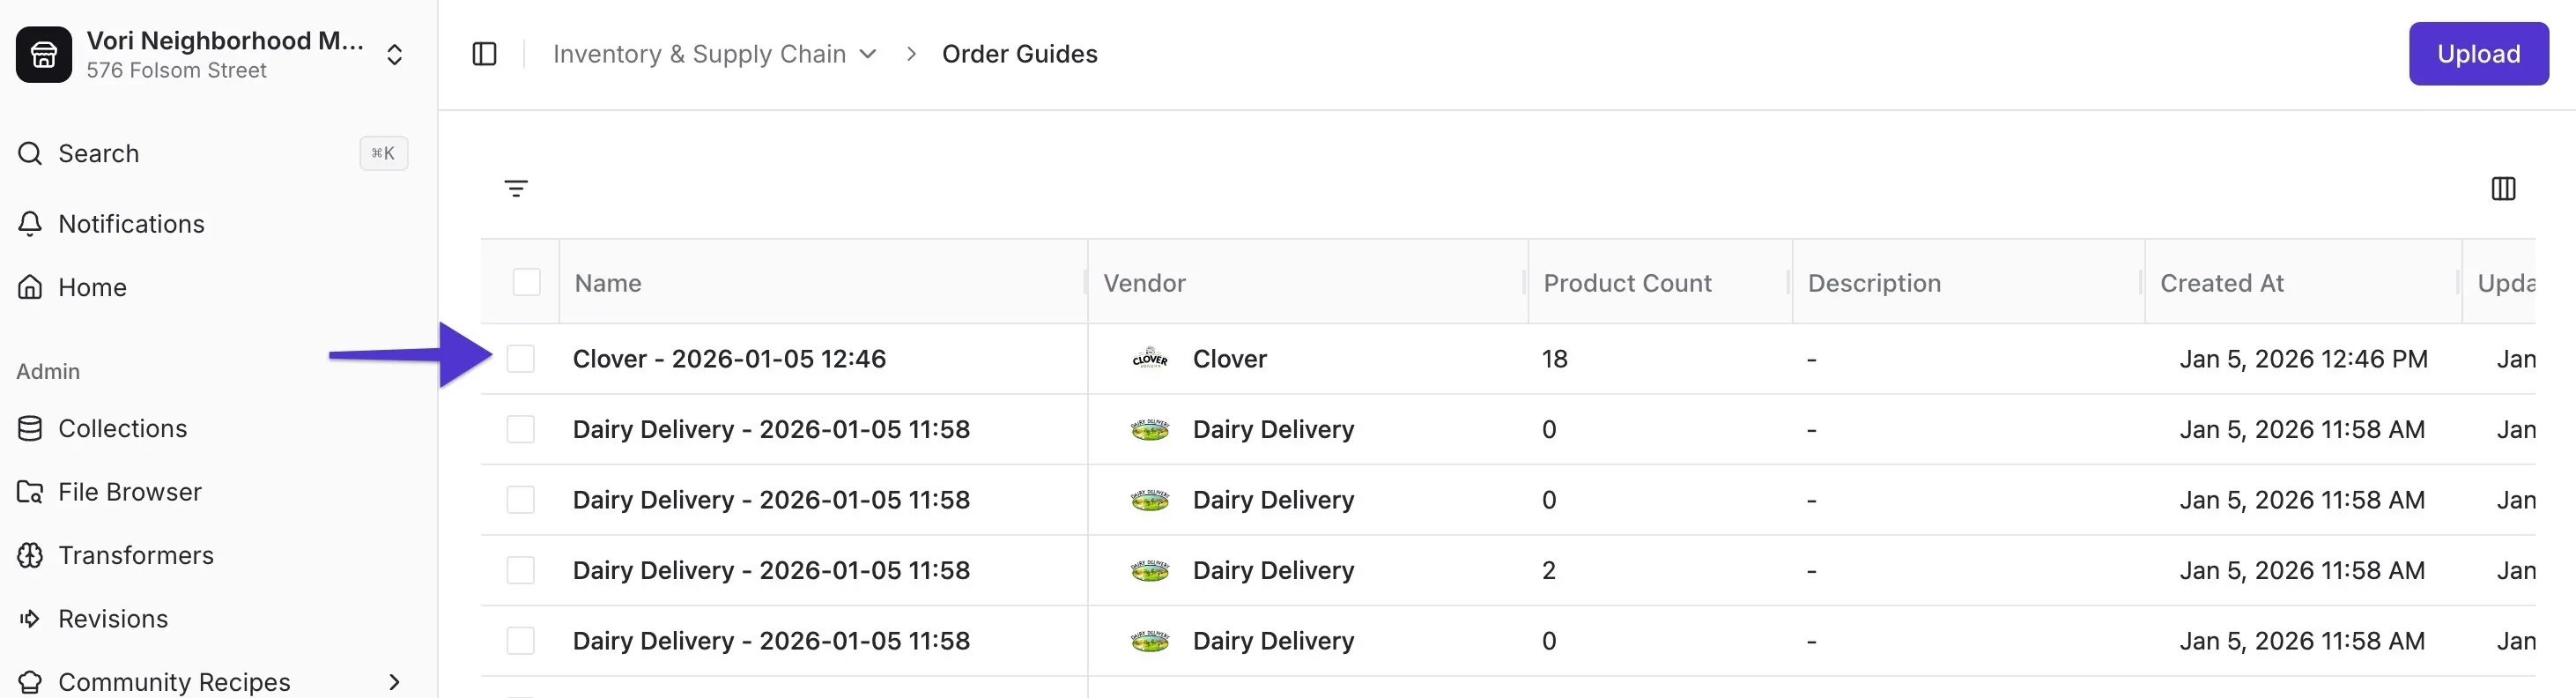
Commit: Click Commit. Your new guide will appear at the top of your Order Guides list.
Syncing to VoriOS
After clicking Commit, you must sync the data to your handheld device to begin ordering.-
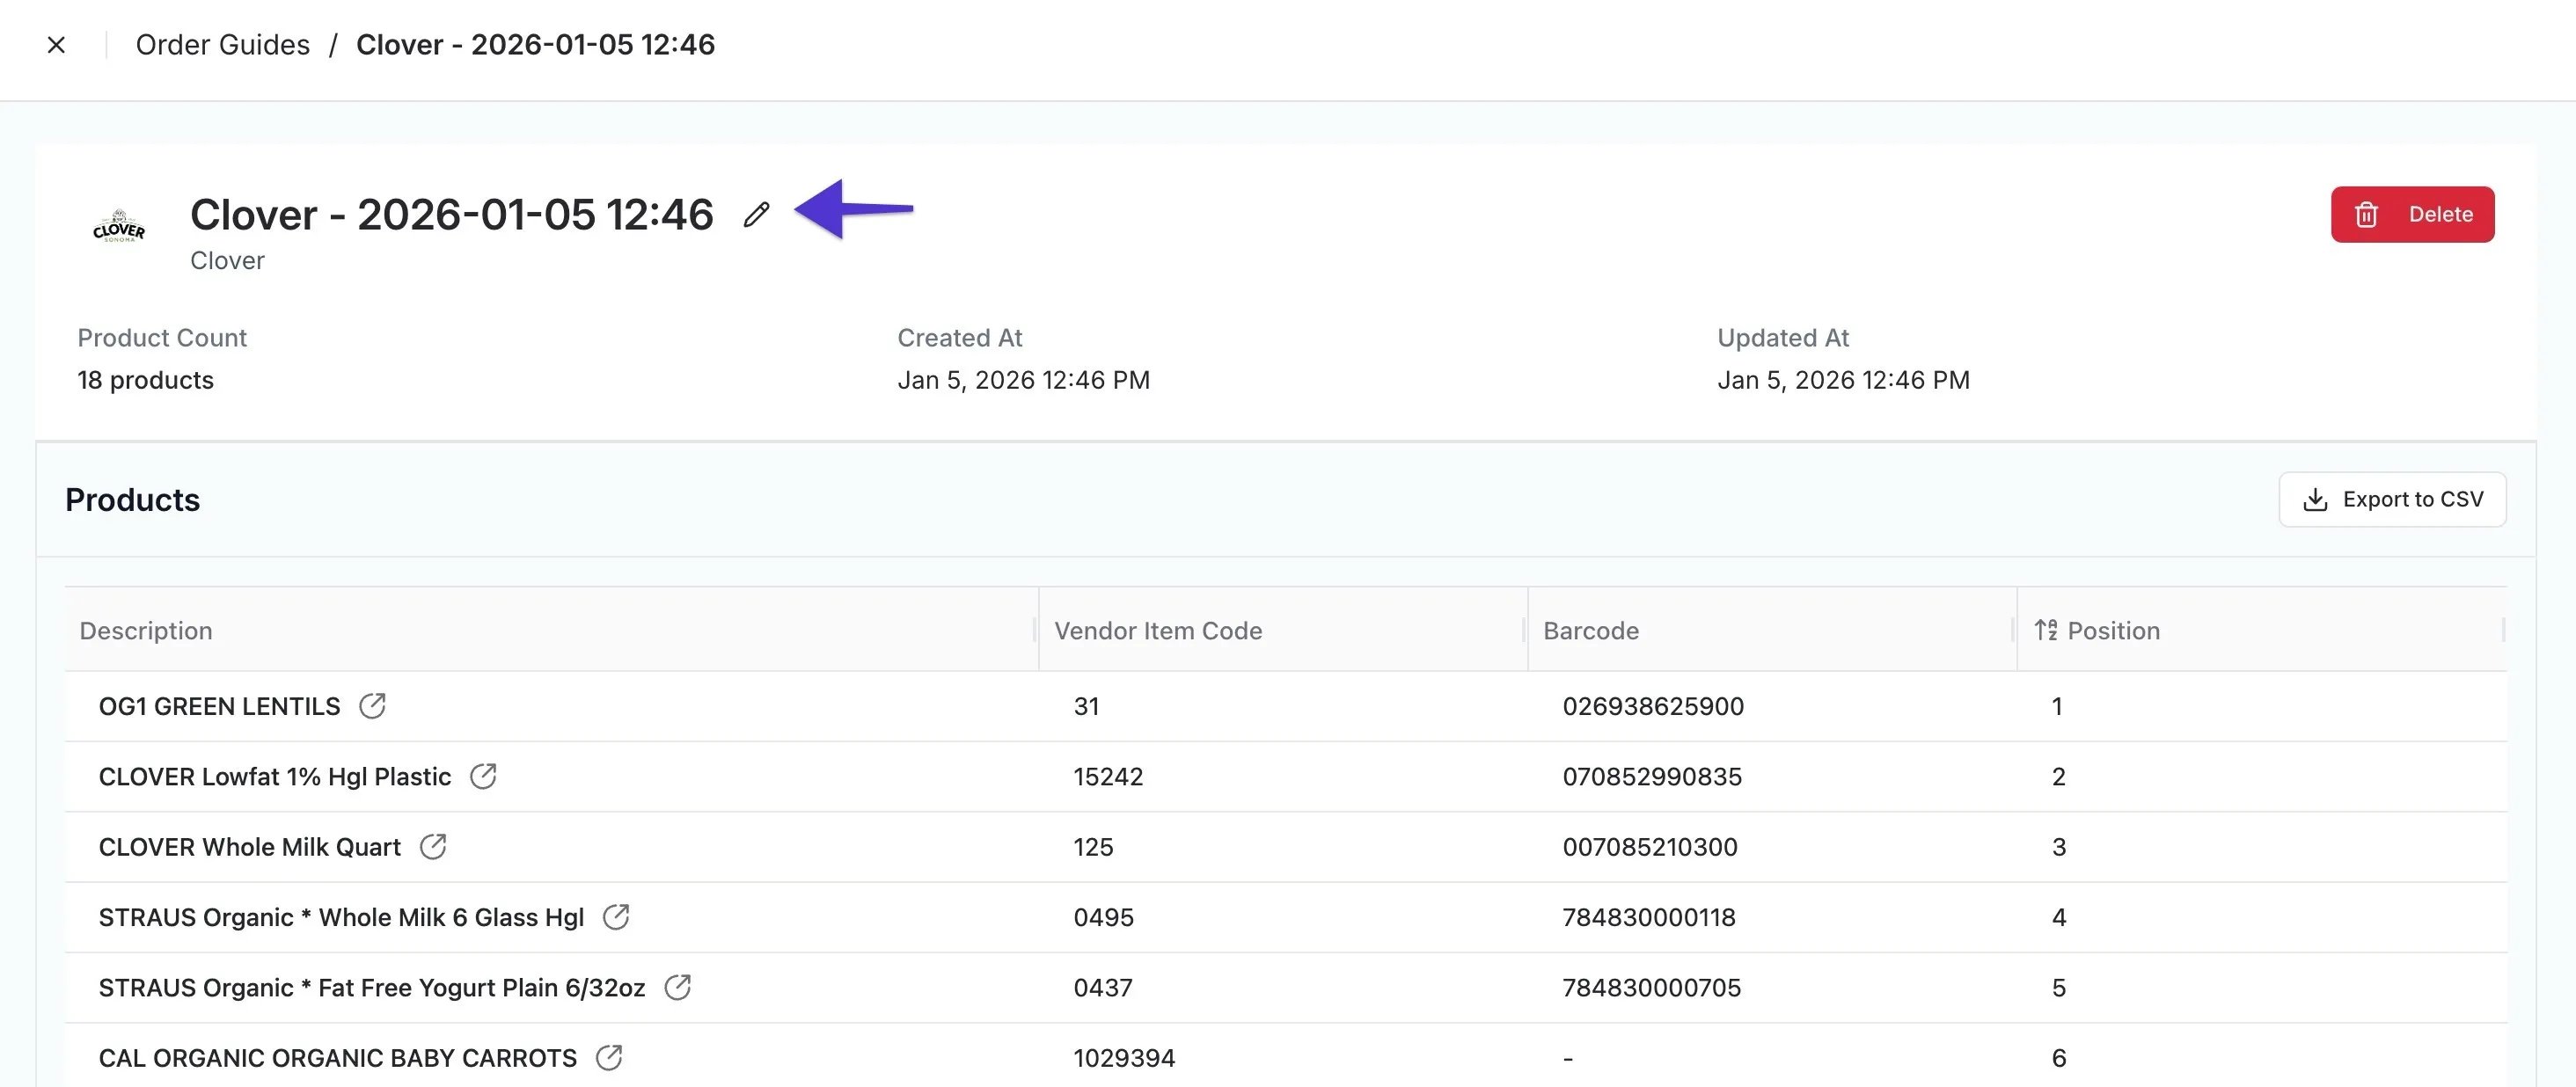
Open the Guide: Click on the new guide in the Back Office to review the item sequence.
-
Rename the Guide: Update the Name and Description so your team can easily identify it (e.g., “Produce - Main Guide”).
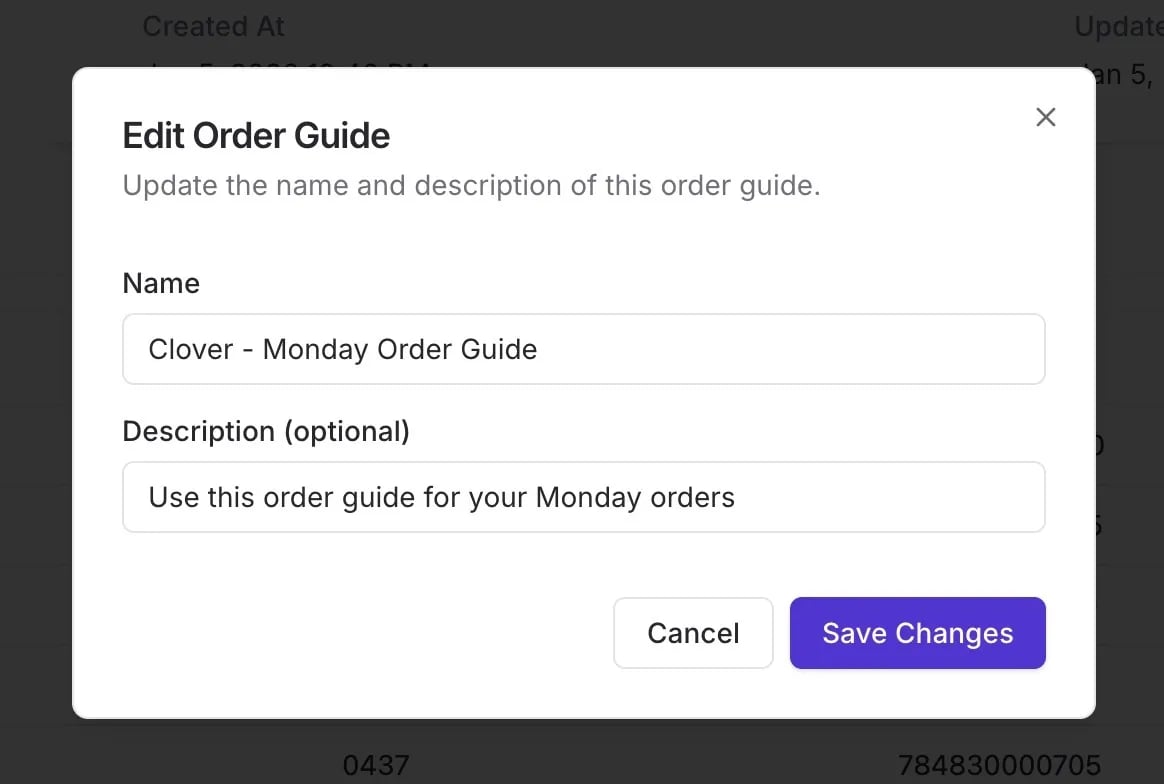
- Handheld Resync: On your handheld device, tap Resync. The order guide will now be available for use on VoriOS.