Step 1: Log in as an admin. Log in as an admin Step 2: Go to the Stores page. Go to the Stores page Step 3: Select the store you want to activate. Select the store Step 4: Toggle the IGA coupon network switch to turn it on. Toggle IGA coupon network Step 5: Confirm that the store’s IGA number is entered. This number is needed for reporting and reimbursement. Confirm IGA number ✏️Note: If you don’t have the IGA number, email IGA with the store name and address to request it. Step 6: Enable IGA Coupons for the store. Enable IGA Coupons Step 7: Go to the Networks section, then select Coupons. Go to Networks then Coupons Step 8: Prepare to re-upload the network file. Every time you add a new store, upload the latest coupon network file—even if it’s the same as before. This won’t create any duplicates. Prepare to upload Step 9: Obtain the latest IGA coupon network file. Make sure it’s current and in CSV format. Obtain CSV file Step 10: Select the IGA network from the network dropdown. Select IGA network Step 11: Add the correct CSV file with your offers. Add CSV file Step 12: Open the file and ensure it has only one header row. Delete extra header rows if needed, then re-save as a CSV. Check header rows Step 13: Upload the CSV file in the Coupons section. Upload CSV Step 14: Review the mapped fields and make sure the data (name, description, amount off, dates, etc.) looks accurate. Review mapped fields Step 15: Continue through the prompts. Pause at the commit step until you confirm customer approval. Pause at commit step 💡Tip: Make sure the store is informed before coupons go live. The register and pricing will change automatically, so stores need to be ready for coupon application at checkout.
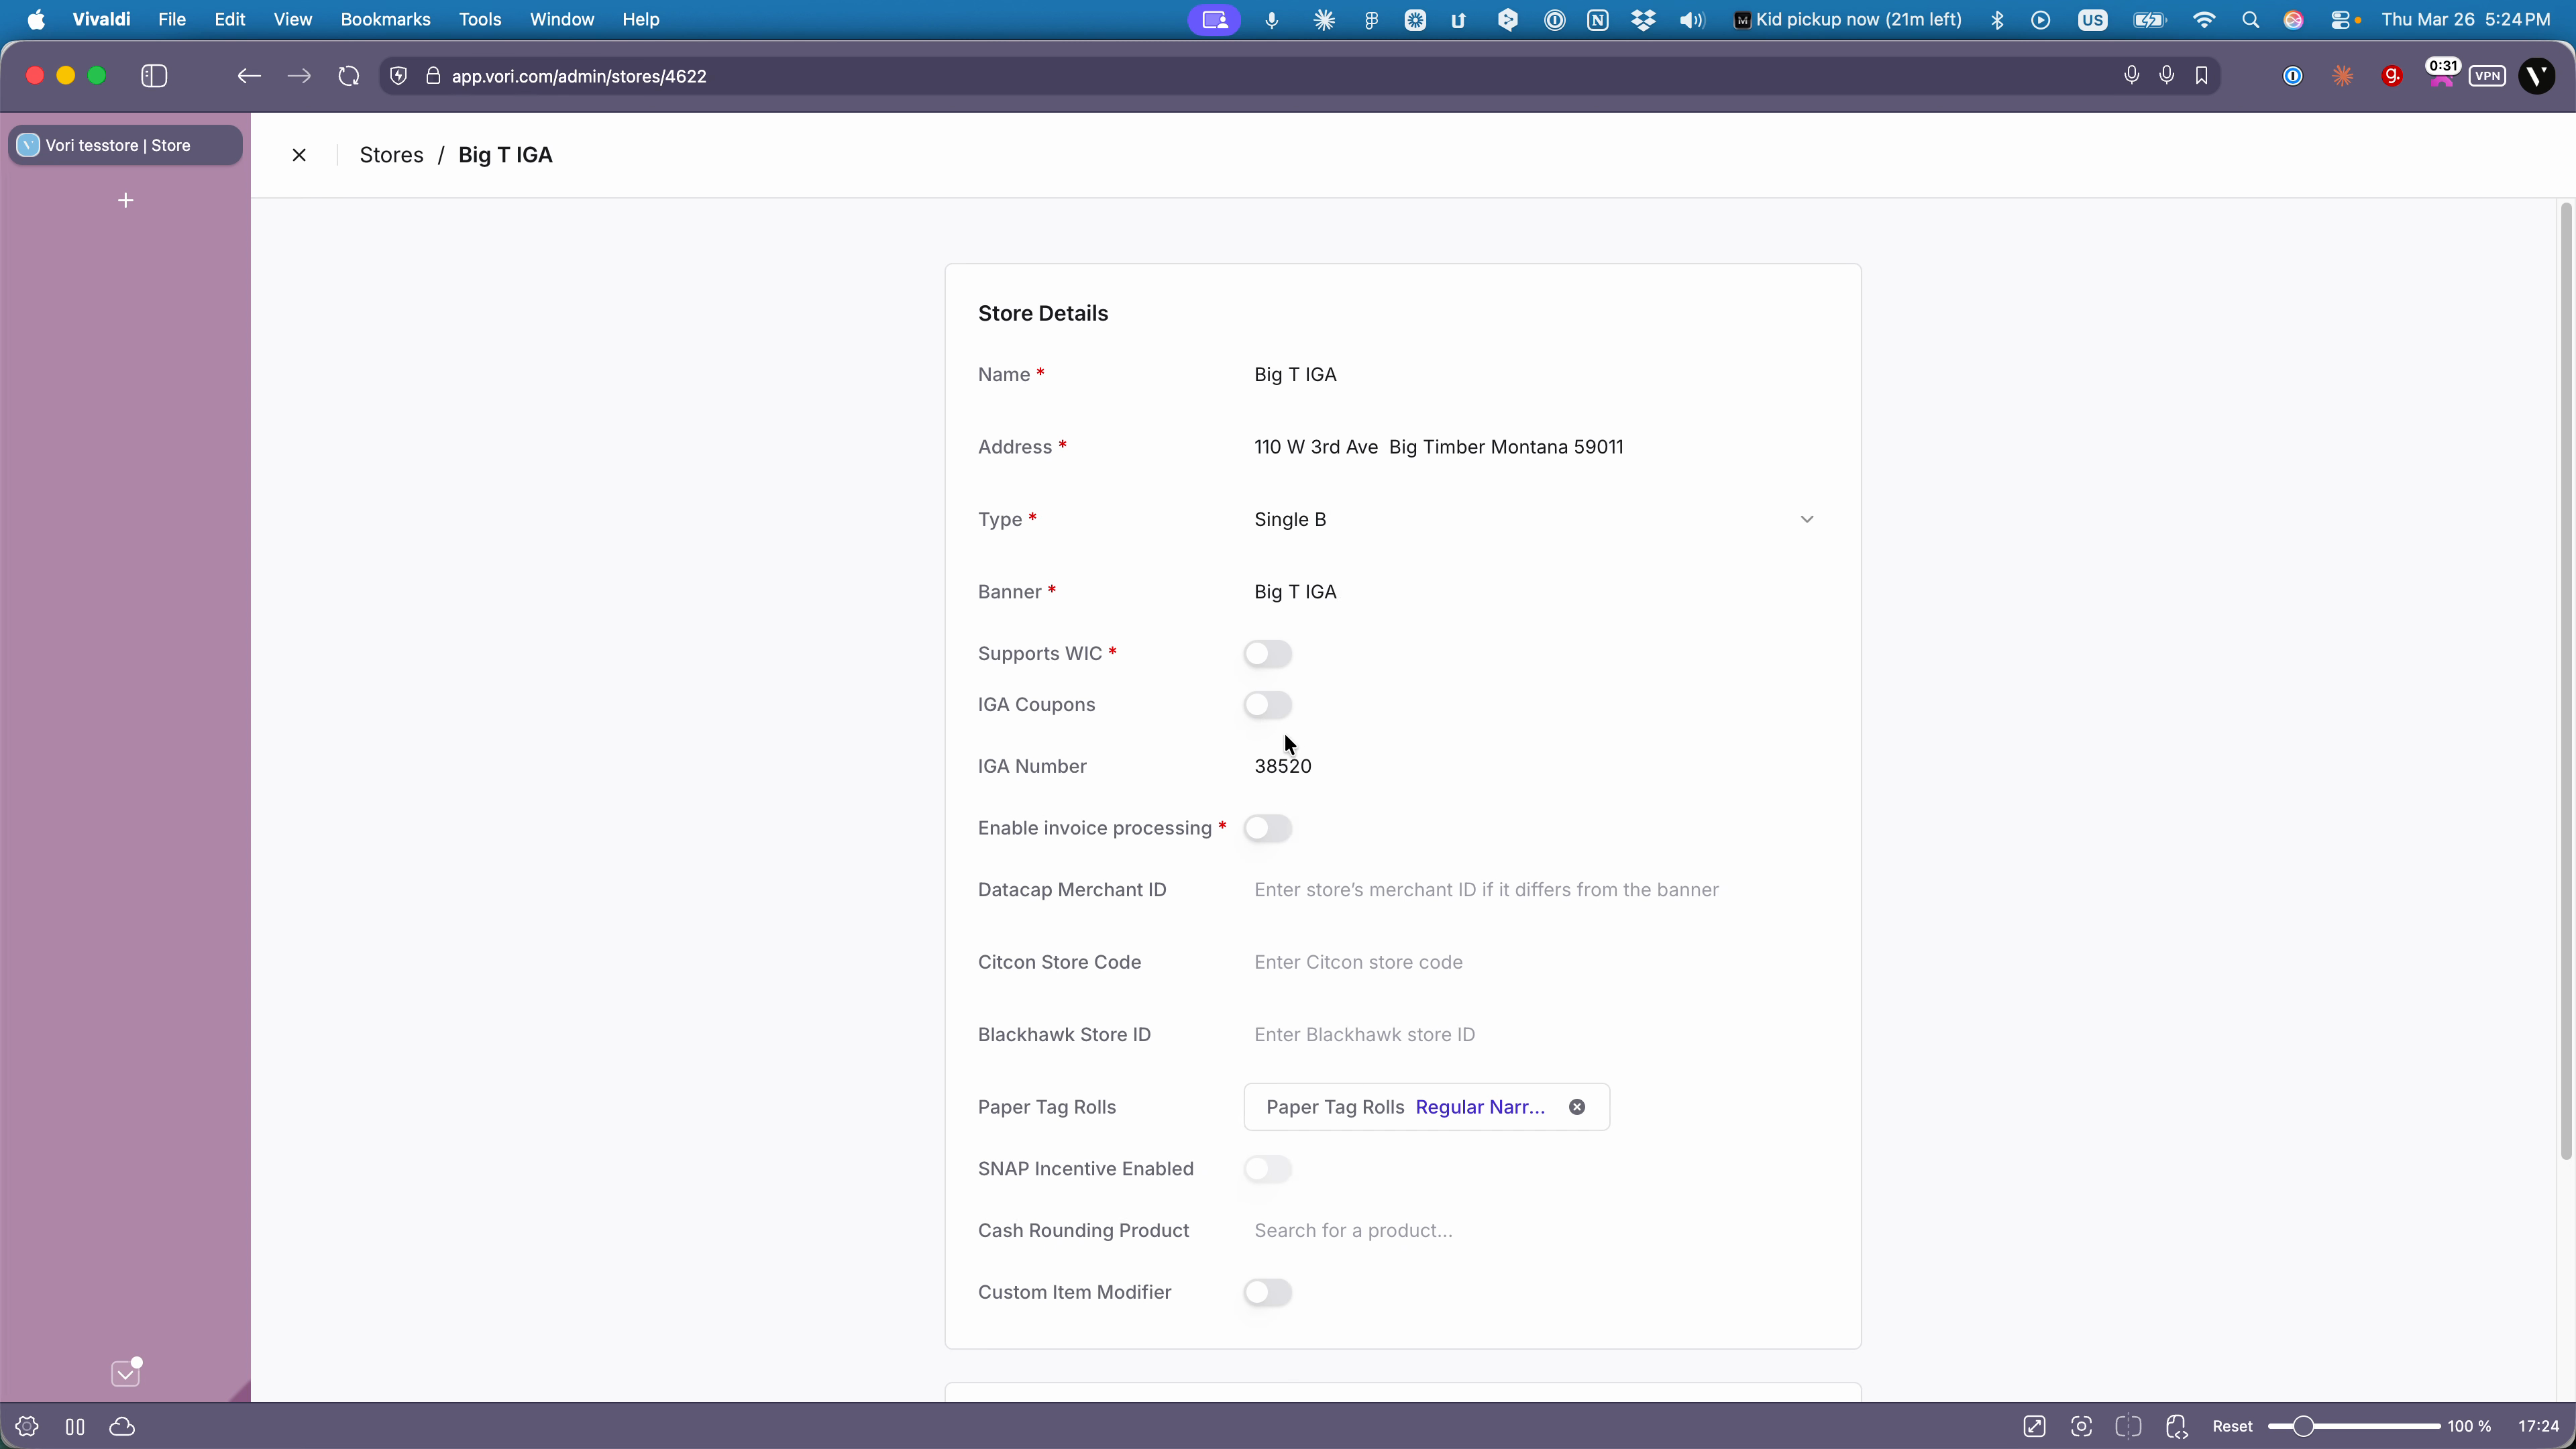
Activating IGA coupon network support keeps your store’s coupons up-to-date and accurately tracked. Carefully follow this process for each new store to ensure seamless integration and customer experience.
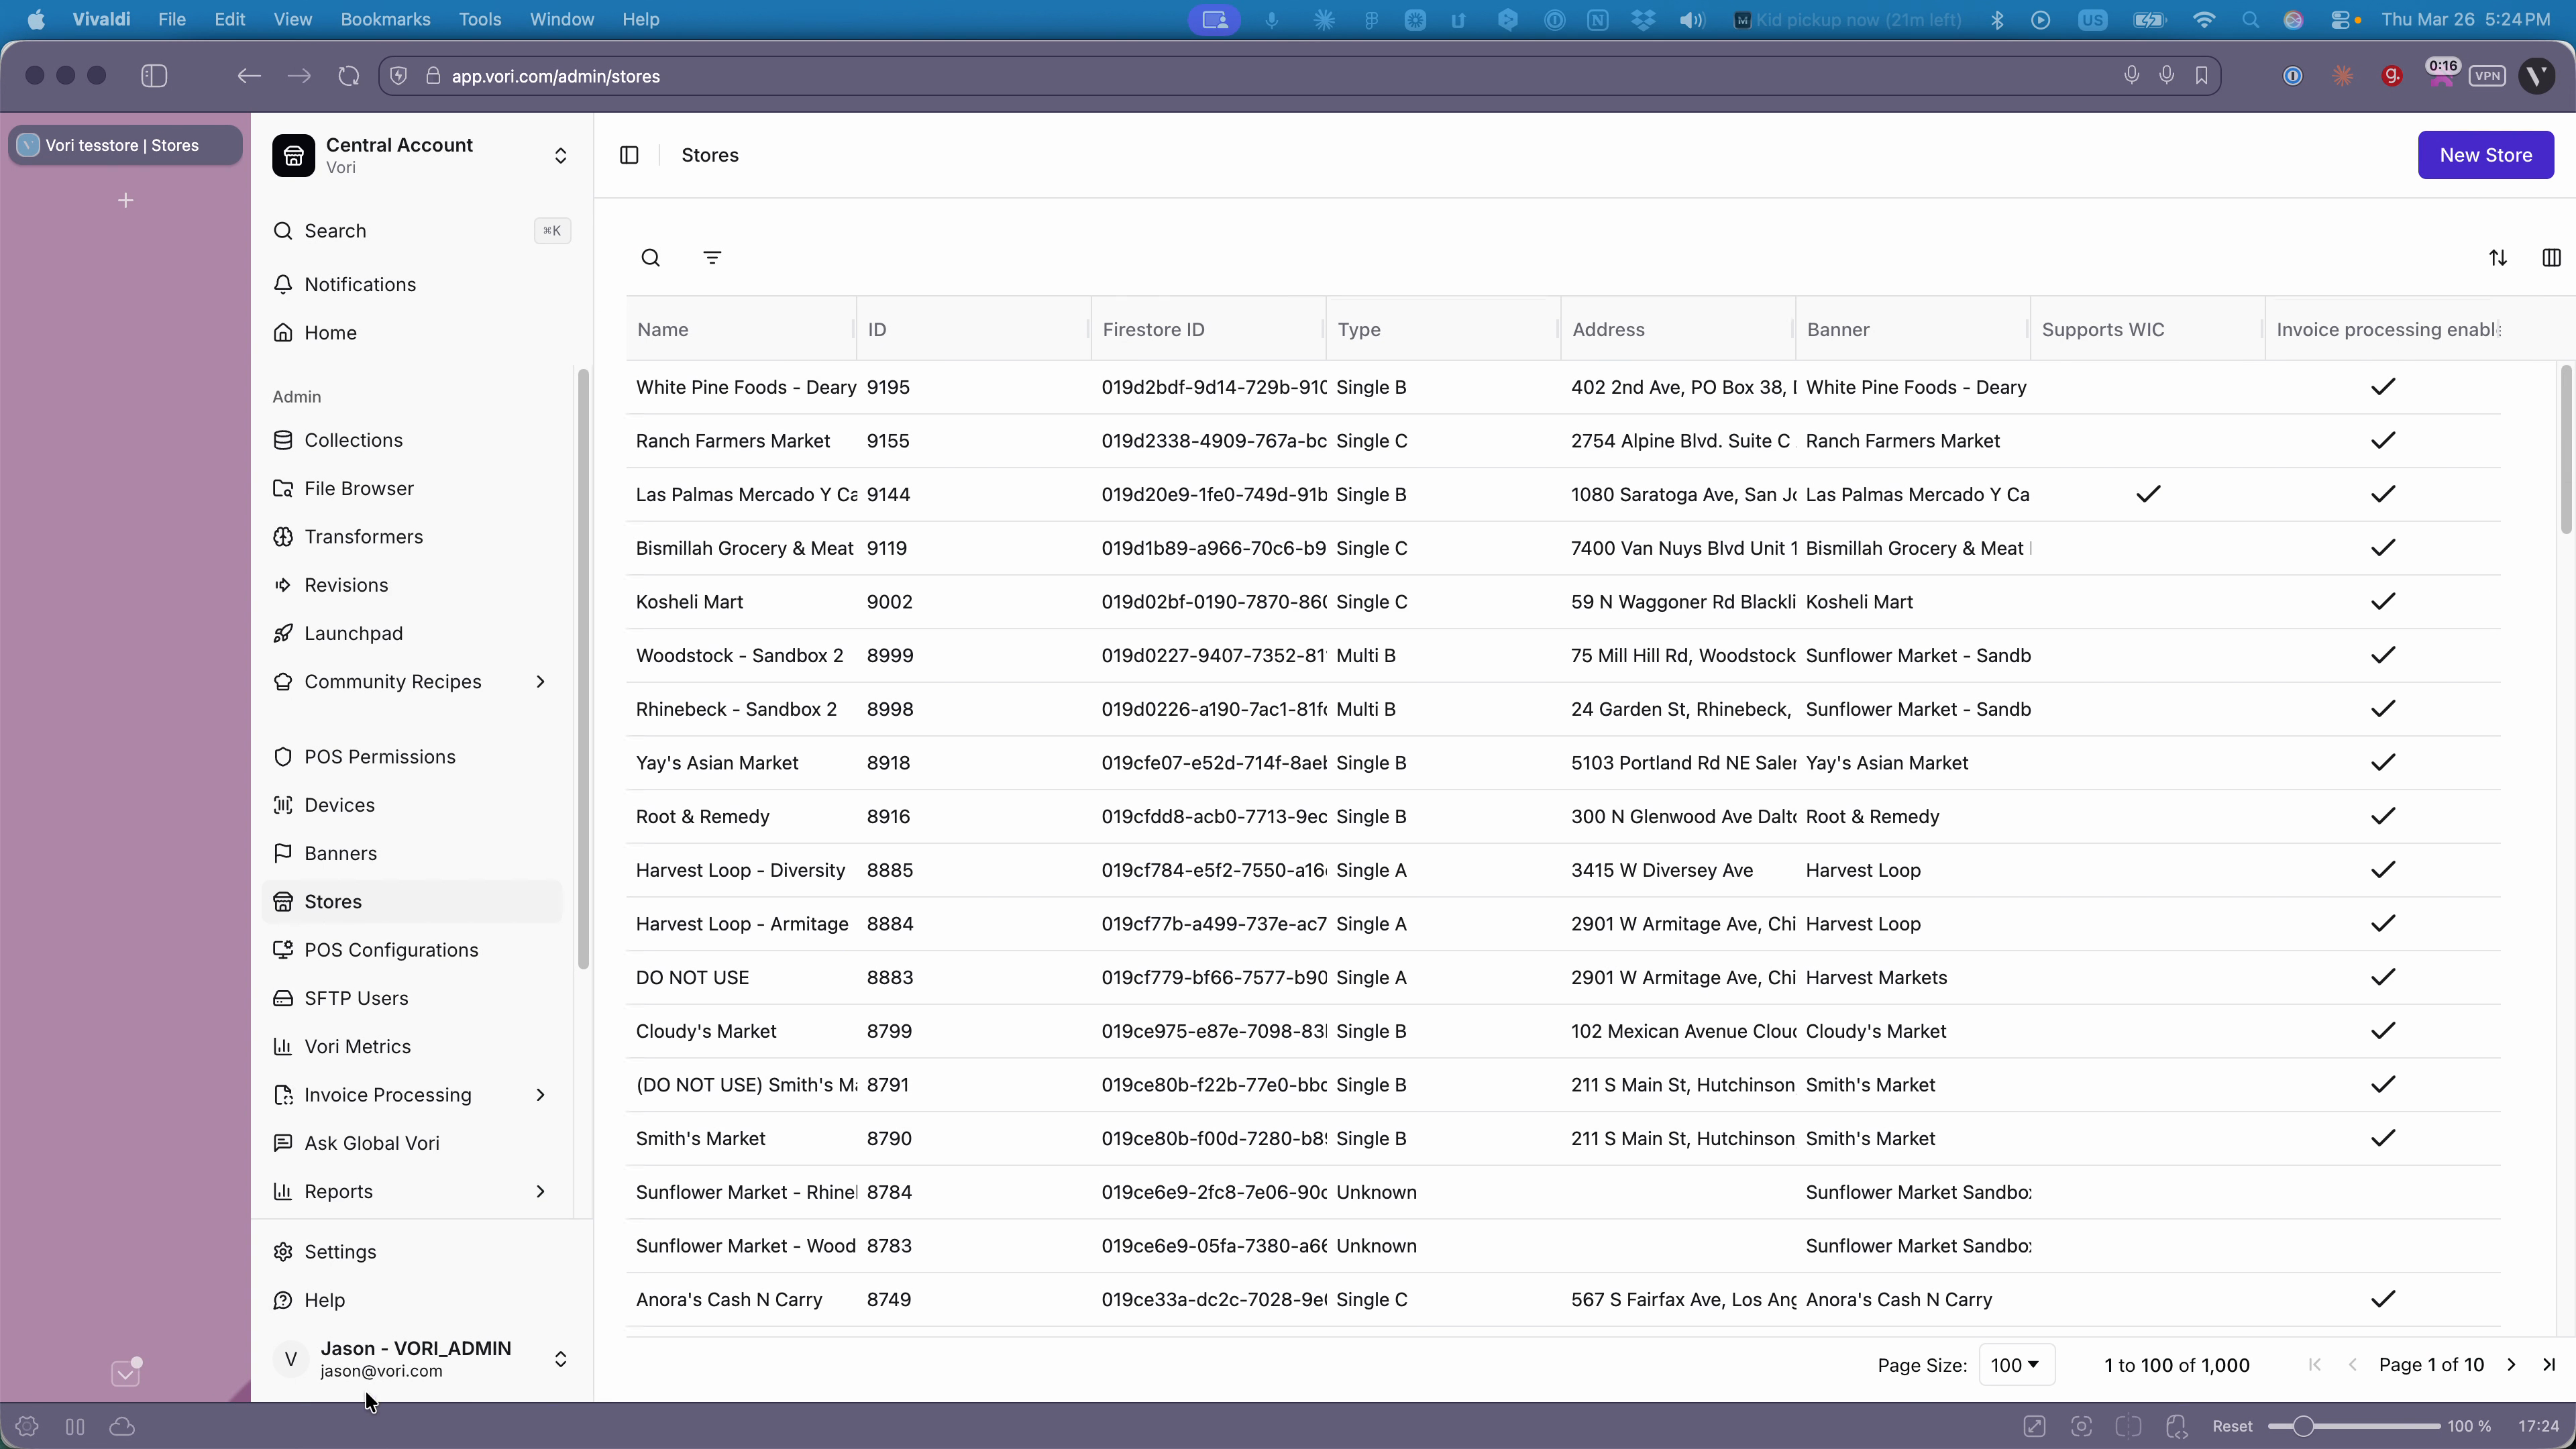
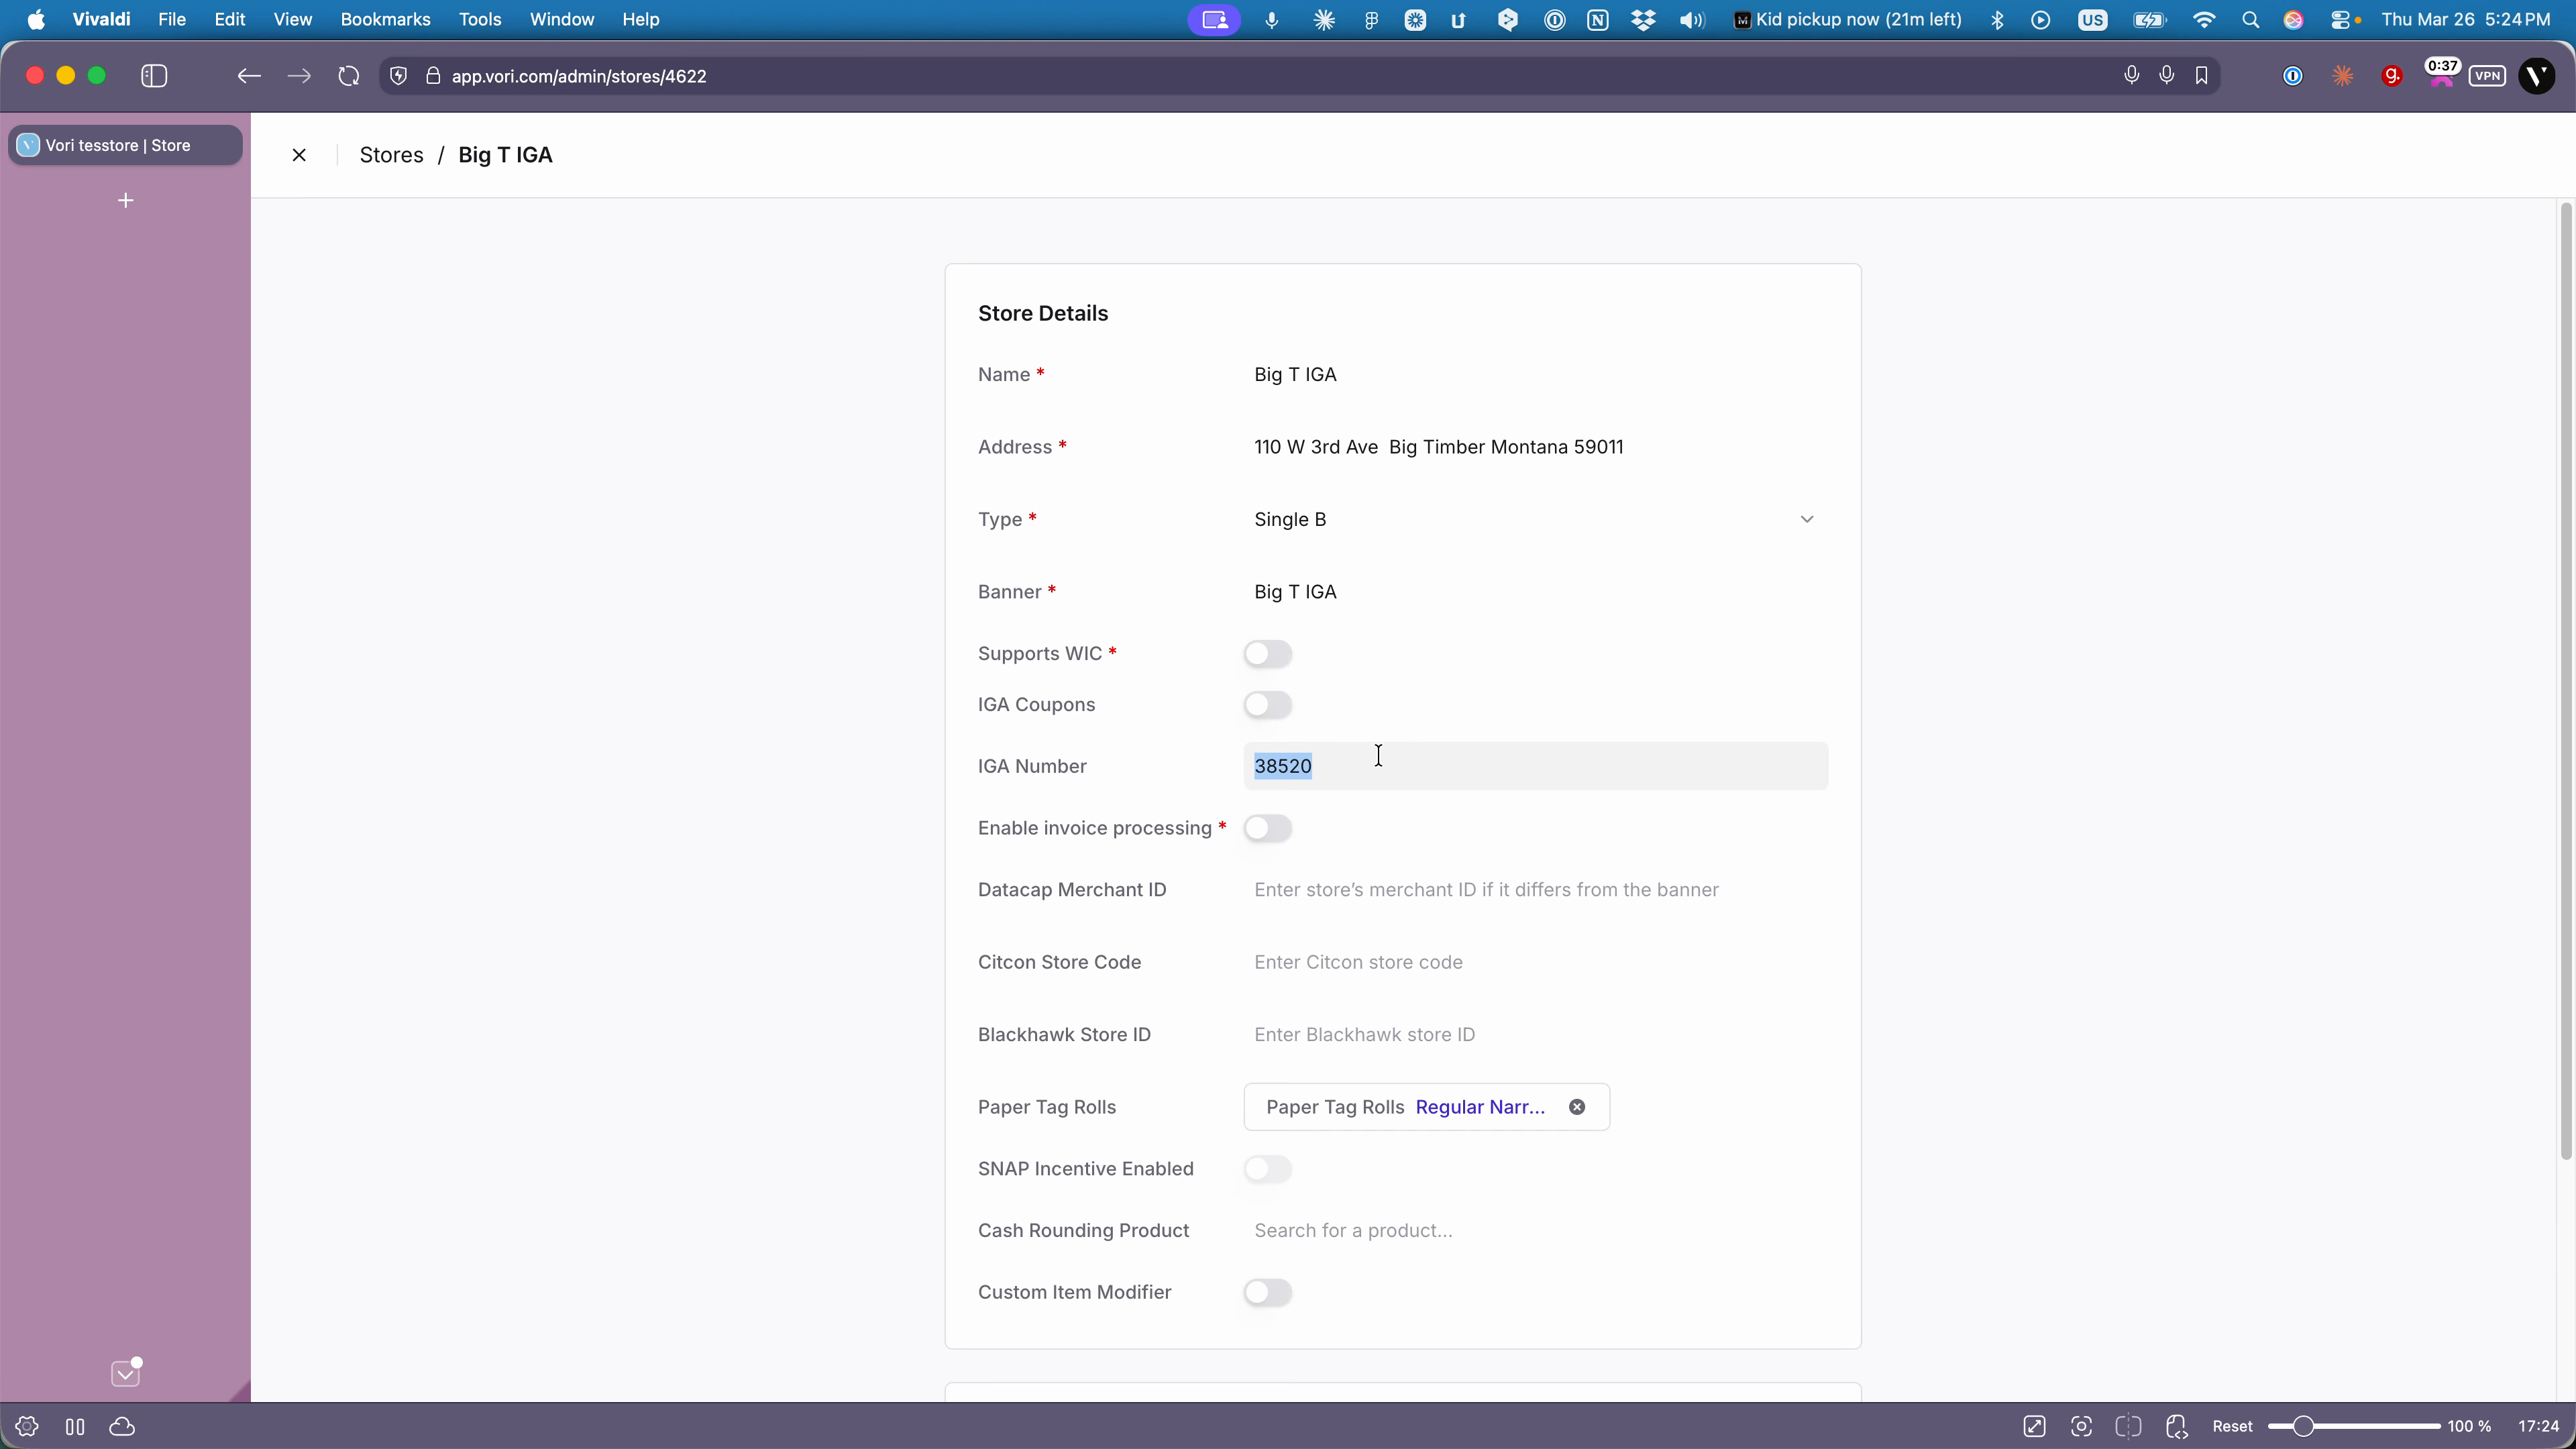
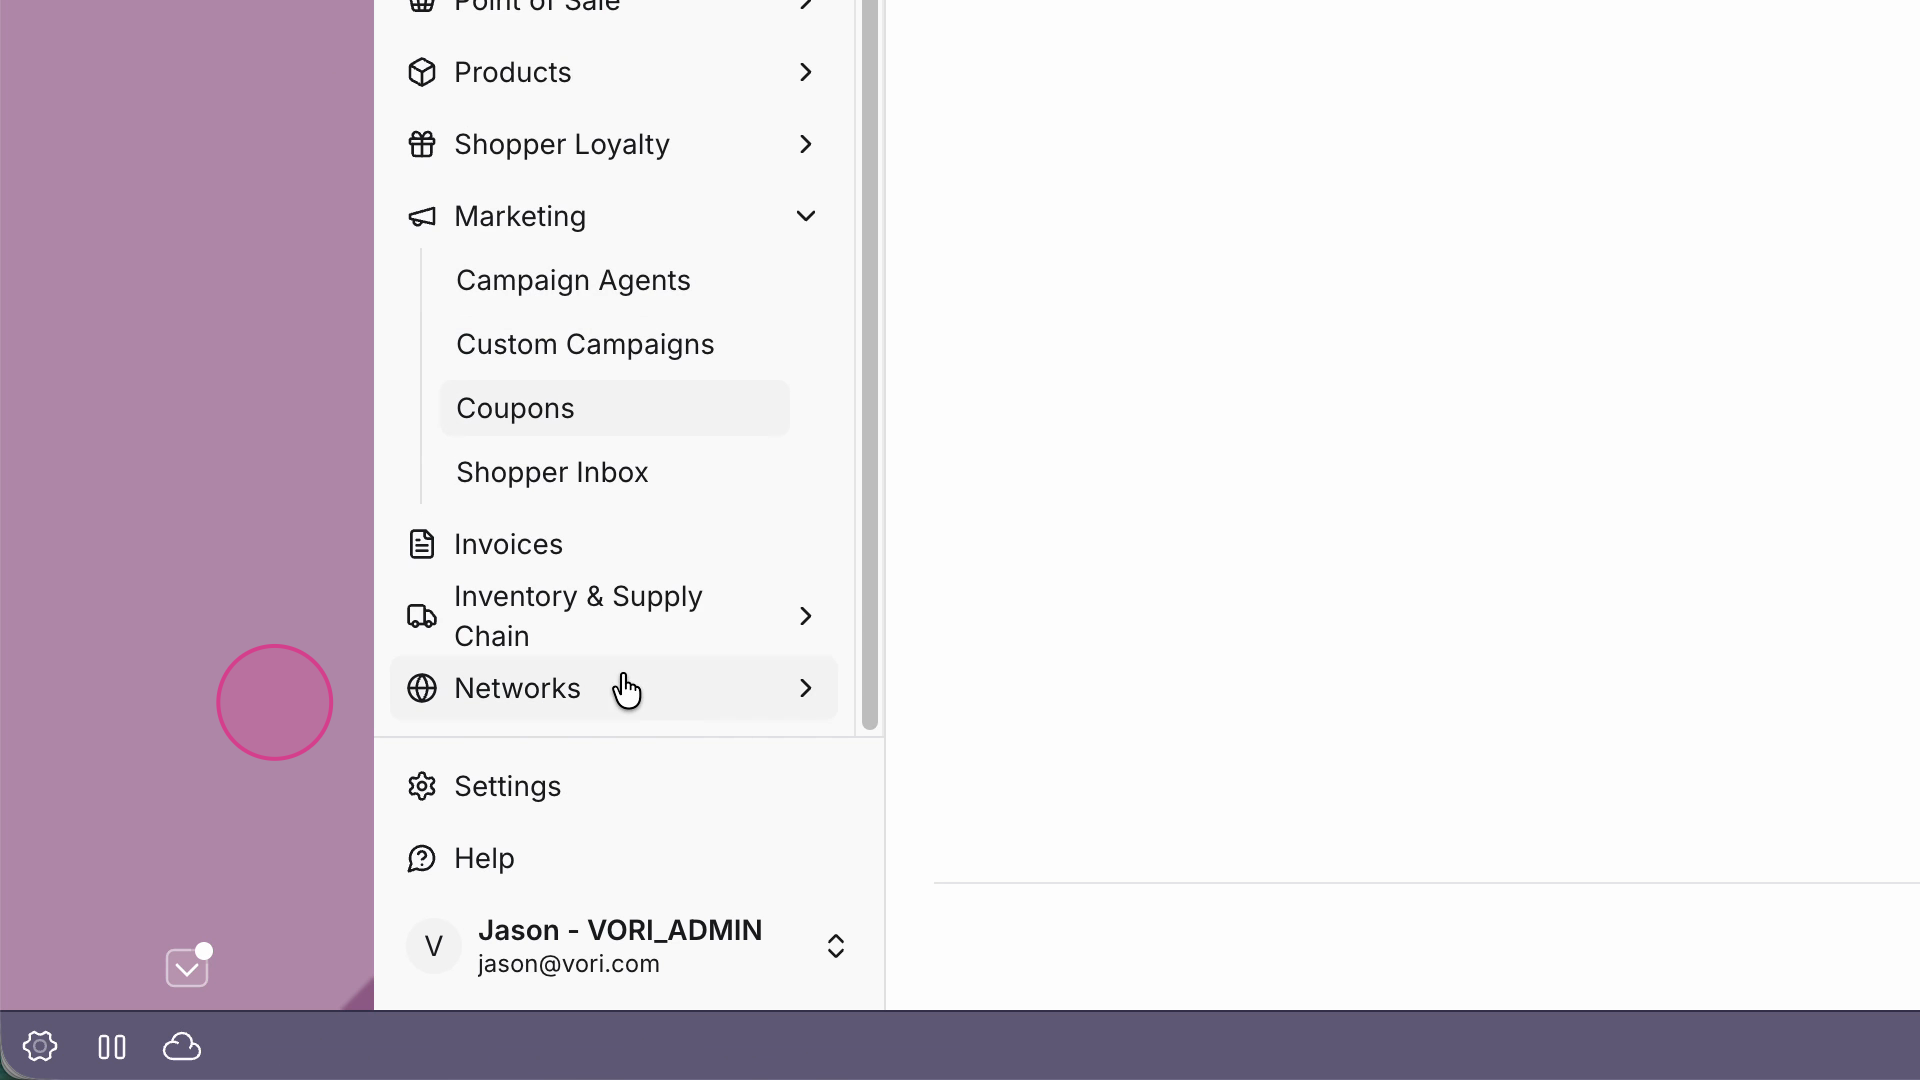
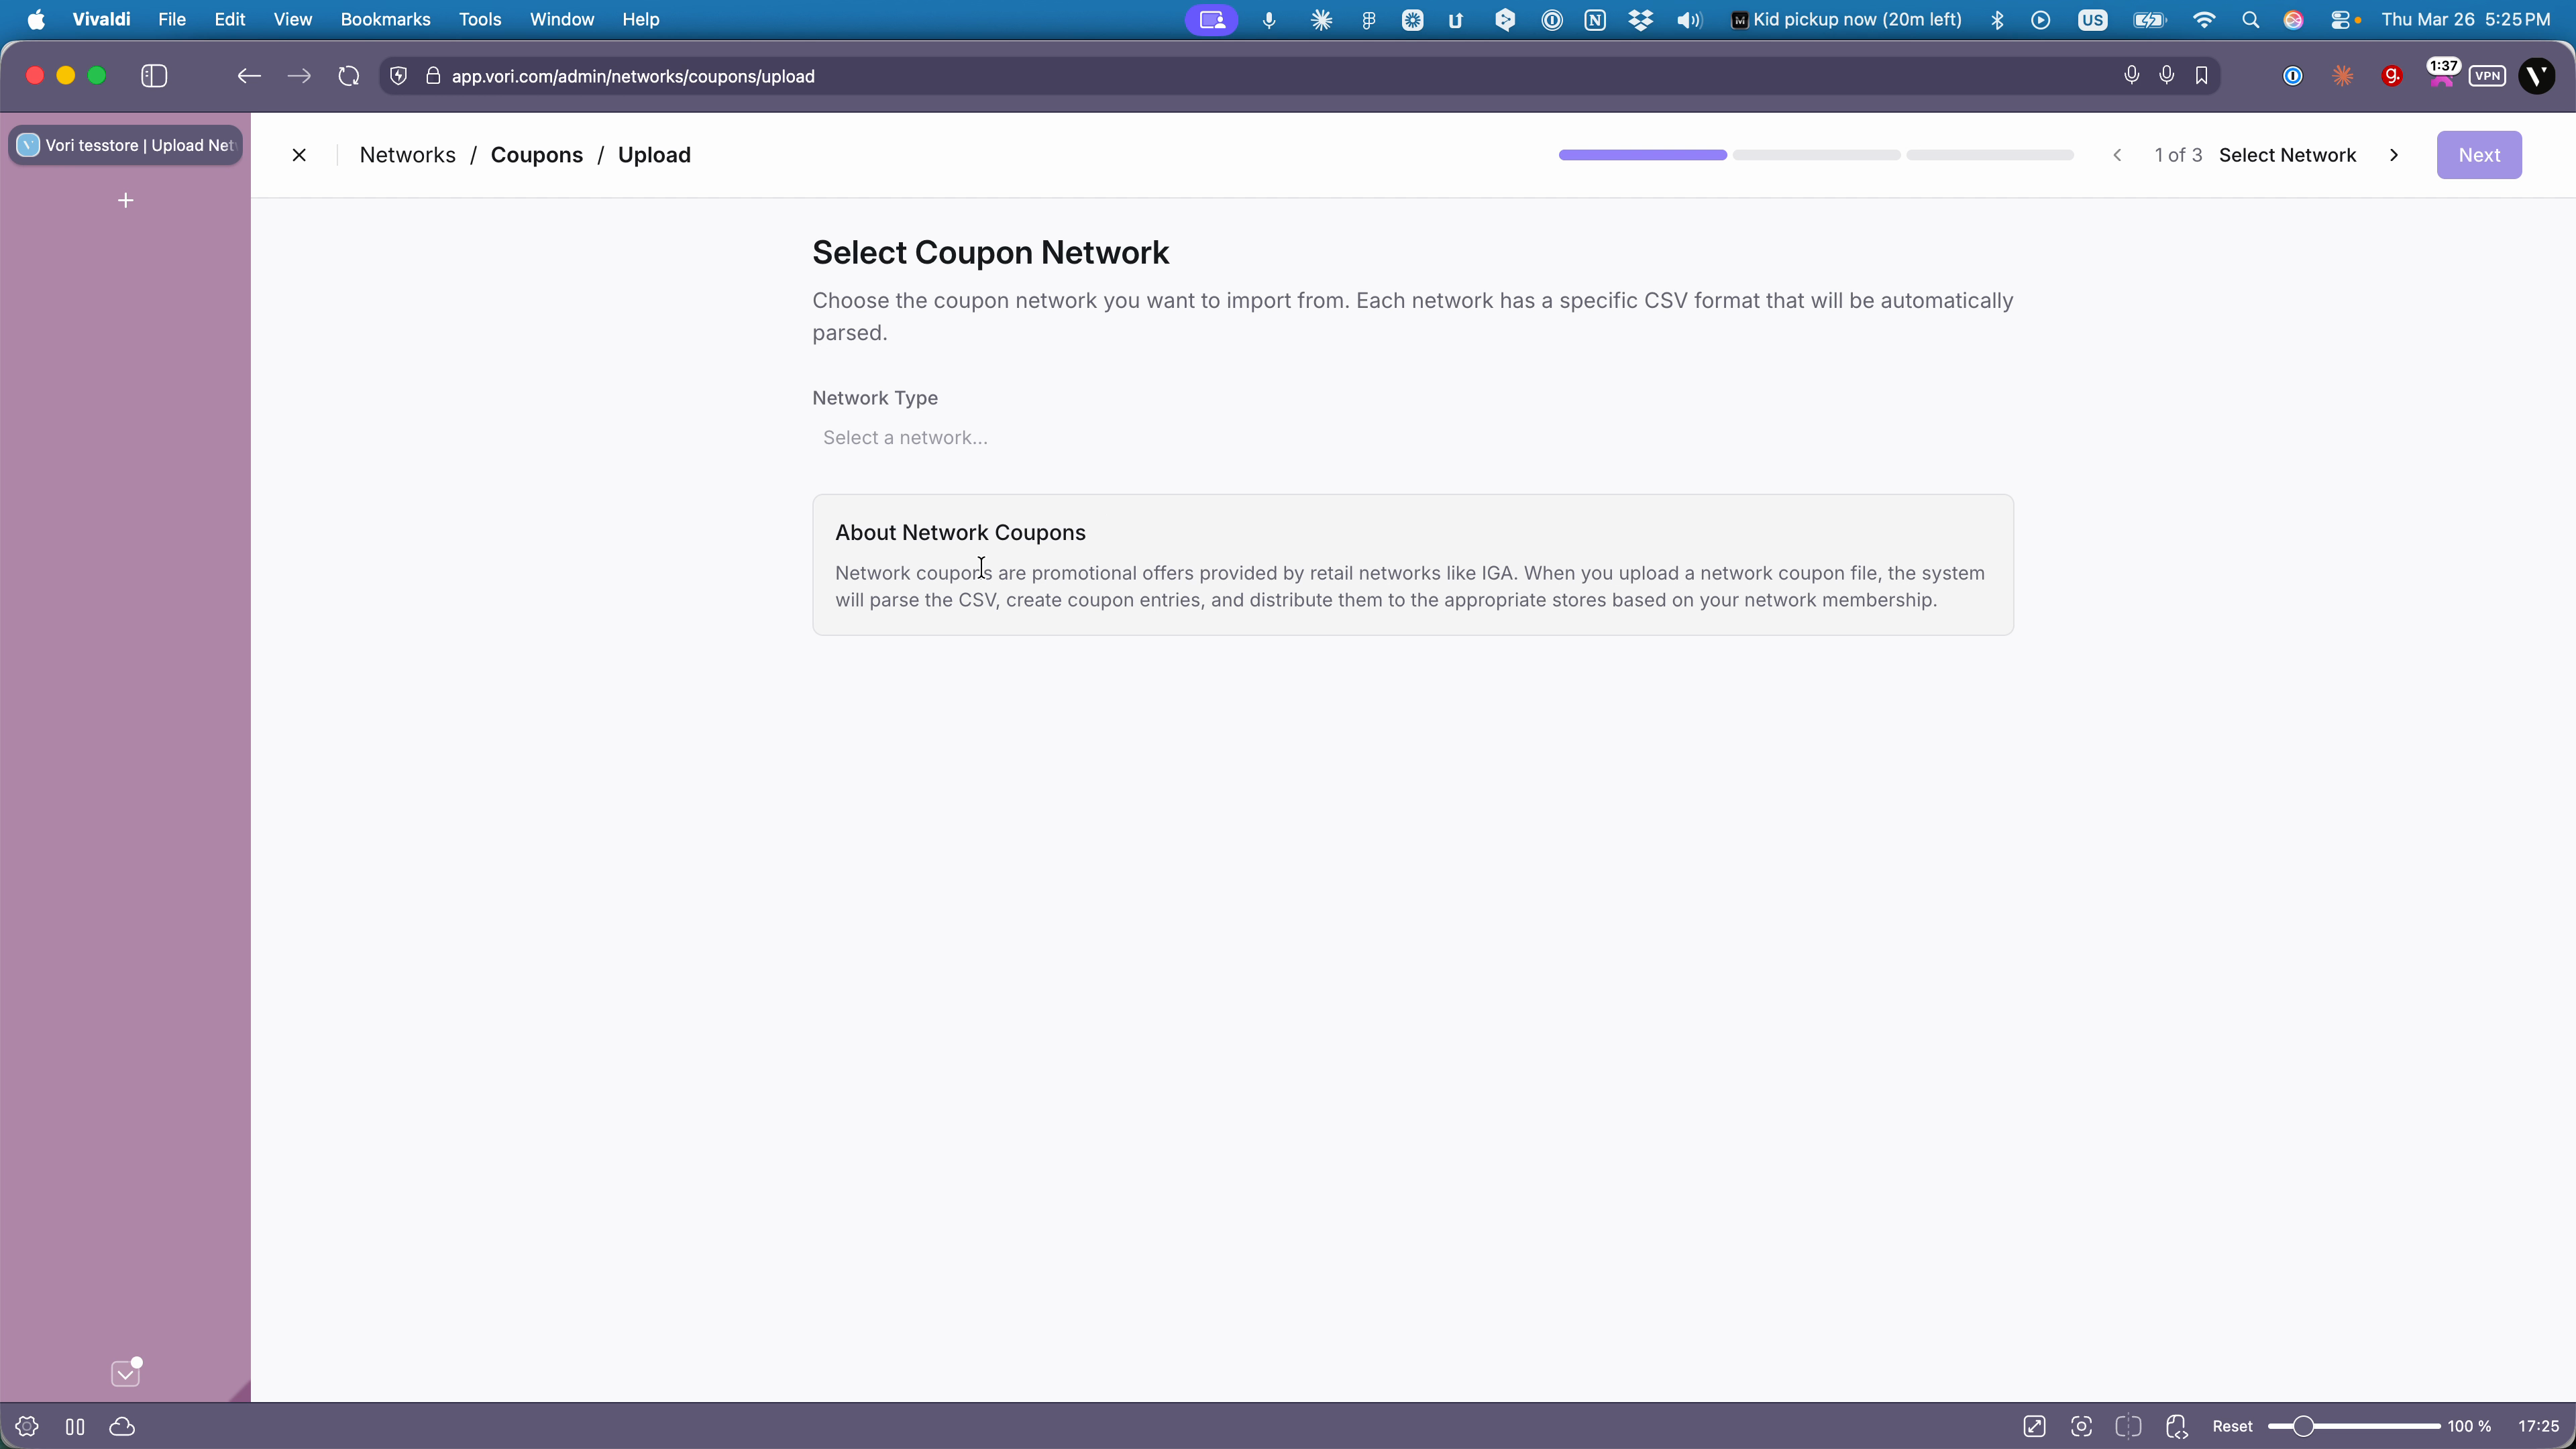
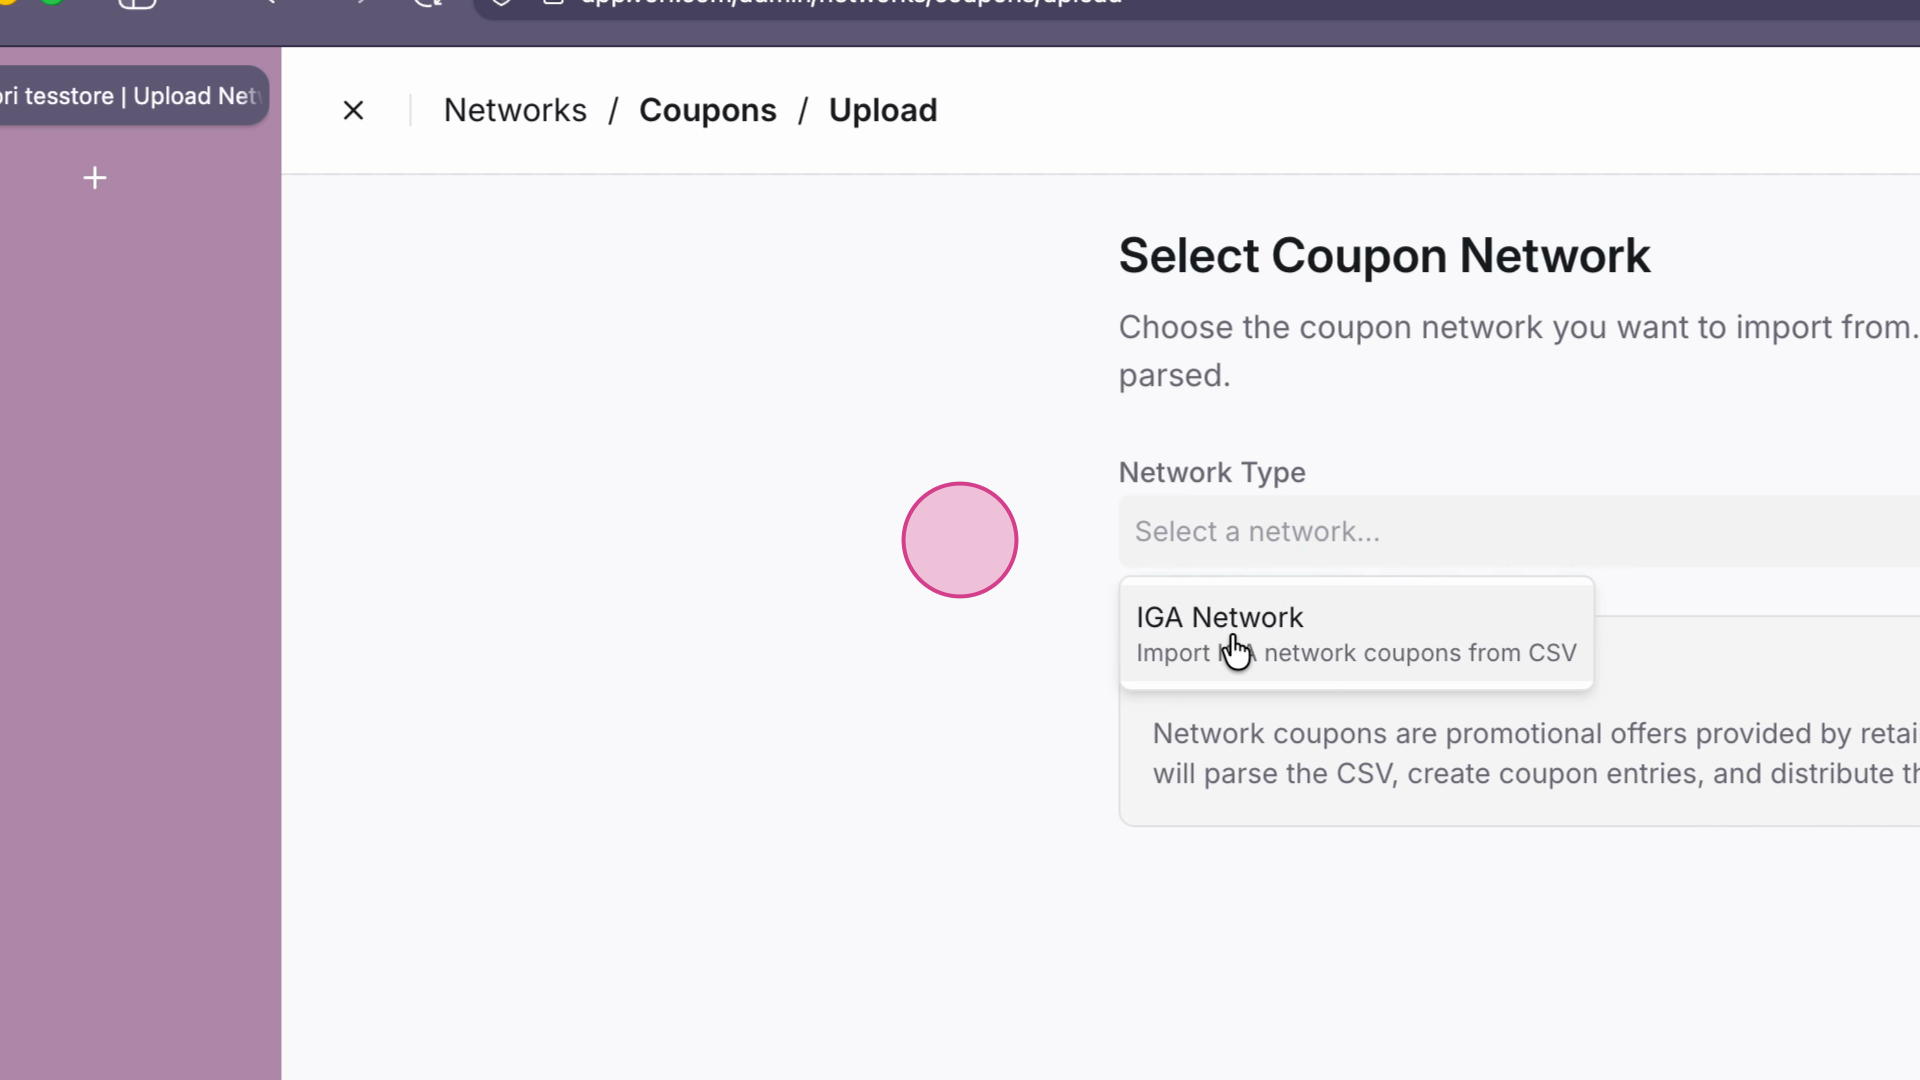
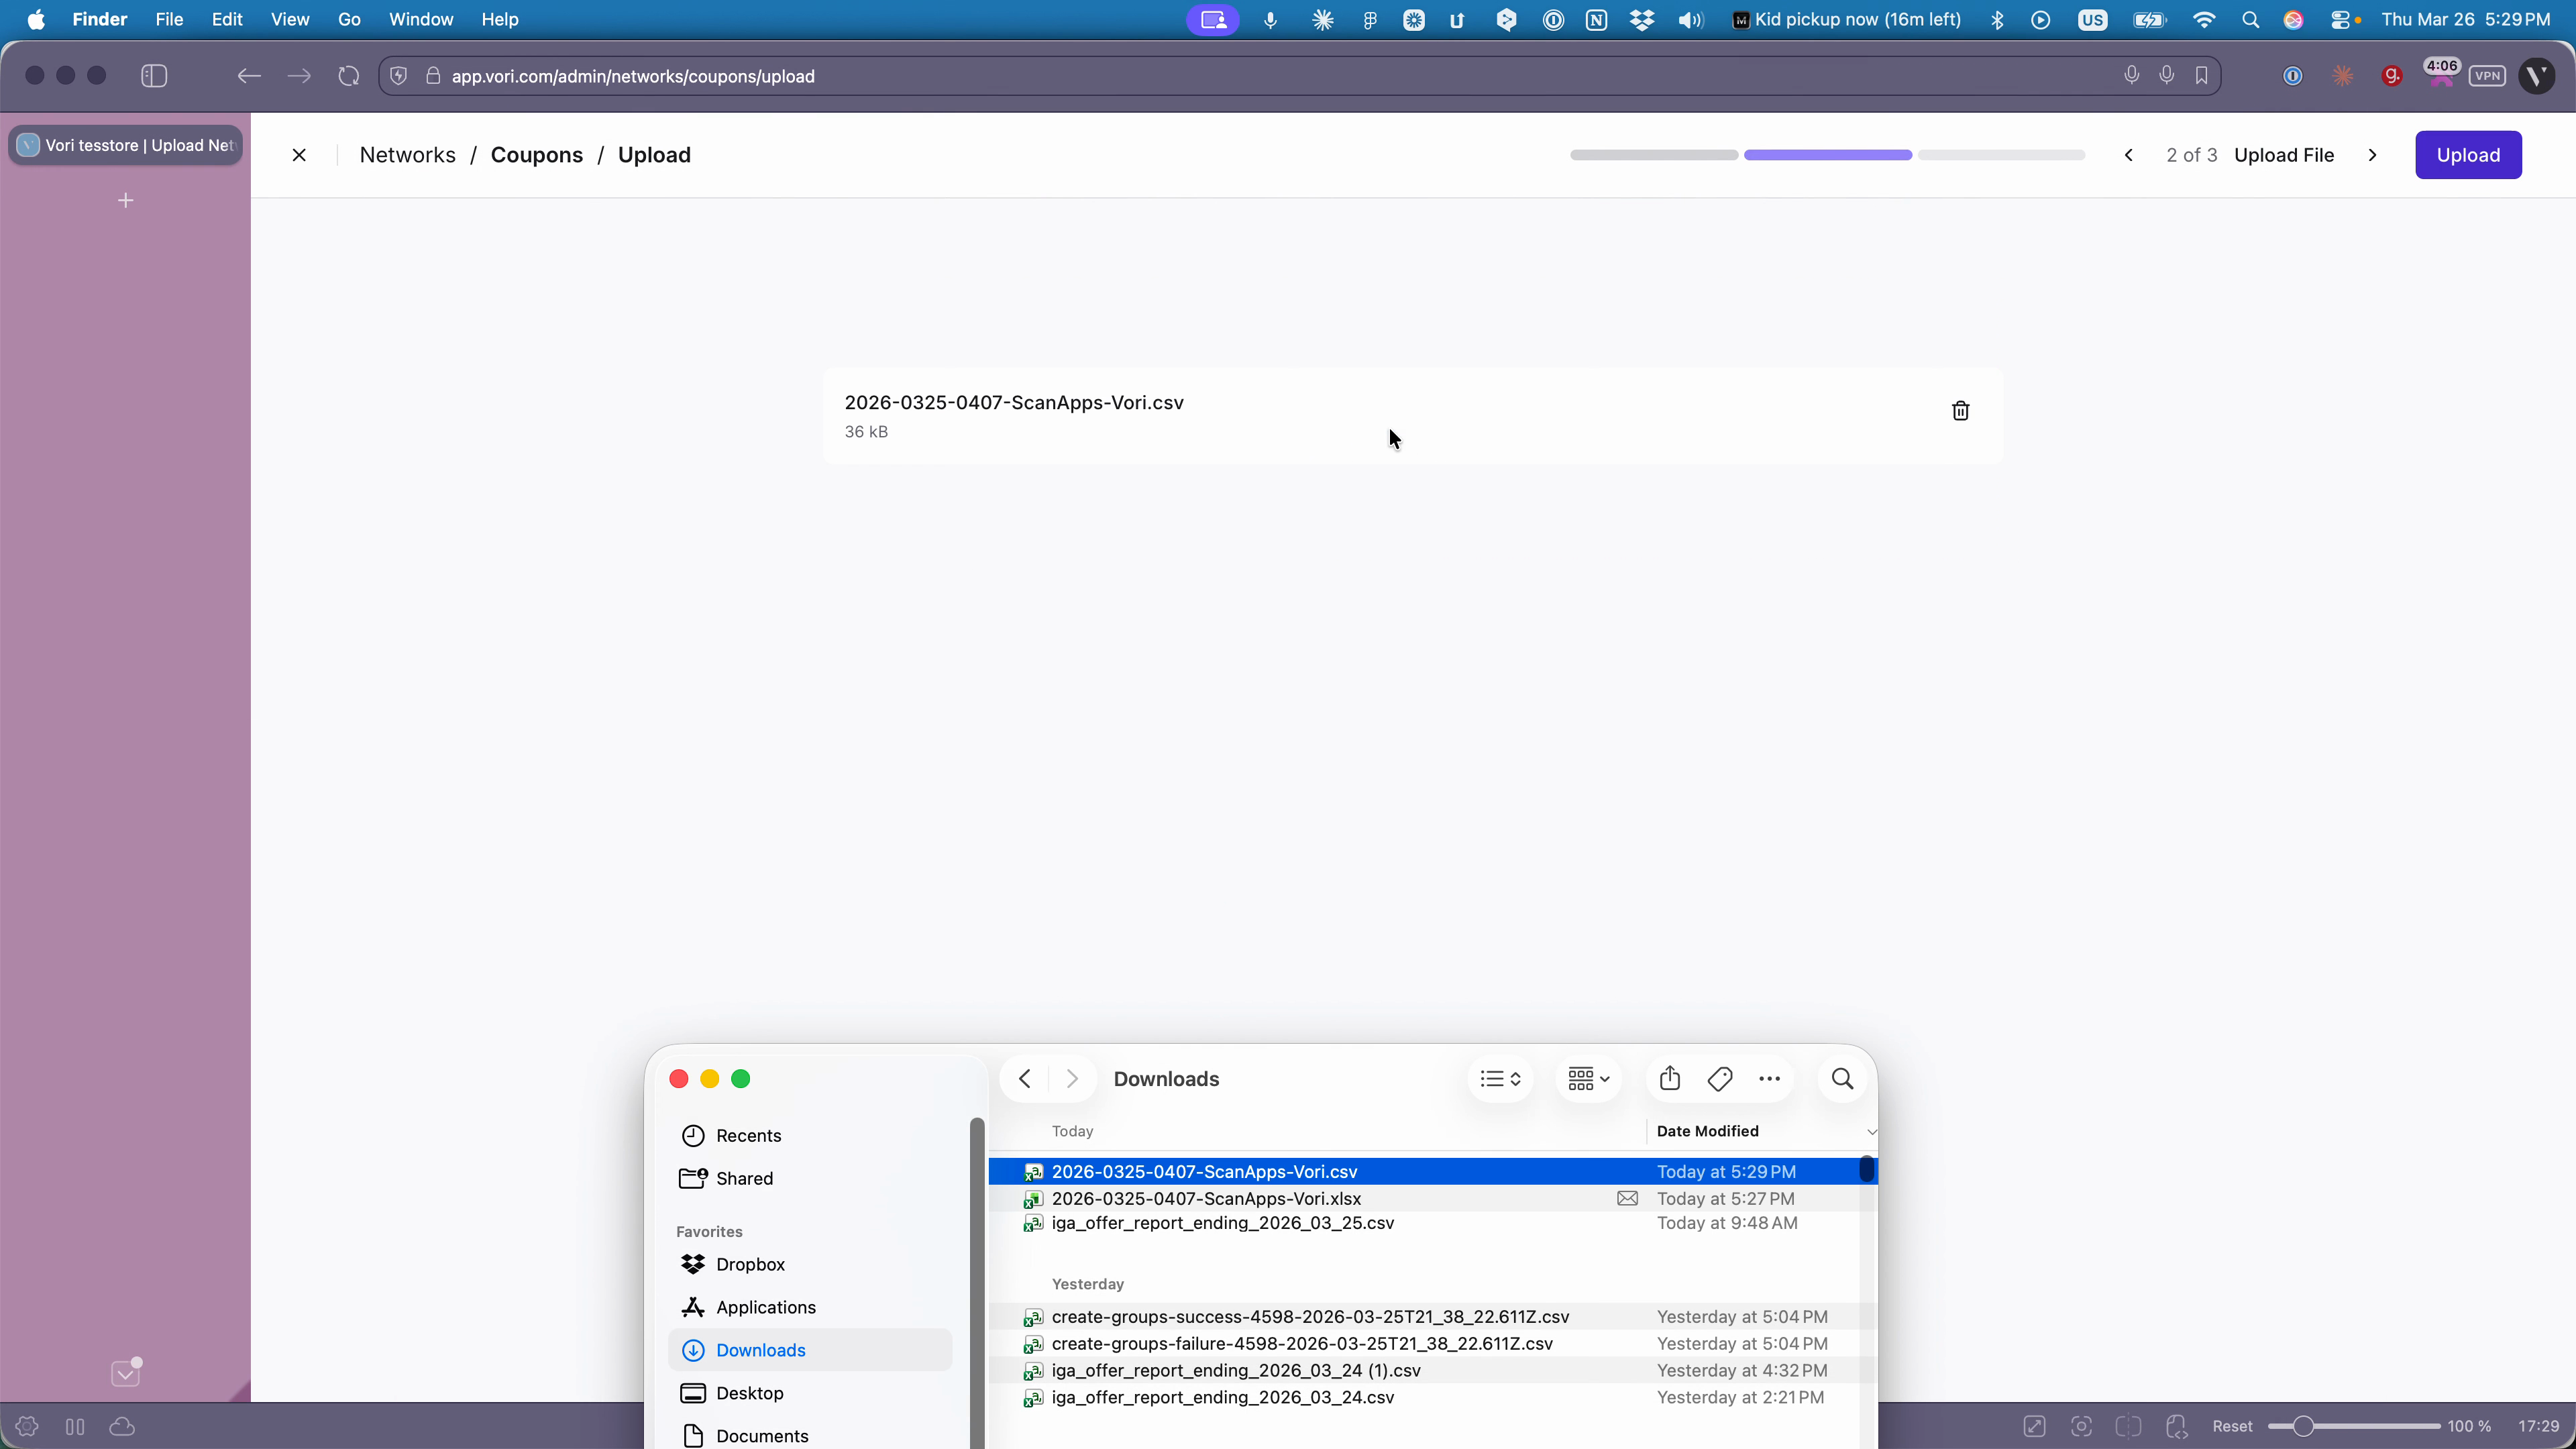
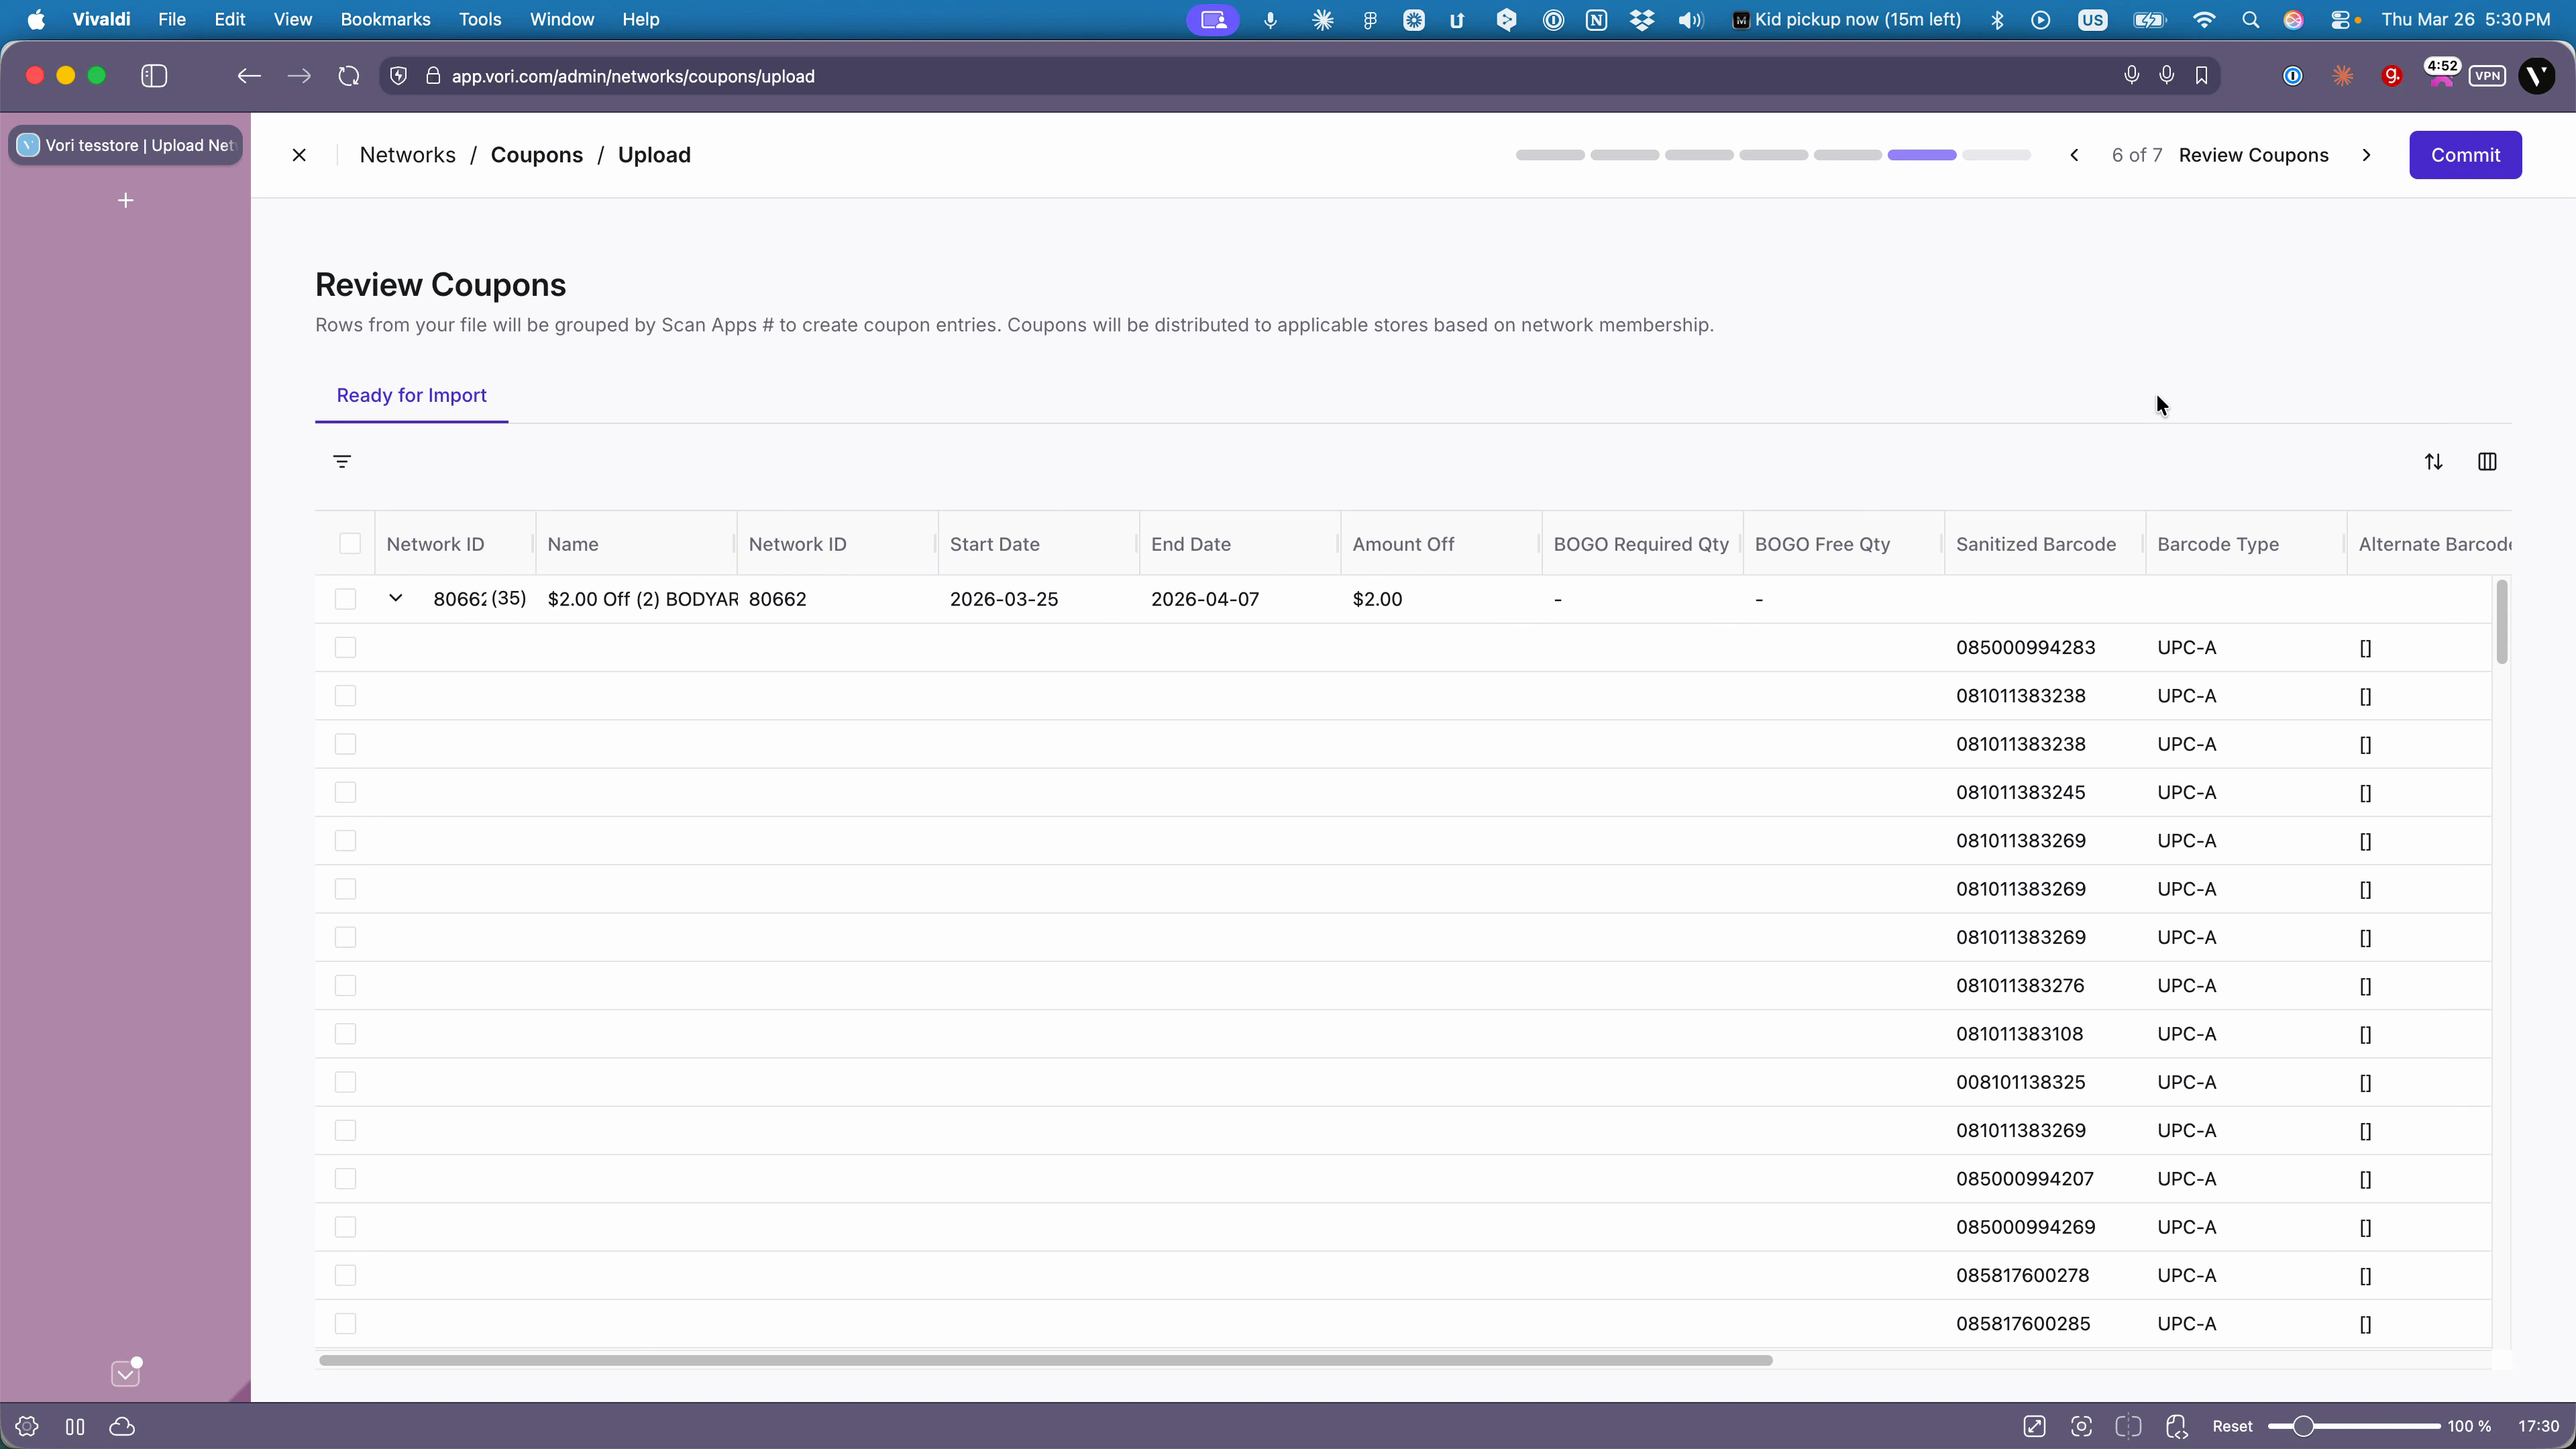