> ## Documentation Index
> Fetch the complete documentation index at: https://help.vori.com/llms.txt
> Use this file to discover all available pages before exploring further.
# Product Catalog & Product Details
> Discover the latest updates to the Product Catalog and Product Detail Page.
✏️ **Note:** This article describes features ([app.vori.com](http://app.vori.com)). For instructions on accessing it, view our guide: [Access the New Back Office.](/vori-setup-and-troubleshooting/access-the-new-vori-back-office)
***
### What's New in the Product Catalog
The **Product Catalog** is where you’ll browse and manage your store’s product list. In this New Back Office, you’ll notice:
* **Faster Performance:** Significantly faster load time than the Legacy Back Office.
* **More Filter Criteria Options:** Use the search field or click into a specific column to filter by new criteria such as Case Cost, EBT Enabled, and Retail Price, as well as existing ones.
* **Filter by Value**: You can filter on any cell, and it should add that to the filter bar.
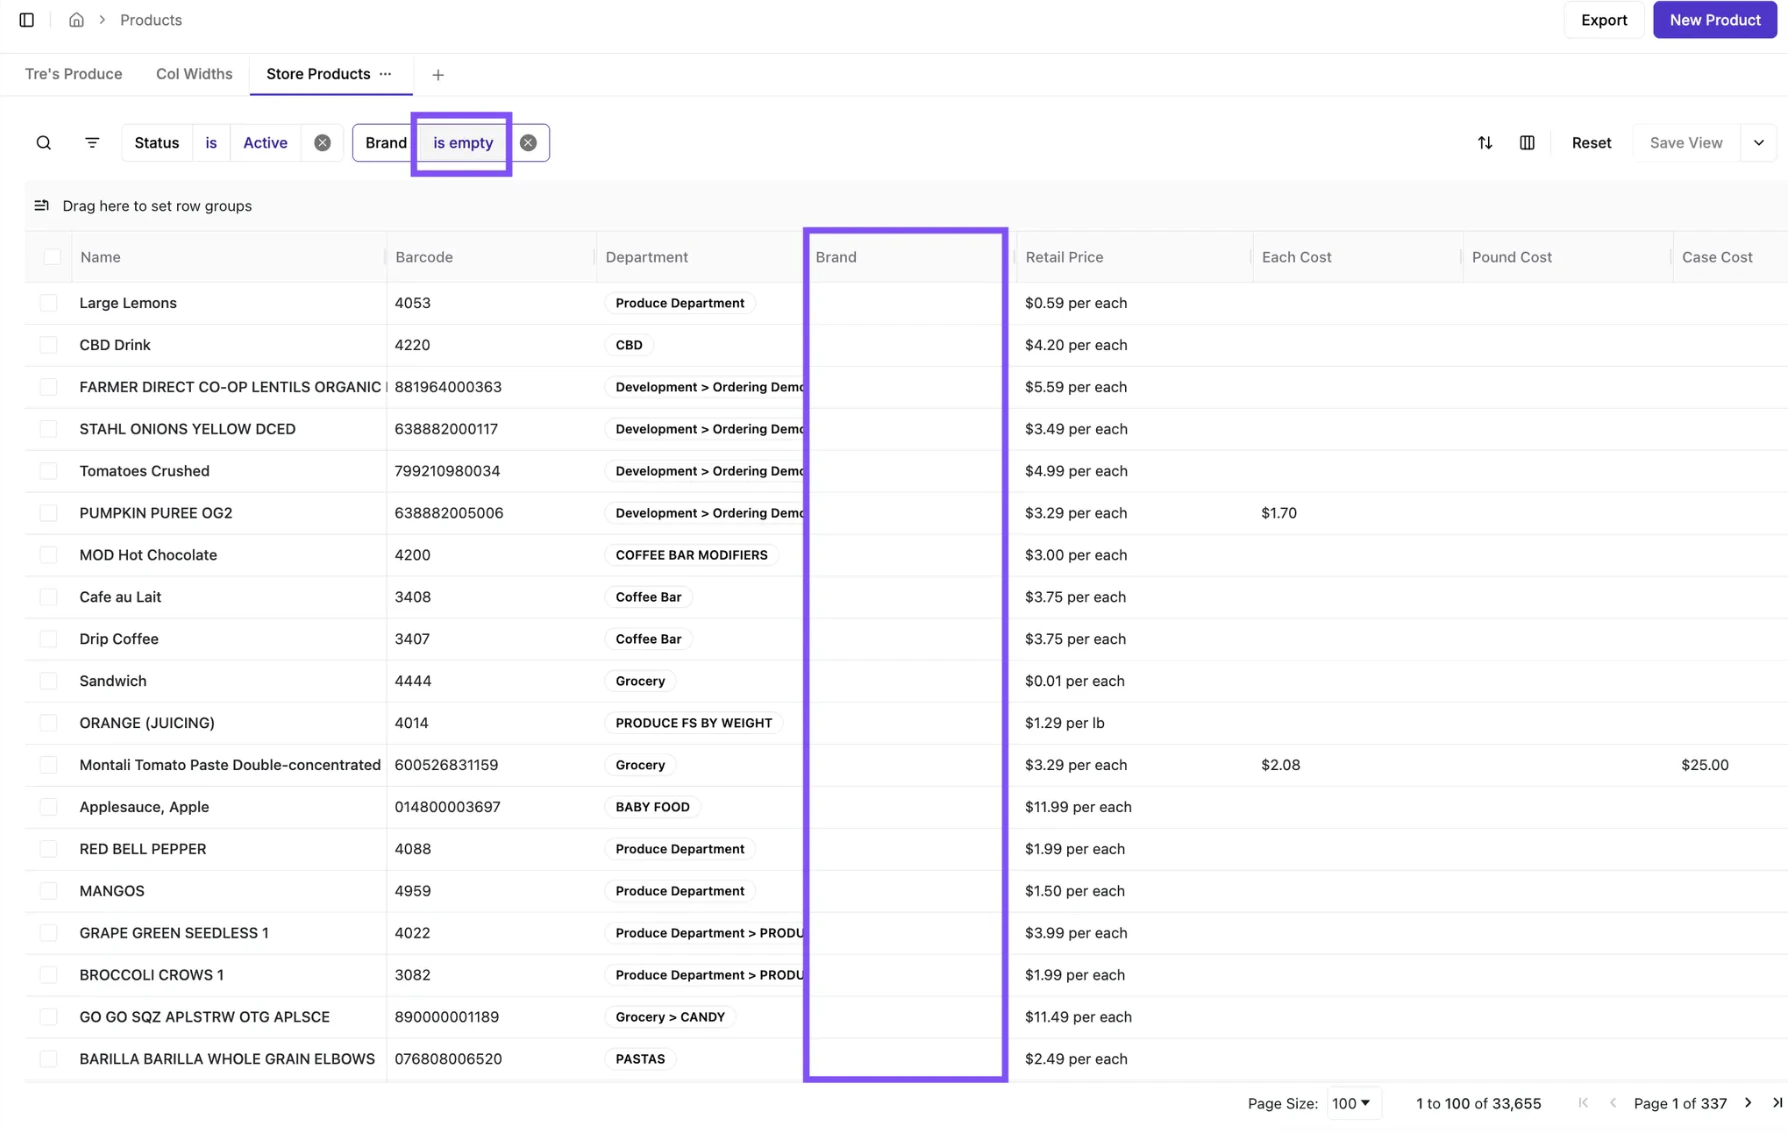
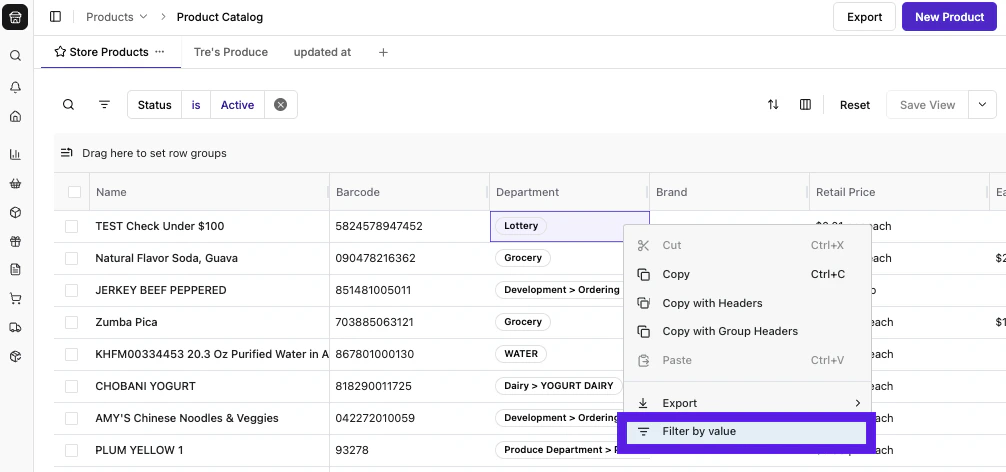 **✏️ Note:** You can now filter for empty values in the Product Catalog. This is especially helpful for spotting missing Cost or Brand information. For example, you can filter to find all products without a brand and quickly identify any gaps in your catalog.
 * **Sort Columns:** Sort columns by ascending or descending order.\\
 * **Group Columns:** Group products in your catalog to make browsing and managing your list easier.\\
 * **Move** **Columns:** Drag and drop to move columns.\\
 * **Pin Columns:** Select a column, then choose a pin direction (left or right) to pin it. To unpin a column, select the **Unpin** option.
* **Hide & Unhide Columns:** Hide or unhide columns as needed. Unhidden columns will appear at the end of the table.
* **Bulk Edits:** After selecting all the products you’d like to update, either by checking the box to the left of each product name or the box at the top left of the product table, a Bulk Update bar will appear at the bottom of the screen, showing how many products will be updated.
* You’ll now see popular update options, such as **Change Department**, listed right away. Select **More** to view the full list of updateable traits in alphabetical order.\\
* **Pin Columns:** Select a column, then choose a pin direction (left or right) to pin it. To unpin a column, select the **Unpin** option.
* **Hide & Unhide Columns:** Hide or unhide columns as needed. Unhidden columns will appear at the end of the table.
* **Bulk Edits:** After selecting all the products you’d like to update, either by checking the box to the left of each product name or the box at the top left of the product table, a Bulk Update bar will appear at the bottom of the screen, showing how many products will be updated.
* You’ll now see popular update options, such as **Change Department**, listed right away. Select **More** to view the full list of updateable traits in alphabetical order.\\
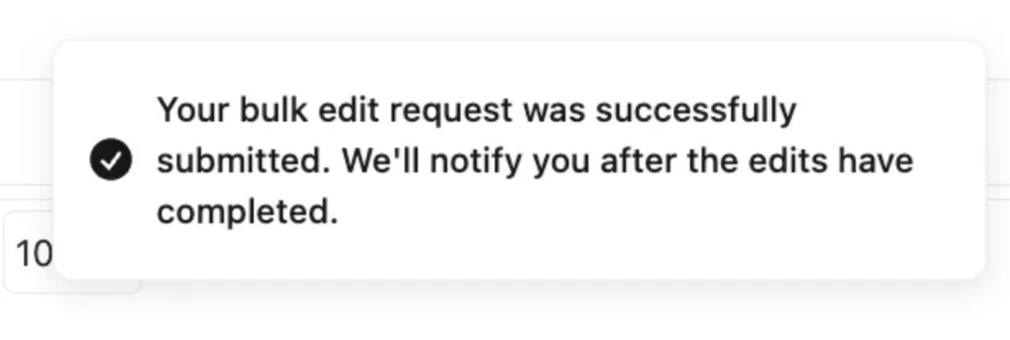
 * * Once the update is submitted, a **success notification** will appear in the bottom left corner of the screen.\\
 * You can also review when the bulk updates have been completed by visiting the **Notifications** panel on the left-hand menu.
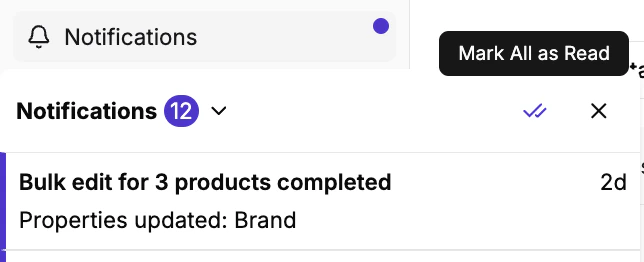 * Larger bulk edits (over 1,000 products) may take a few minutes to process. The success notification will arrive once the update has been fully completed for all selected items.
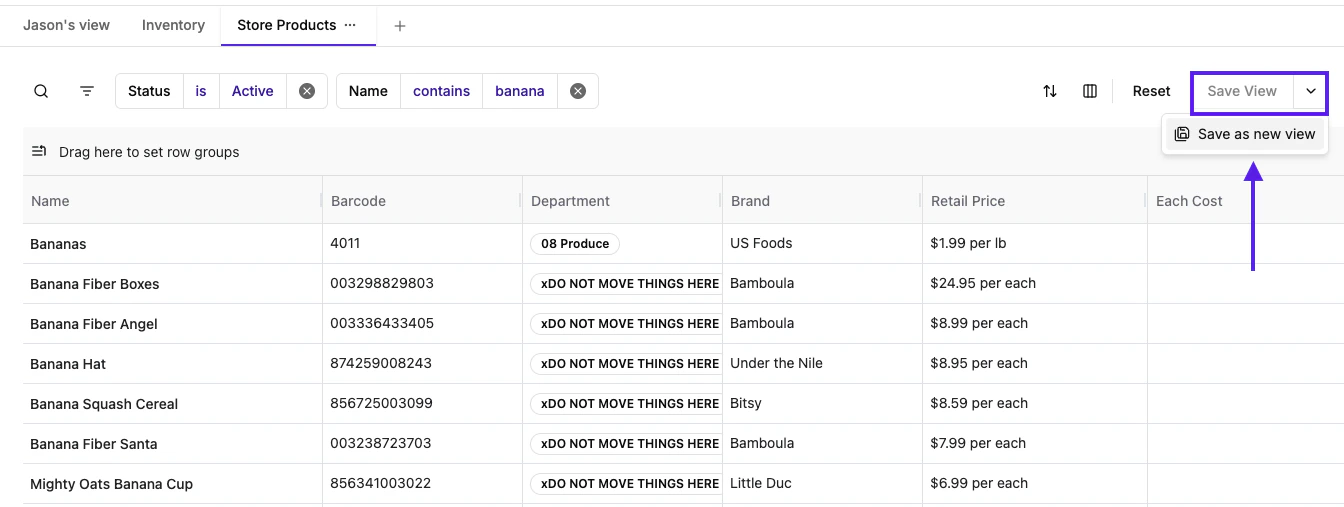
* **Save Views:** Save, name, and delete views that are shared across all store logins, making it easy to access your most-used filters (e.g., “New Products”).
* Larger bulk edits (over 1,000 products) may take a few minutes to process. The success notification will arrive once the update has been fully completed for all selected items.
* **Save Views:** Save, name, and delete views that are shared across all store logins, making it easy to access your most-used filters (e.g., “New Products”).
 * **Export Products:** You can now export your product list to a CSV file. The export function is WYSIWYG (What You See Is What You Get), so the exported file will contain precisely what is displayed on your screen.
* **Filtered Export:** Apply any combination of filters to your catalog. When you click export, the file will contain only the products that match your filtered view.
* **Selected Export:** You can also manually check the box next to specific products. If you export with items selected, the file will contain *only* those selected products, regardless of any active filters.
* **Quickly Add Products with One Click:** Use the **Quick Create New Product** button in the top-right corner to add new products to your catalog instantly.
* **Export Products:** You can now export your product list to a CSV file. The export function is WYSIWYG (What You See Is What You Get), so the exported file will contain precisely what is displayed on your screen.
* **Filtered Export:** Apply any combination of filters to your catalog. When you click export, the file will contain only the products that match your filtered view.
* **Selected Export:** You can also manually check the box next to specific products. If you export with items selected, the file will contain *only* those selected products, regardless of any active filters.
* **Quickly Add Products with One Click:** Use the **Quick Create New Product** button in the top-right corner to add new products to your catalog instantly.
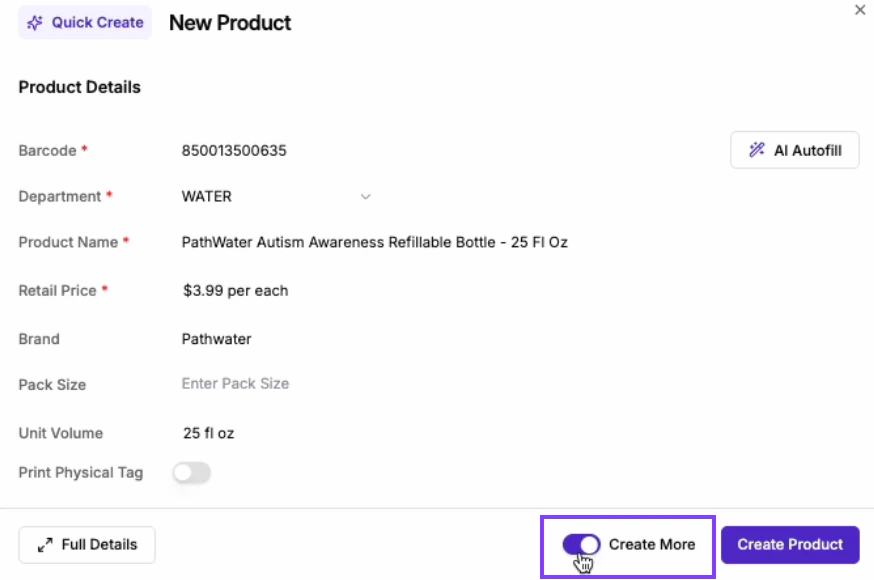
 * **Create More to Add Products Quickly:** If you're adding multiple new products (e.g., like a series of Chobani yogurt items), you can speed things up by using the **Create More** button.
* After entering the details for your first product, toggle on the **Create More** button to save the entry and immediately open a product form for the next one. This lets you quickly input similar items (same brand and department) in a row and add barcodes as needed, helping you build out your catalog more efficiently.
* **Create More to Add Products Quickly:** If you're adding multiple new products (e.g., like a series of Chobani yogurt items), you can speed things up by using the **Create More** button.
* After entering the details for your first product, toggle on the **Create More** button to save the entry and immediately open a product form for the next one. This lets you quickly input similar items (same brand and department) in a row and add barcodes as needed, helping you build out your catalog more efficiently.
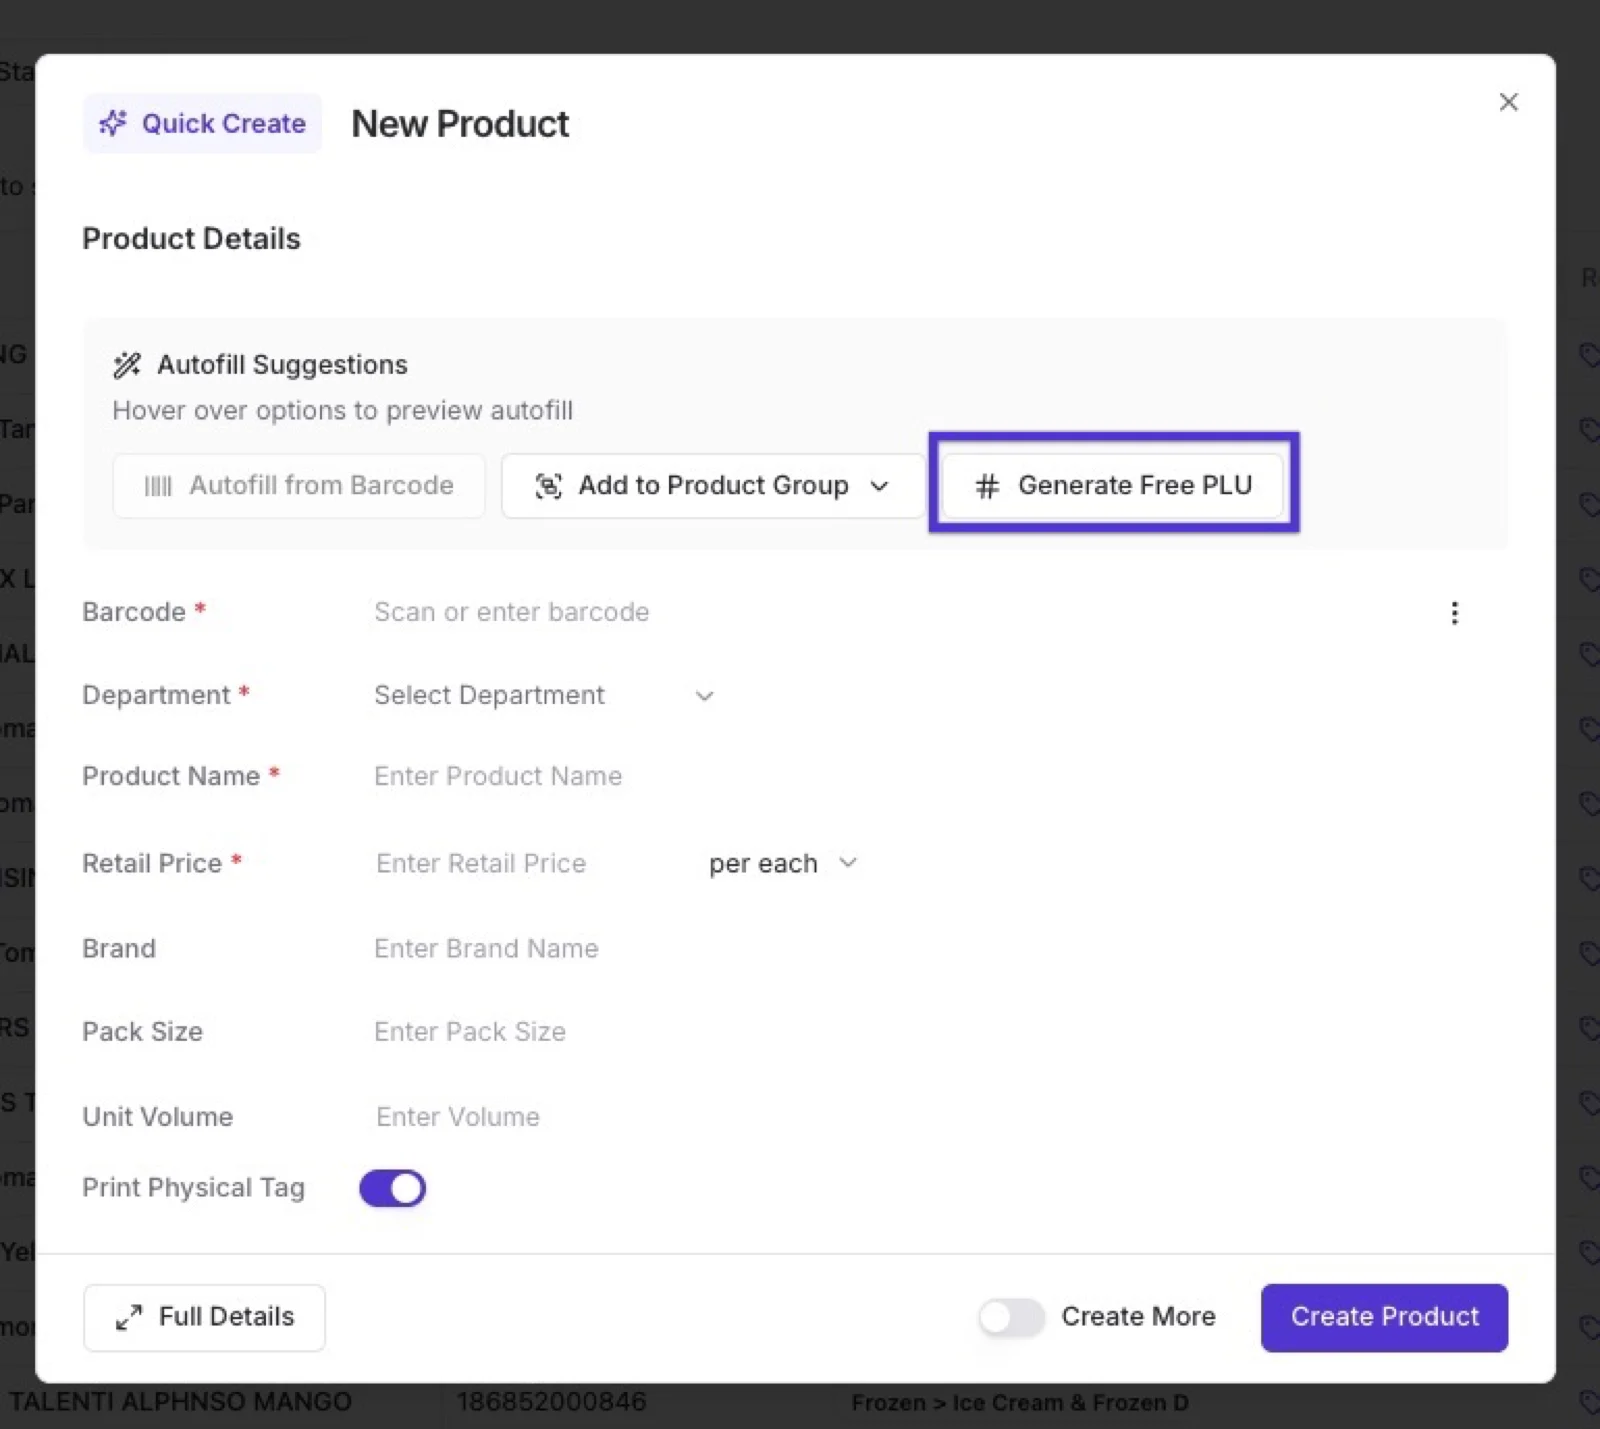
 * **Generate a Free PLU:** Every product in Vori needs a barcode. If an item doesn't have one, you can enter your own in-store barcode, or click **Generate Free PLU** in the Quick Create form. Vori checks your current list of Price Look-Up (PLU) codes and assigns an open one to the product.
 * **Preserve barcode as-is:** Enable this to skip barcode sanitization so the code saves exactly as scanned. It works best for store-assigned or private-label barcodes that can't change, such as `000010400005`. Open the **⋮** menu next to the **Barcode** field and select **Preserve barcode as-is**.
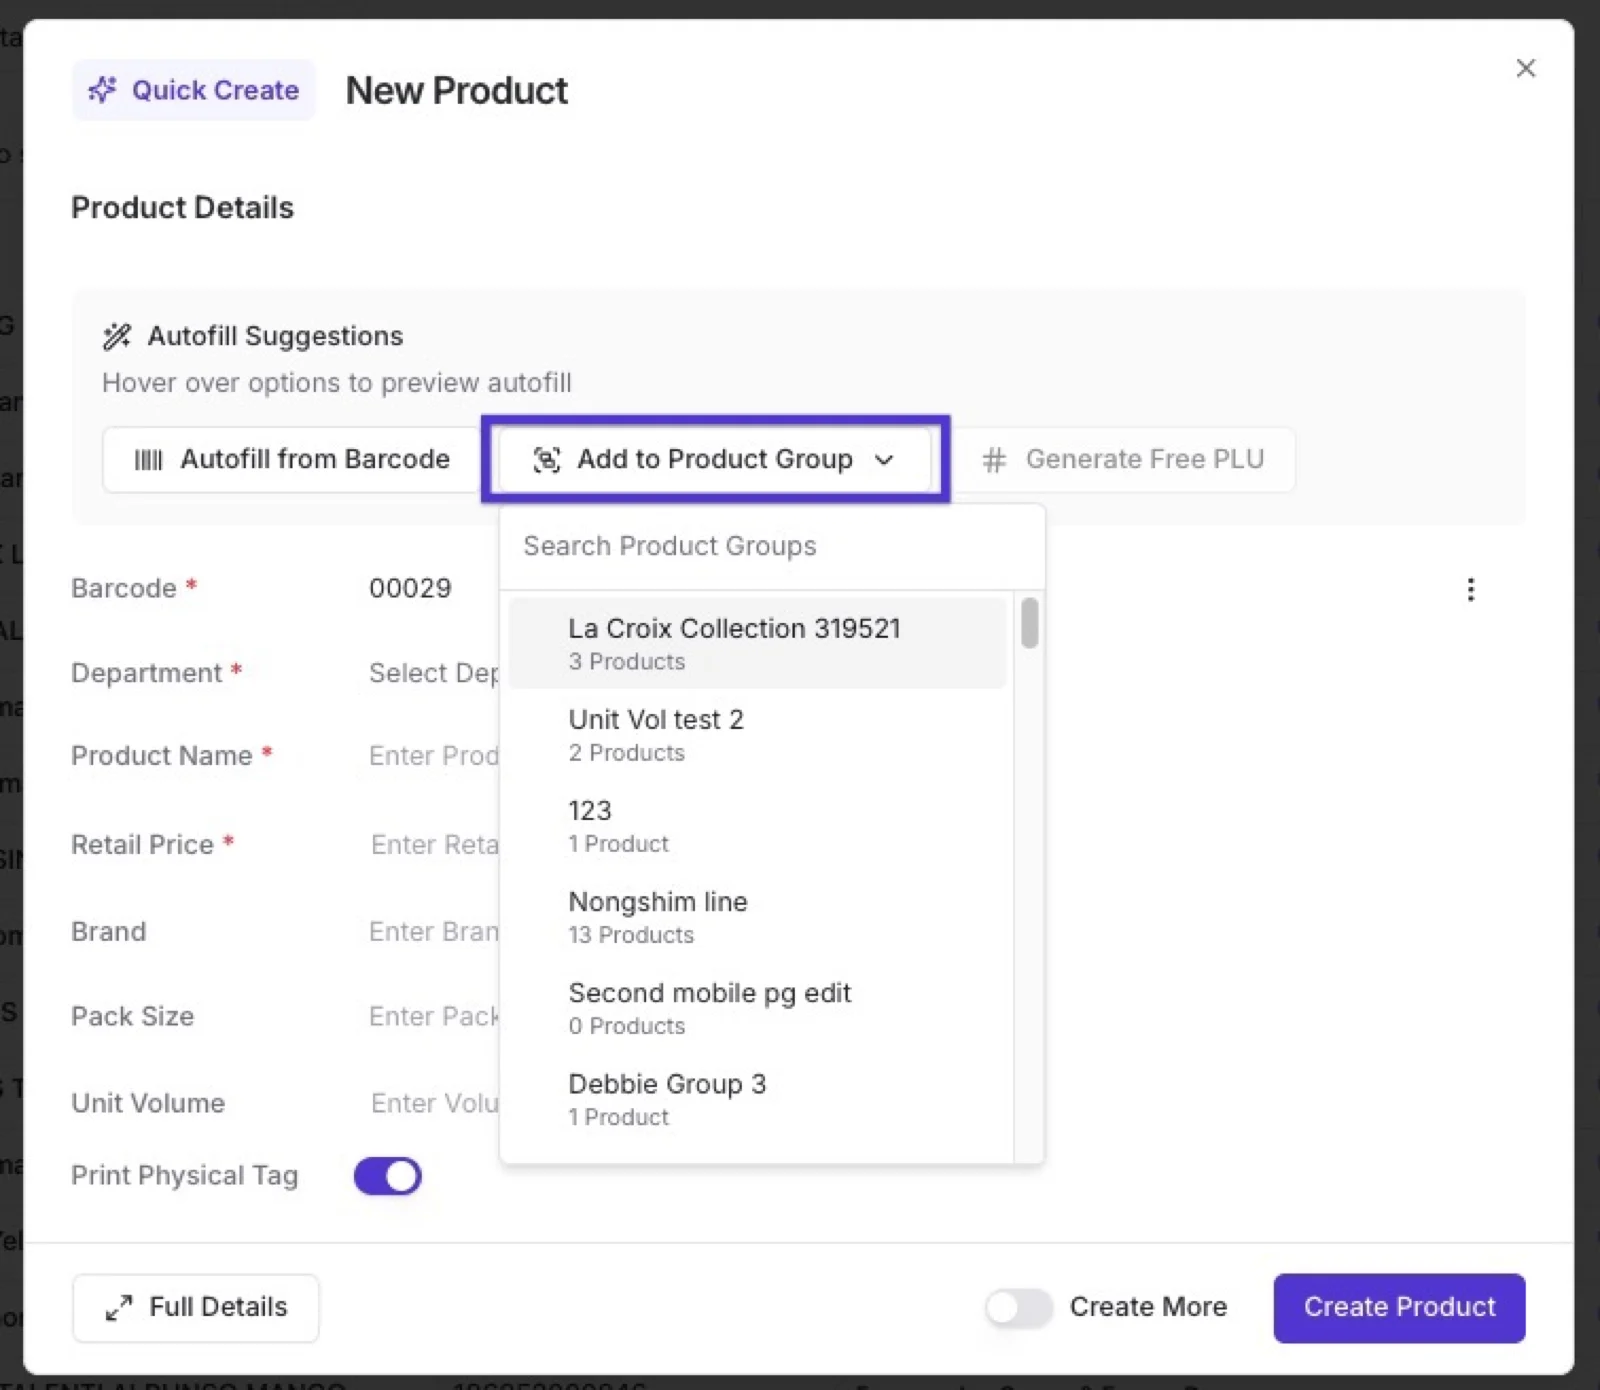
 * **Add to a Product Group:** As you create a product, use **Add to Product Group** to drop it straight into an existing group. Click the option, search for the group, and select it. For example, when you bring in a new Chobani flavor, create the product and add it to your "Chobani Single" group. To learn more, see [Create and manage product groups](/product-and-product-catalog-management/product-creation-and-set-up/create-and-manage-product-groups).
 ***
### What’s New in the Product Detail Page
* **New Full-Page Product Detail View:**
* When creating a product using **Quick Create**, you can select the **Full Details** button in the bottom-left corner to open the complete Product Detail page.
* Previously, switching to Full Details would clear any information you had already entered, but now, all data is preserved. That means you can start with the Quick Create flow, and if you need to add more advanced product details (like pack size, attributes, vendor info, or inventory), you can switch to Full Details at any time without losing your work.
***
### What’s New in the Product Detail Page
* **New Full-Page Product Detail View:**
* When creating a product using **Quick Create**, you can select the **Full Details** button in the bottom-left corner to open the complete Product Detail page.
* Previously, switching to Full Details would clear any information you had already entered, but now, all data is preserved. That means you can start with the Quick Create flow, and if you need to add more advanced product details (like pack size, attributes, vendor info, or inventory), you can switch to Full Details at any time without losing your work.
 * * Or select the **Open** icon next to any product name in the catalog to view its new full-page Product Detail Page, replacing the old right-side panel. From there, you can make detailed updates.
  ✏️ **Note:** Changes made in the **New Back Office** Product pages will also appear in the **Legacy Back Office**, and vice versa—**except for Product Description and Notes**, which are only visible and on Vori operating system.
The new page makes it easier to:
* **Live Edit:** All changes are saved automatically.\\
✏️ **Note:** Changes made in the **New Back Office** Product pages will also appear in the **Legacy Back Office**, and vice versa—**except for Product Description and Notes**, which are only visible and on Vori operating system.
The new page makes it easier to:
* **Live Edit:** All changes are saved automatically.\\
 ✏️ **Note**: Once you make an edit, it’s instantly applied. You won’t need to worry about losing your changes or remembering to click a save button.
* **Add a Product Description:** A new **Product Description** field is now available on the Product Detail Page. This field is designed to print directly on **3 x 1.5 inch shelf tags** (and will not appear on other tag sizes), making it perfect for adding more detailed information or alternate language characters.
* More details to come, regarding product descriptions and printing on 3 x 1.5 tags!
✏️ **Note:** There is no character limit for the **Description** field in the Back Office. However, text that is too long will not be automatically shortened and may get cut off or display incorrectly when printed on the tag. This flexibility exists because character sizes can vary greatly between different languages. We recommend printing a test tag to ensure your description fits as expected.
**✏️ Note:** The **Description** section is only available. If you add a note there, it won’t appear in the Legacy view.
* **Add Attributes:** Select relevant attributes from the list of unused options to add them to a product.
✏️ **Note**: Once you make an edit, it’s instantly applied. You won’t need to worry about losing your changes or remembering to click a save button.
* **Add a Product Description:** A new **Product Description** field is now available on the Product Detail Page. This field is designed to print directly on **3 x 1.5 inch shelf tags** (and will not appear on other tag sizes), making it perfect for adding more detailed information or alternate language characters.
* More details to come, regarding product descriptions and printing on 3 x 1.5 tags!
✏️ **Note:** There is no character limit for the **Description** field in the Back Office. However, text that is too long will not be automatically shortened and may get cut off or display incorrectly when printed on the tag. This flexibility exists because character sizes can vary greatly between different languages. We recommend printing a test tag to ensure your description fits as expected.
**✏️ Note:** The **Description** section is only available. If you add a note there, it won’t appear in the Legacy view.
* **Add Attributes:** Select relevant attributes from the list of unused options to add them to a product.
 \
Or select a **Department**, which will automatically apply its preset attributes.
\
Or select a **Department**, which will automatically apply its preset attributes.
 **⚠️ Caution:** You won’t see the labels “Department” and “Sub-Department” in this section, but the dropdowns are still there.
💡 **Tip:** Learn how to add attributes to department-level settings in the [How to create a department & manage department level settings](/departments/set-up-departments) article.
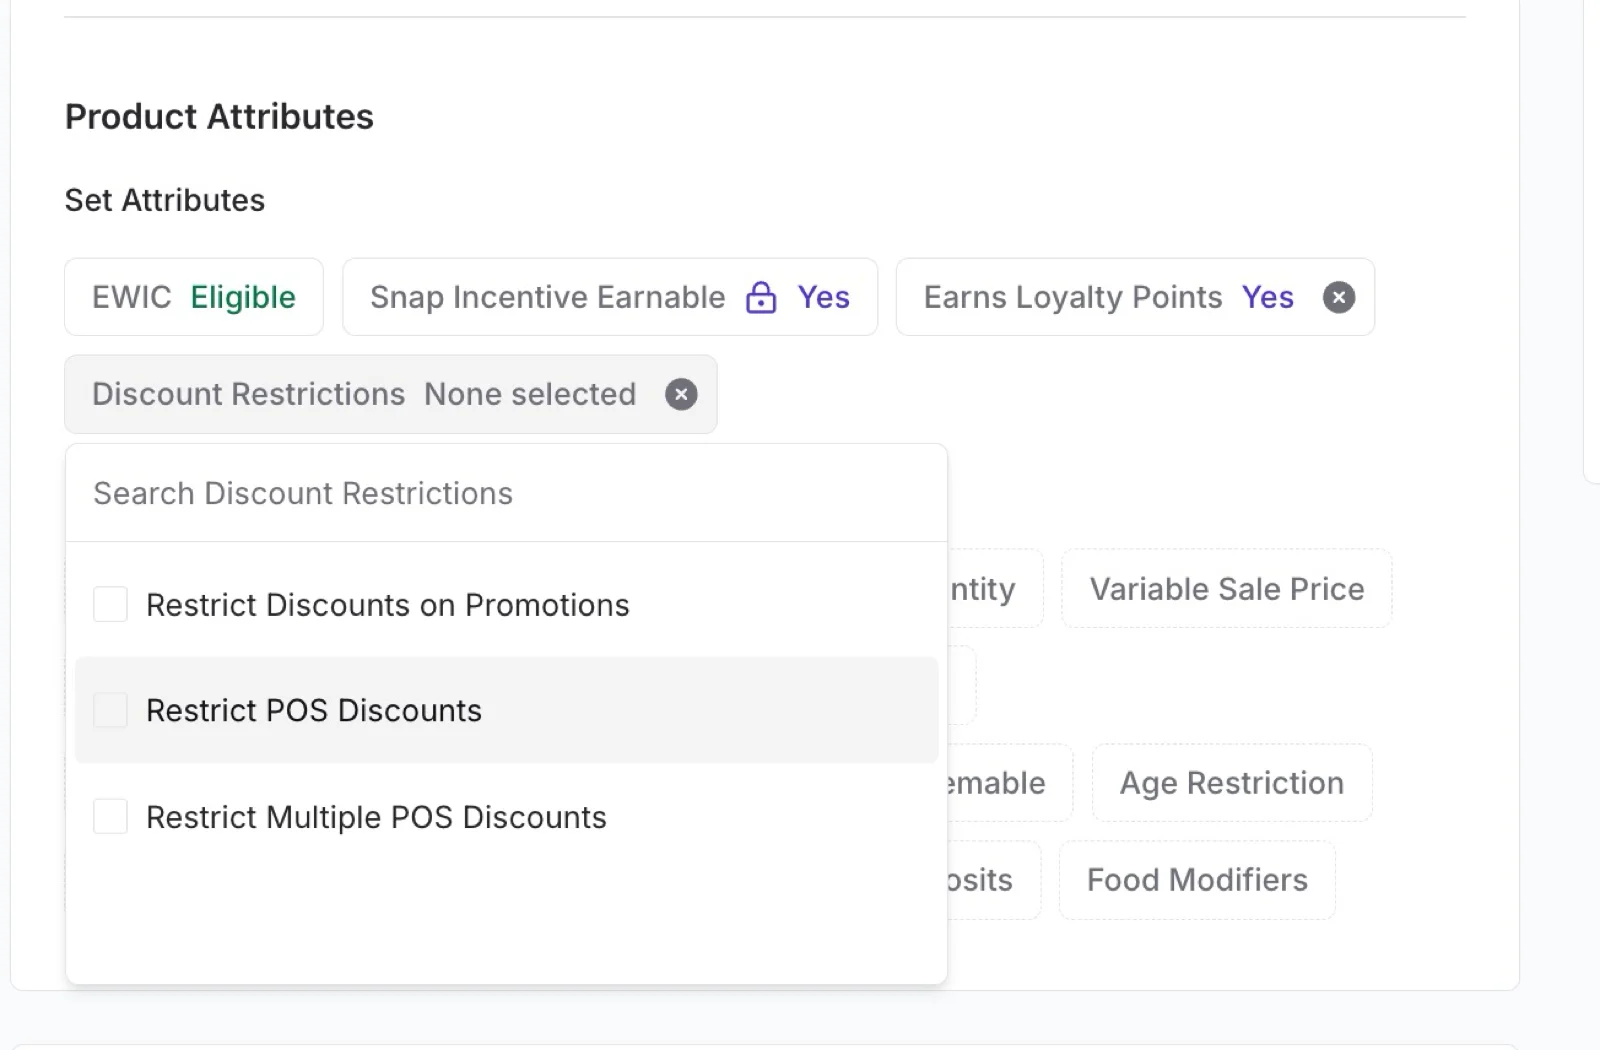
* **Restrict Discounts:** Stop specific items from receiving discounts at the register. In the **Set Attributes** section, open the **Discount Restrictions** attribute and choose one or more restrictions:
* **Restrict Discounts on Promotions:** Prevents double-discounting. When an item is already on promotion, your cashiers cannot apply an additional discount to it at the POS.
* **Restrict POS Discounts:** Blocks all discounts on the item at the POS. Use this for items you never want discounted, such as cigarettes.
* **Restrict Multiple POS Discounts:** Allows one discount per item, but not two at once. For example, a cashier cannot stack an Employee discount and a Reduced discount on the same item.
**⚠️ Caution:** You won’t see the labels “Department” and “Sub-Department” in this section, but the dropdowns are still there.
💡 **Tip:** Learn how to add attributes to department-level settings in the [How to create a department & manage department level settings](/departments/set-up-departments) article.
* **Restrict Discounts:** Stop specific items from receiving discounts at the register. In the **Set Attributes** section, open the **Discount Restrictions** attribute and choose one or more restrictions:
* **Restrict Discounts on Promotions:** Prevents double-discounting. When an item is already on promotion, your cashiers cannot apply an additional discount to it at the POS.
* **Restrict POS Discounts:** Blocks all discounts on the item at the POS. Use this for items you never want discounted, such as cigarettes.
* **Restrict Multiple POS Discounts:** Allows one discount per item, but not two at once. For example, a cashier cannot stack an Employee discount and a Reduced discount on the same item.
 To see how these restrictions appear to cashiers, read [Manage discounts at the POS](/point-of-sale-pos/basic-cashier-functions/manage-discounts-at-the-pos#discount-restrictions-at-the-pos).
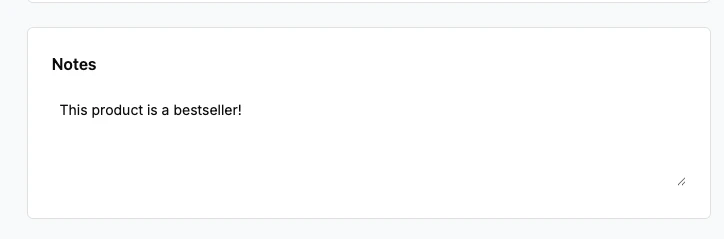
* **Include Notes:** Add internal notes to help your team track important product-specific information.
* The **Description** field is customer-facing, while the **Notes** section is for internal team information only and does not print on tags.
To see how these restrictions appear to cashiers, read [Manage discounts at the POS](/point-of-sale-pos/basic-cashier-functions/manage-discounts-at-the-pos#discount-restrictions-at-the-pos).
* **Include Notes:** Add internal notes to help your team track important product-specific information.
* The **Description** field is customer-facing, while the **Notes** section is for internal team information only and does not print on tags.
 **✏️ Note:** The Notes section is only available and on Vori operating system. If you add a note there, it won’t appear in the Legacy view.
* **View & Update the Vendor Product:** View and edit the vendor, barcode, description, and other related details directly in the **Vendor Products** section.
**✏️ Note:** The Notes section is only available and on Vori operating system. If you add a note there, it won’t appear in the Legacy view.
* **View & Update the Vendor Product:** View and edit the vendor, barcode, description, and other related details directly in the **Vendor Products** section.
 * **Update Inventory:** Quickly adjust on-hand quantity, max stock, and other inventory-related details directly in the **Inventory** section.
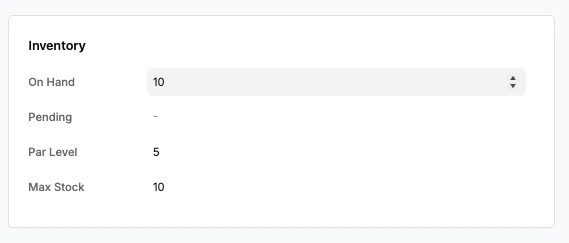 ***✏️ Note:** The **Inventory** section is **only available to stores that have purchased the Inventory model**. It's currently in beta testing, so only select stores will see it on the new Product Detail Page.*
***
#### Feedback
This is a work in progress, and your feedback helps us improve. Let us know what’s working (and what’s not) through the support chat or by emailing **[support@vori.com](mailto:support@vori.com)**.
***✏️ Note:** The **Inventory** section is **only available to stores that have purchased the Inventory model**. It's currently in beta testing, so only select stores will see it on the new Product Detail Page.*
***
#### Feedback
This is a work in progress, and your feedback helps us improve. Let us know what’s working (and what’s not) through the support chat or by emailing **[support@vori.com](mailto:support@vori.com)**.