Connect the Zebra Printer to the VoriOS App
Follow these steps to pair your Zebra mobile printer directly through the VoriOS app for quick label printing.
✏️Note: To successfully print labels, you must pair the Zebra printer directly through the VoriOS app. Ensure Bluetooth is enabled on your device, but do not connect the printer using your phone’s main Bluetooth settings, as this can interfere with the connection.
Table of Contents:
- How to Connect the Zebra Printer
- Configure Label Settings
- Troubleshooting
How to Connect the Zebra Printer
-
Ensure the Zebra printer is turned on.
-
Open the VoriOS app and enter login credentials.
-
Under Devices, scroll to the right and tap Add Zebra Printer.

-
Tap Start Printer Setup on the following screen. Your iPhone is now ready to scan for the printer.

-
On the Zebra printer, hold down the Feed button for seven seconds to enable pairing mode. The blue Bluetooth indicator light will begin to flash.

-
Once you see the Bluetooth icon flashing, gently tap the top of your iPhone against the Near Field Communication (NFC) logo on the side of the printer.

-
When the Bluetooth Pairing Request notification appears on your iPhone, tap Pair. The printer will connect within a few seconds.
Configure Label Settings
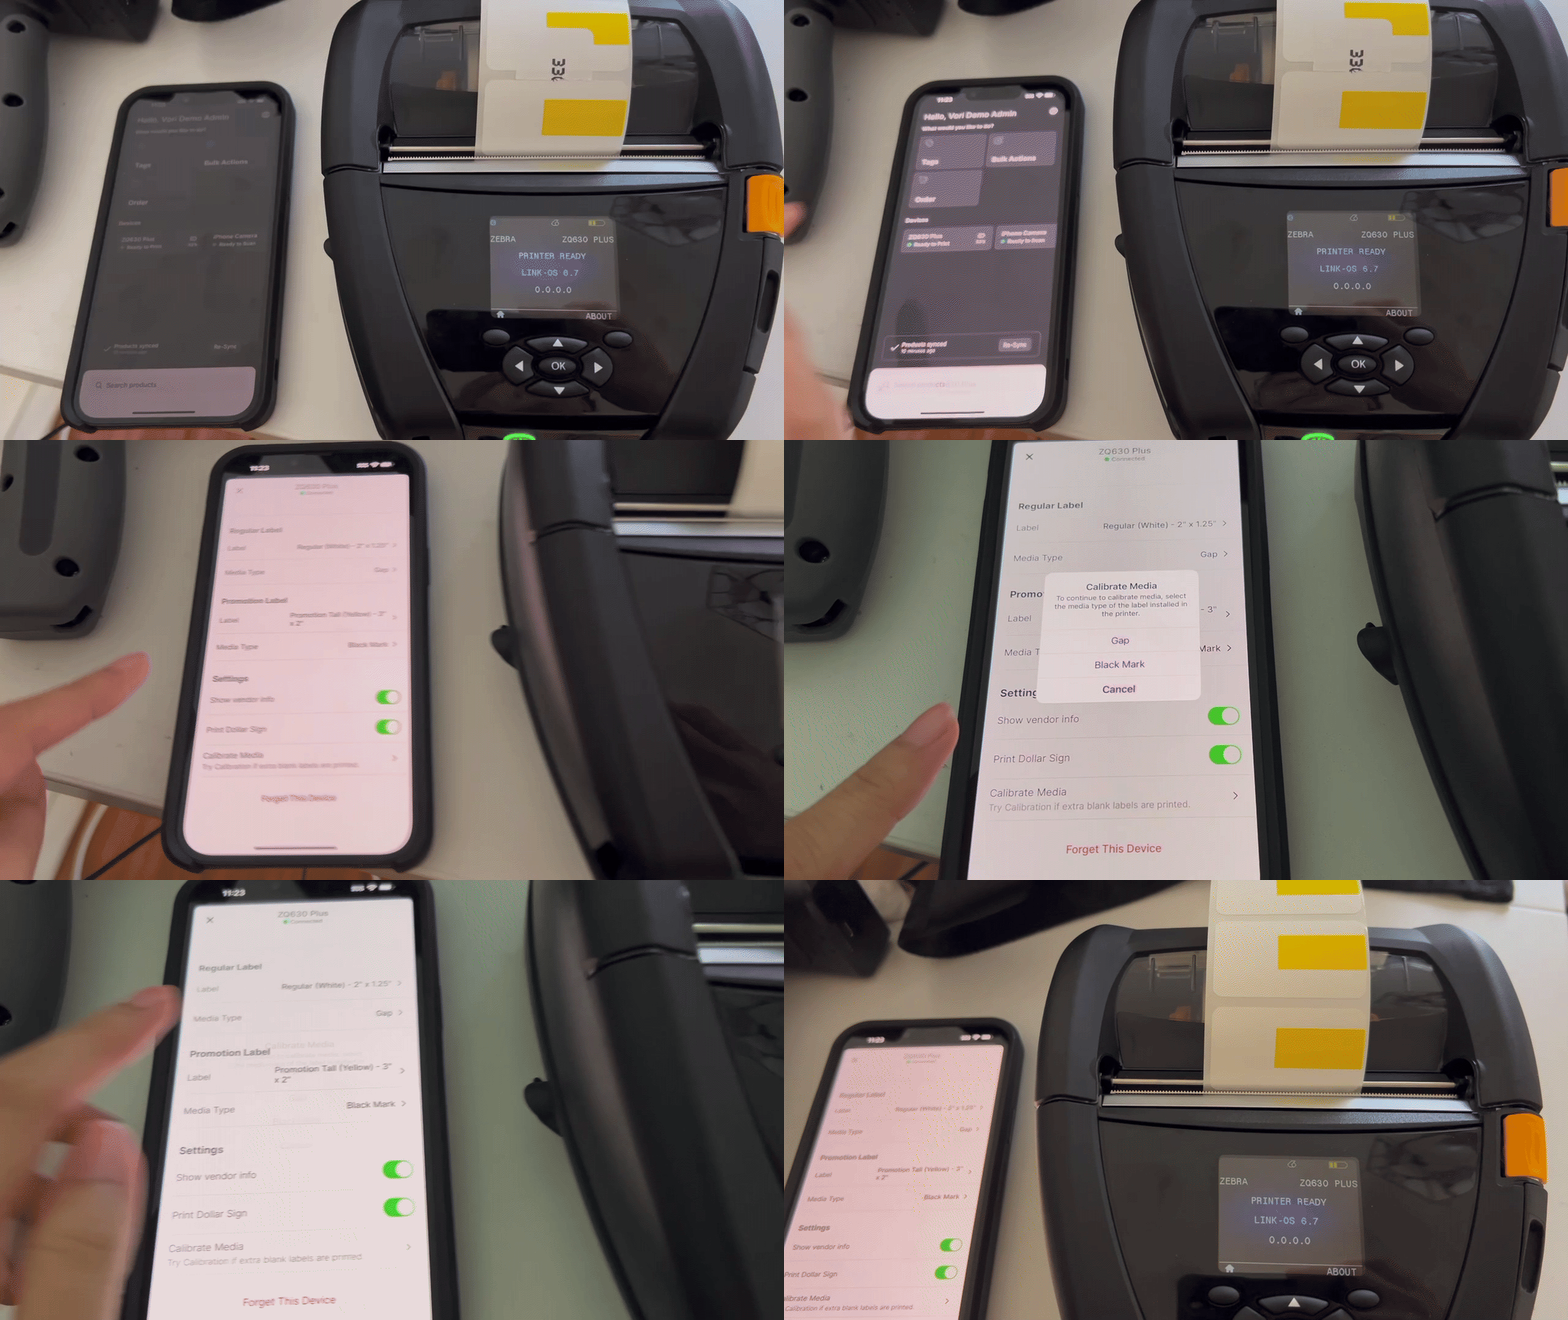
Once your printer is paired, you'll be prompted to configure your label settings. Select the correct label type and size for your location to ensure tags print correctly.
| Location | Type of Label | Size | Media Type |
|---|---|---|---|
| Non–New York Stores | Regular Label | Regular Narrow (Yellow Box) – 1.875" x 1.125" | Gap |
| APAC Character-Support Label | Wide APAC-Support Tag – 3" x 1.5" | Gap | |
| Promotional Label | Promotional Tall (Yellow) – 3" x 2" | Black Mark | |
| New York Stores | Regular Label | Regular Wide (Orange Box) – 2.625" x 1.125" | Black Mark |
| Promotional Label | Promotional Tall (Yellow) – 3" x 2" | Black Mark |
📦 Need help ordering labels or receipt paper?
Visit the Printer Supplies Guide: Shelf Tags, Promo Labels, and Receipt Paper article to learn more and find direct links to purchase supported supplies.
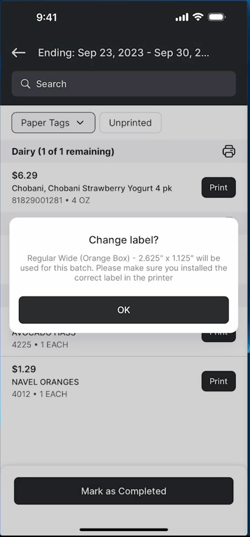
✏️ Note: When switching between promotional and regular labels, a reminder will appear in the app to switch the physical label roll in the printer.

Troubleshooting
Connection Failed?
-
If the connection fails on the first try, tap Retry on your iPhone and attempt the pairing process again.
-
If issues persist, you may need to completely reset the connection. In the VoriOS app, go to the printer settings and select Forget This Device. You should also go to your iPhone’s system Settings > Bluetooth, find the printer in your device list, and forget it there as well.
Labels Printing Incorrectly?
If you are experiencing configuration issues, such as multiple labels printing for one item, extra blank labels, or misaligned text, please verify the following settings:
-
Verify Gap vs. Black Mark Setting:
-
Check the Roll: Look at the backside of your tag roll (opposite the labels).
-
Black Mark: If you see a black line on the back, ensure the Black Mark setting is enabled in your printer configuration.
-
Gap: If there is no black line, ensure the setting is set to Gap instead.
-
-
Verify Tag Size:
-
If your tags are a standard purchase from one of the sources on our help site, ensure the tag size setting in your printer configurations matches the physical size listed on the roll.
-
-
Recalibrate:
-
Once settings are confirmed, if the issue persists, go to the Zebra Printer settings in the VoriOS app and tap Calibrate Media.

-
Missing vendor info or item code?
- If your tags are missing the vendor name, item code, or weight, check that the Show vendor info setting is toggled on in the printer settings.
- To enable it, tap the Zebra Printer device in the app, find Show vendor info in the Settings section, and toggle on the setting.
